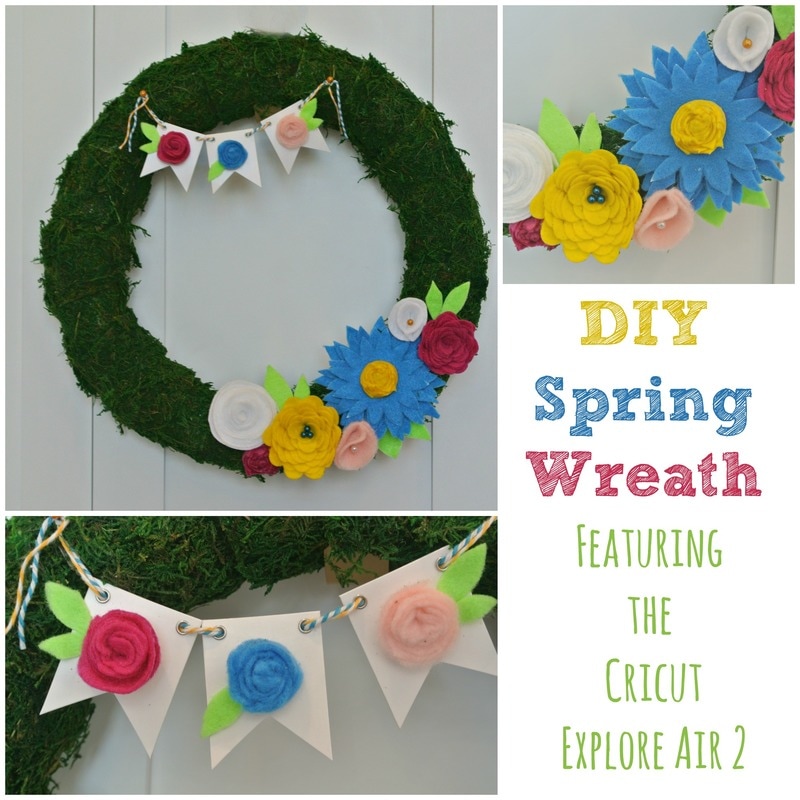
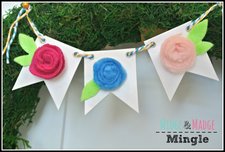
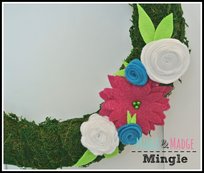
We are so excited to share this fun DIY project that we created using our Cricut Explore Air 2 Machine! The Cricut Explore Air 2 makes it so simple to create unique one of a kind DIY projects. There are so many different types of DIY Projects that you can make with this machine. Obviously these super fun Spring Wreaths using Felt and Moss, along with many different Home Decor pieces, Fashion and Accessories, Parties and Holiday Decor, Kids Crafts, Teacher gifts, Teacher Decor in the Classroom. The list goes on and on! ** Can you tell that we love this machine and use it alot?
In this video we show you how we made these fun wreaths, the different flower cuts that we used and several tips and tricks along the way!
So.... are you ready to go and get the supplies that you need to create your own DIY Spring Wreath?? Don't forget to get your Flowers from Cricut Design Space! As mentioned in the video we used the flowers from Flower Shoppe, and Circles to create the different flowers shown on our wreaths.
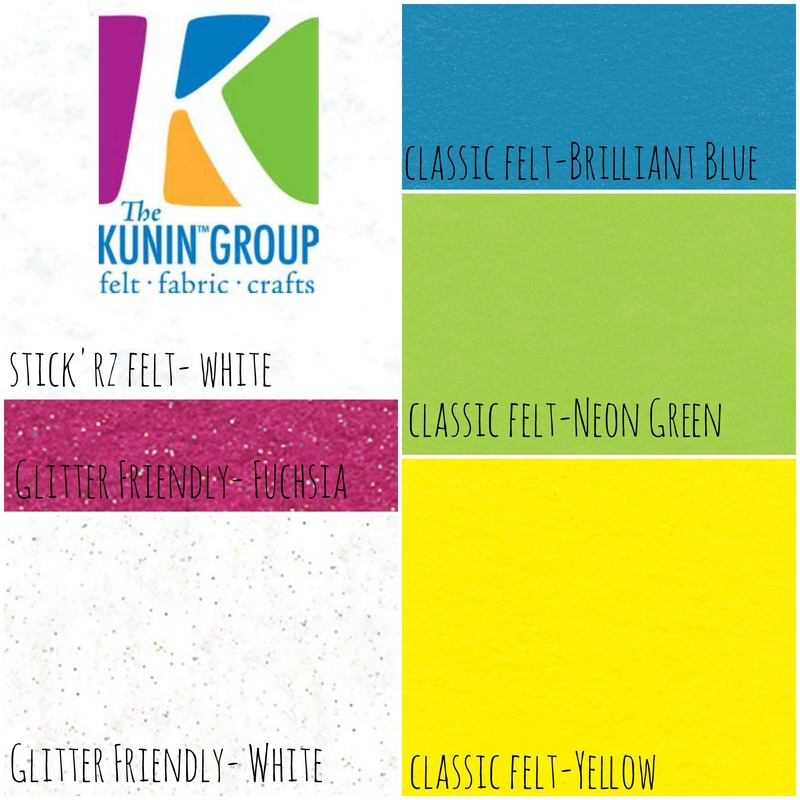
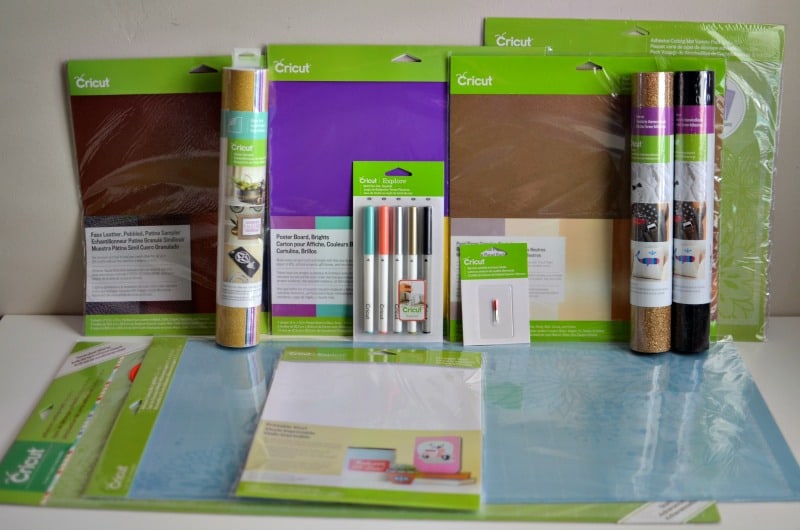
Things you will need to make this Project: *Cricut Explore Air 2 (click on photo below) *Flowers "Flowere Shoppe" in Cricut Design Space * Green Floral Wreath (purchased at Michaels) *1-2 bags of Moss (purchased at Michaels) *Kunin Felt we used different types of the felt (see below for colors and types) *Floral Pins *Beacon Adhesives- Quick Dry and Fabri-Tac *Scissors 
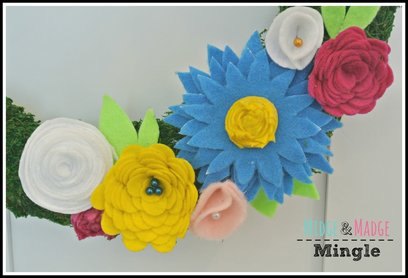
Check out the flowers up close! They are fabulous, I do say so myself!
We hope that you loved this fun DIY project! Go create your own Spring Wreath today using felt and your Cricut Explore Air 2 Machine.
*This post contains Affiliate links*
0 Comments
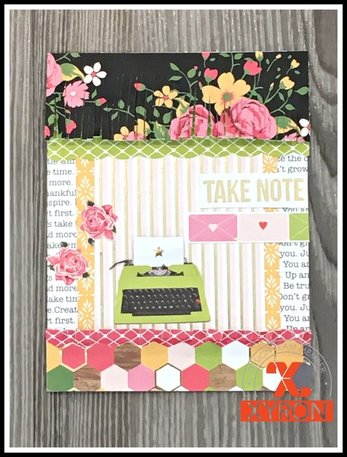
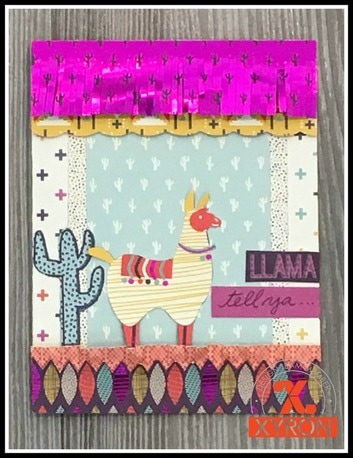
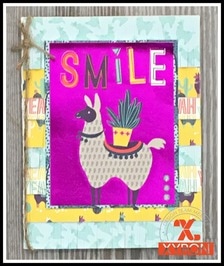
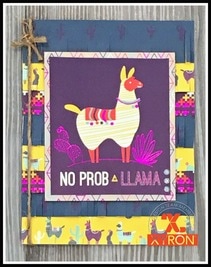
We love how Xyron makes card making a breeze! Watch our video and join us as we created different cards using Xyron Products! Below, are the photos of the cards that we created. Step by step instructions are included in our video! Midge's Cards
Madge's Cards
Products Used: 1.5" Sticker Maker Teresa Collins Mega Tape Runner Tape Runner Other Supplies Used: DCWV- No Prob Llama Paper Stack DCWV- Hello Darlin' Paper Stack Penblade 10 Scissors Paper Trimmer Twine Cardstock DISCLAIMER: We were given product for this post. However, all opinions are our own.
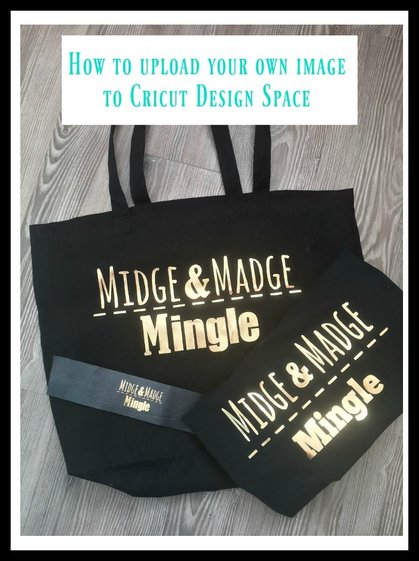
Have you ever wanted to upload your own logo or image to Cricut Design Space but didn't know how? Today, we will show you how to upload a "Simple Image" to your Cricut Design Space Image Gallery. But that isn't all we are going to show you! Making a T-Shirt and some Accessories using the Cricut Faux Leather and the Light Gold Foil Iron-On is a breeze when you use your Cricut Explore Air 2. The tutorial below will walk you step by step on How to upload and image to Cricut Design Space.
So.... What did you think? It is easy right? Simply follow these instructions and build your Cricut Design Space Image Gallery Today.
Below are the items that Midge and I made for our recent trip to the Creativation (CHA) show this past week. 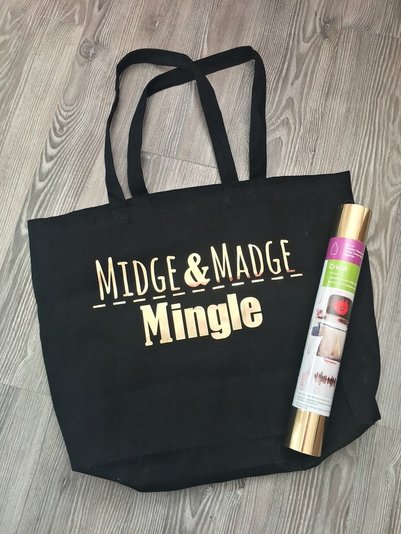
Midge and I knew that we wanted to have our own personal tote to carry around with us so we created this awesome canvas tote bag. We bought the Black canvas tote at Michaels. And of course used our Light Gold Foil Iron-On from Cricut.

Above is an up close look at our Faux Leather Cuff Bracelets. We cut our bracelets 2" wide. Sized our image to
2.36" x 1.28" You may be wondering if we used our heatpress on the Faux Leather, and the answer is YES! We did however only set the timer for 25 seconds at 350 degrees. They turned out great. We measured our wrists and cut off any excess leather. We then used Fabri-Tac adhesive by Beacon Adhesives to attach a strip of velcro. This allows you to put on and take off this bracelet with ease. 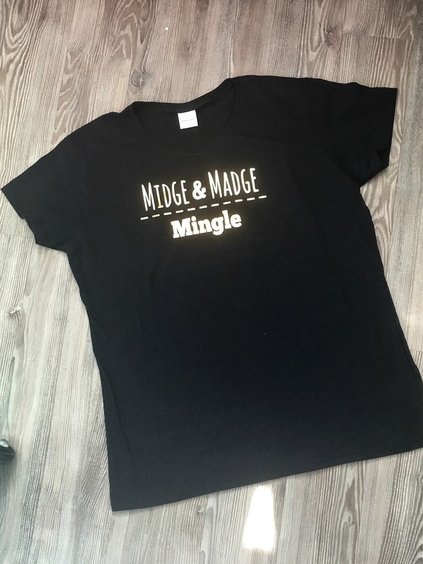
Last but not least this Classy Designer T-shirt. The Light Gold Foil really pops on the black. We received so many compliments while wearing these to CHA. It was a great way to show off our logo and represent our company. As you saw in the tutorial we sized the image to 9.02" x 4.74" This was the perfect size for an Adult T.
We hope that you upload one of your favorite images today, and create something great! This is a sponsored conversation written by me on behalf of Cricut. The opinions and text are all mine. 
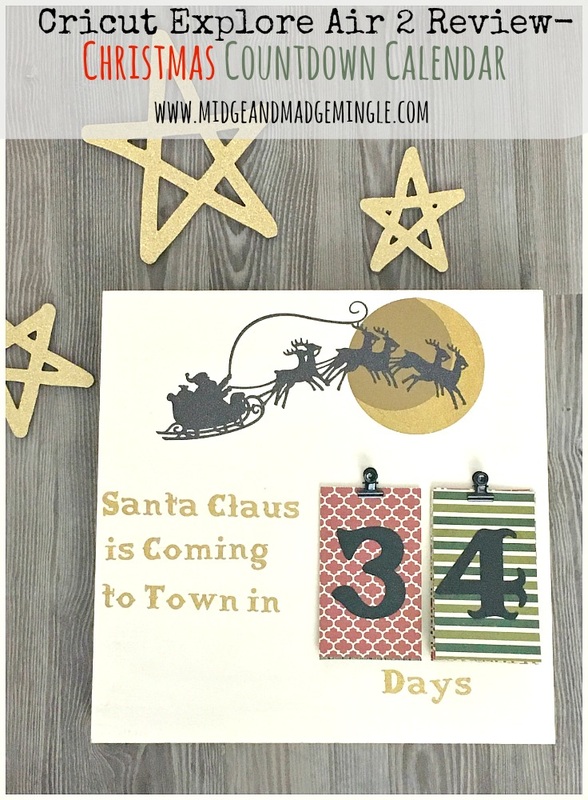
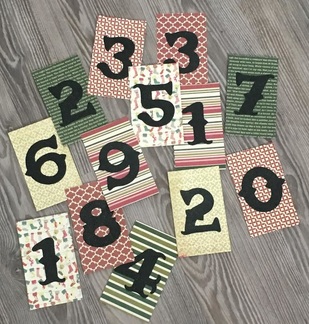
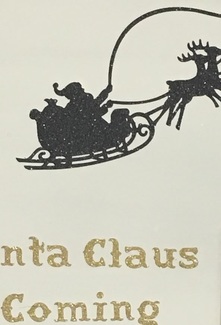
Look at this beauty!  We are so excited to be reviewing the Cricut Explore Air 2 (which you can get loads more info on here). And we even got the Mint color, which is Midge's favorite! We always love all things Cricut and immediately we wanted to put this one to good use. Being that the holidays are upon us. We decided to do a quick Countdown to Christmas Calendar. We painted a 12"x12" shadow box cream. We cut the "Santa's Sleigh" from black glitter vinyl found here. For the words and the Crescent of the moon we used gold glitter vinyl found here. The Full moon is cut from gold metallic vinyl found here. And the numbers were cut from black glitter cardstock. The only other supplies you need are the 2 miniature black binder clips, (we attached our clips with Beacon Adhesives Power-Tac) and some of you favorite Christmas paper for the backgrounds. 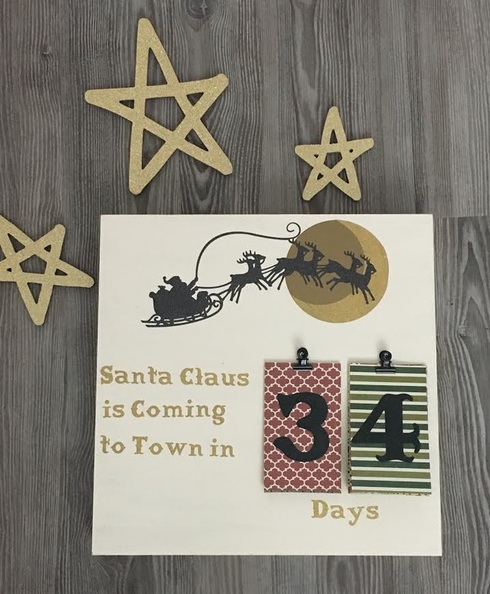 As with all of the Cricut Machines, we found the Cricut Explore Air 2 is extremely user friendly. And the most important new feature ***the Air 2 cuts even faster than the previous machines!!! This is really an important function for us because Midge is super impatient and Madge doesn't like to listen to her LOL! The very intricate design of "Santa's Sleigh" from Cricut Access, Cut nice and clean, even with the quicker speed. You can get a closer look at the detail here.
Welcome! Let us start out by saying...
We are so excited to be a part of the Cricut Fall Challenge! So excited that we made two projects. We can't stress how much we Love Cricut. Cricut just makes it so easy to create almost anything that you can dream up! Check out our ideas, visit the other inspirational crafters and enter to win (that's right the magic word "Prize") using the rafflecopter at the end of our post. But don't go yet! The first item we want to share is our glitzy and glamorous Apron: 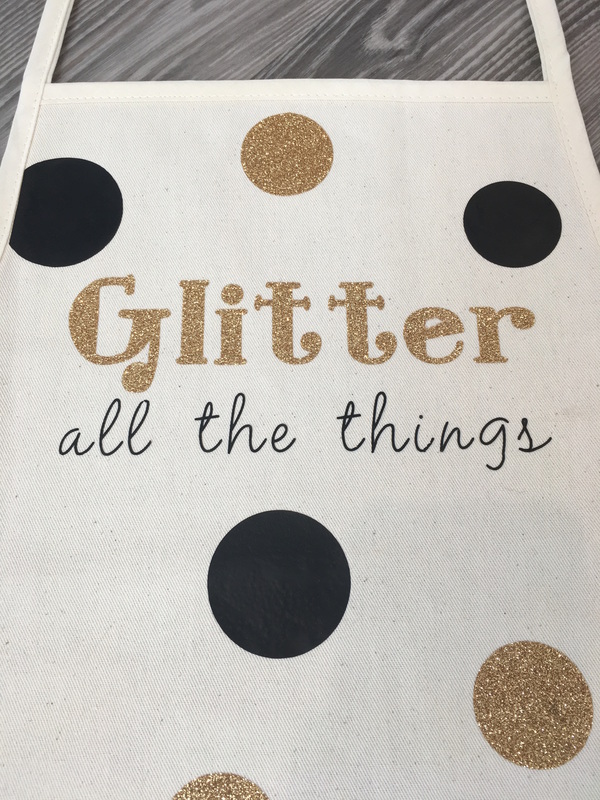
We used a canvas apron and some of our very favorite--Gold Glitter iron-on found here. From the gold, we cut the word "Glitter" using the Fontastic Fonts DJ Smitten font, some 1.5" circles and some 1.93" circles. Black iron-on can be found here. From the black we cut the words "all the things" using the PS font, as well as the 1.5" and 1.93" circles. Remember to click the "Mirror Image" box when using iron-on.
After our trusty Cricut Explore Air did all of the hard work, the rest was easy peasy! We weeded the extra vinyl from the liner, placed all of our iron-on cut outs just where we wanted (liner side up of course) and then went to town with the iron. Here is a full shot :): 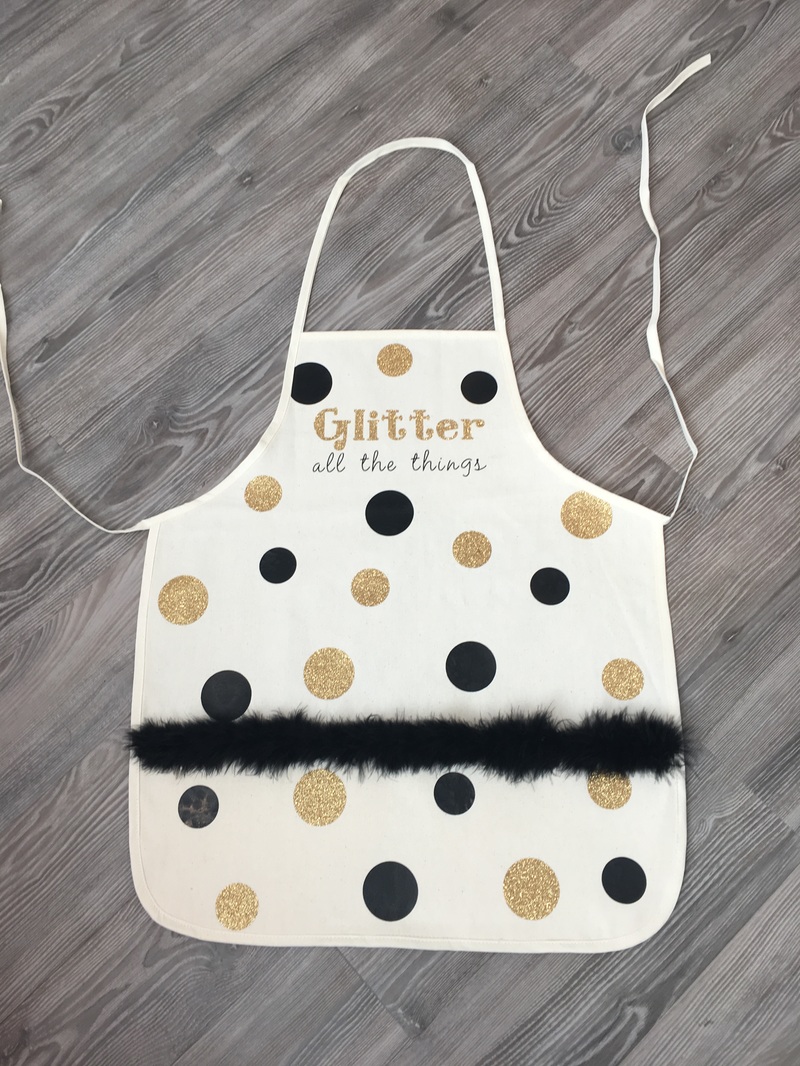
As a finishing touch, we added a strip of faux fur trim to the pocket section. We loved the way it turned out so much that this is our next "Girls Craft Night Out"!
On our second project, we used a Cricut product that we had never used before. FAUX LEATHER!! You read right, Faux Leather (you can find it here). We love the look and feel of this material. The best part, our Cricut Explore Air cut through it like a champ!
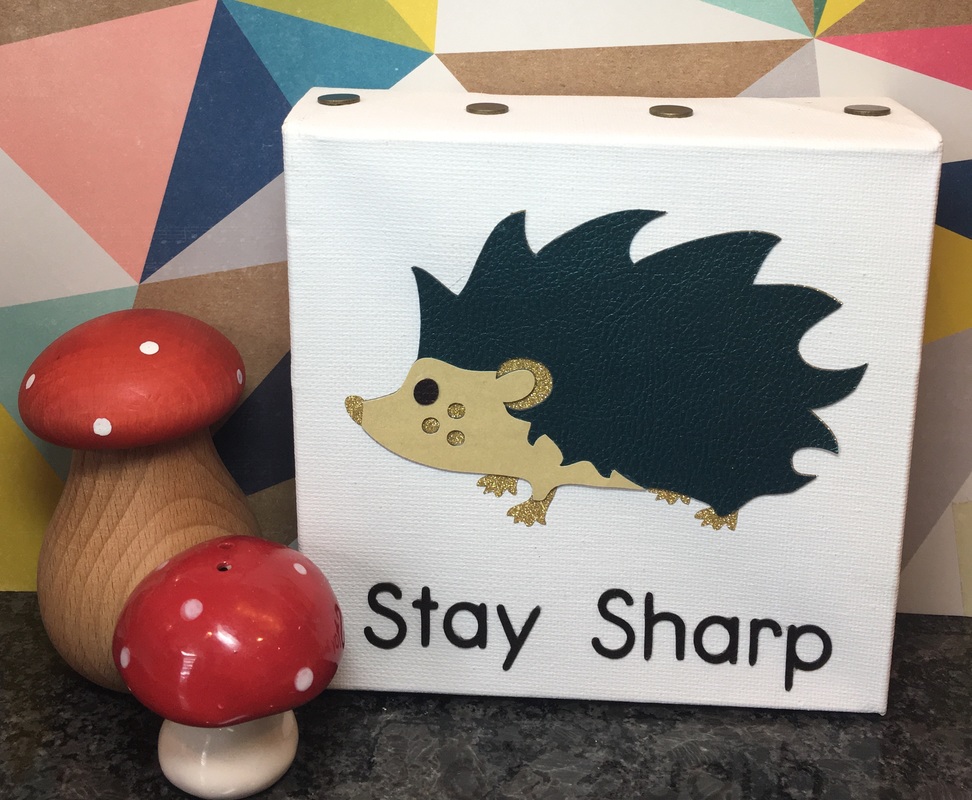
Not only did we use the faux leather (for our hedgies blue spikes, brown eye and the words), but we also used the Gold Glitter vinyl found here for his base and the Pearl Paper sampler found here for his face which adds a fun shine!
Love our Apron as much as we do? Give us a Pin: 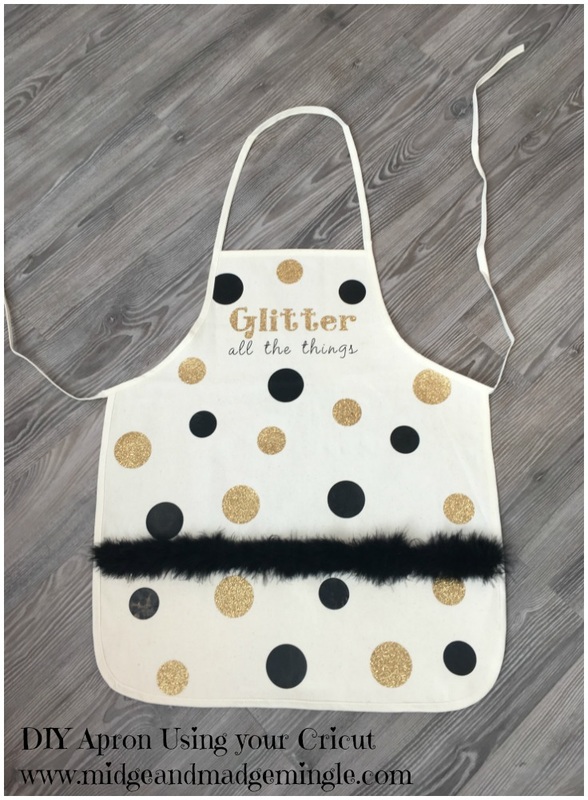
Don't leave yet!!! Keep reading for prize information!!! :)
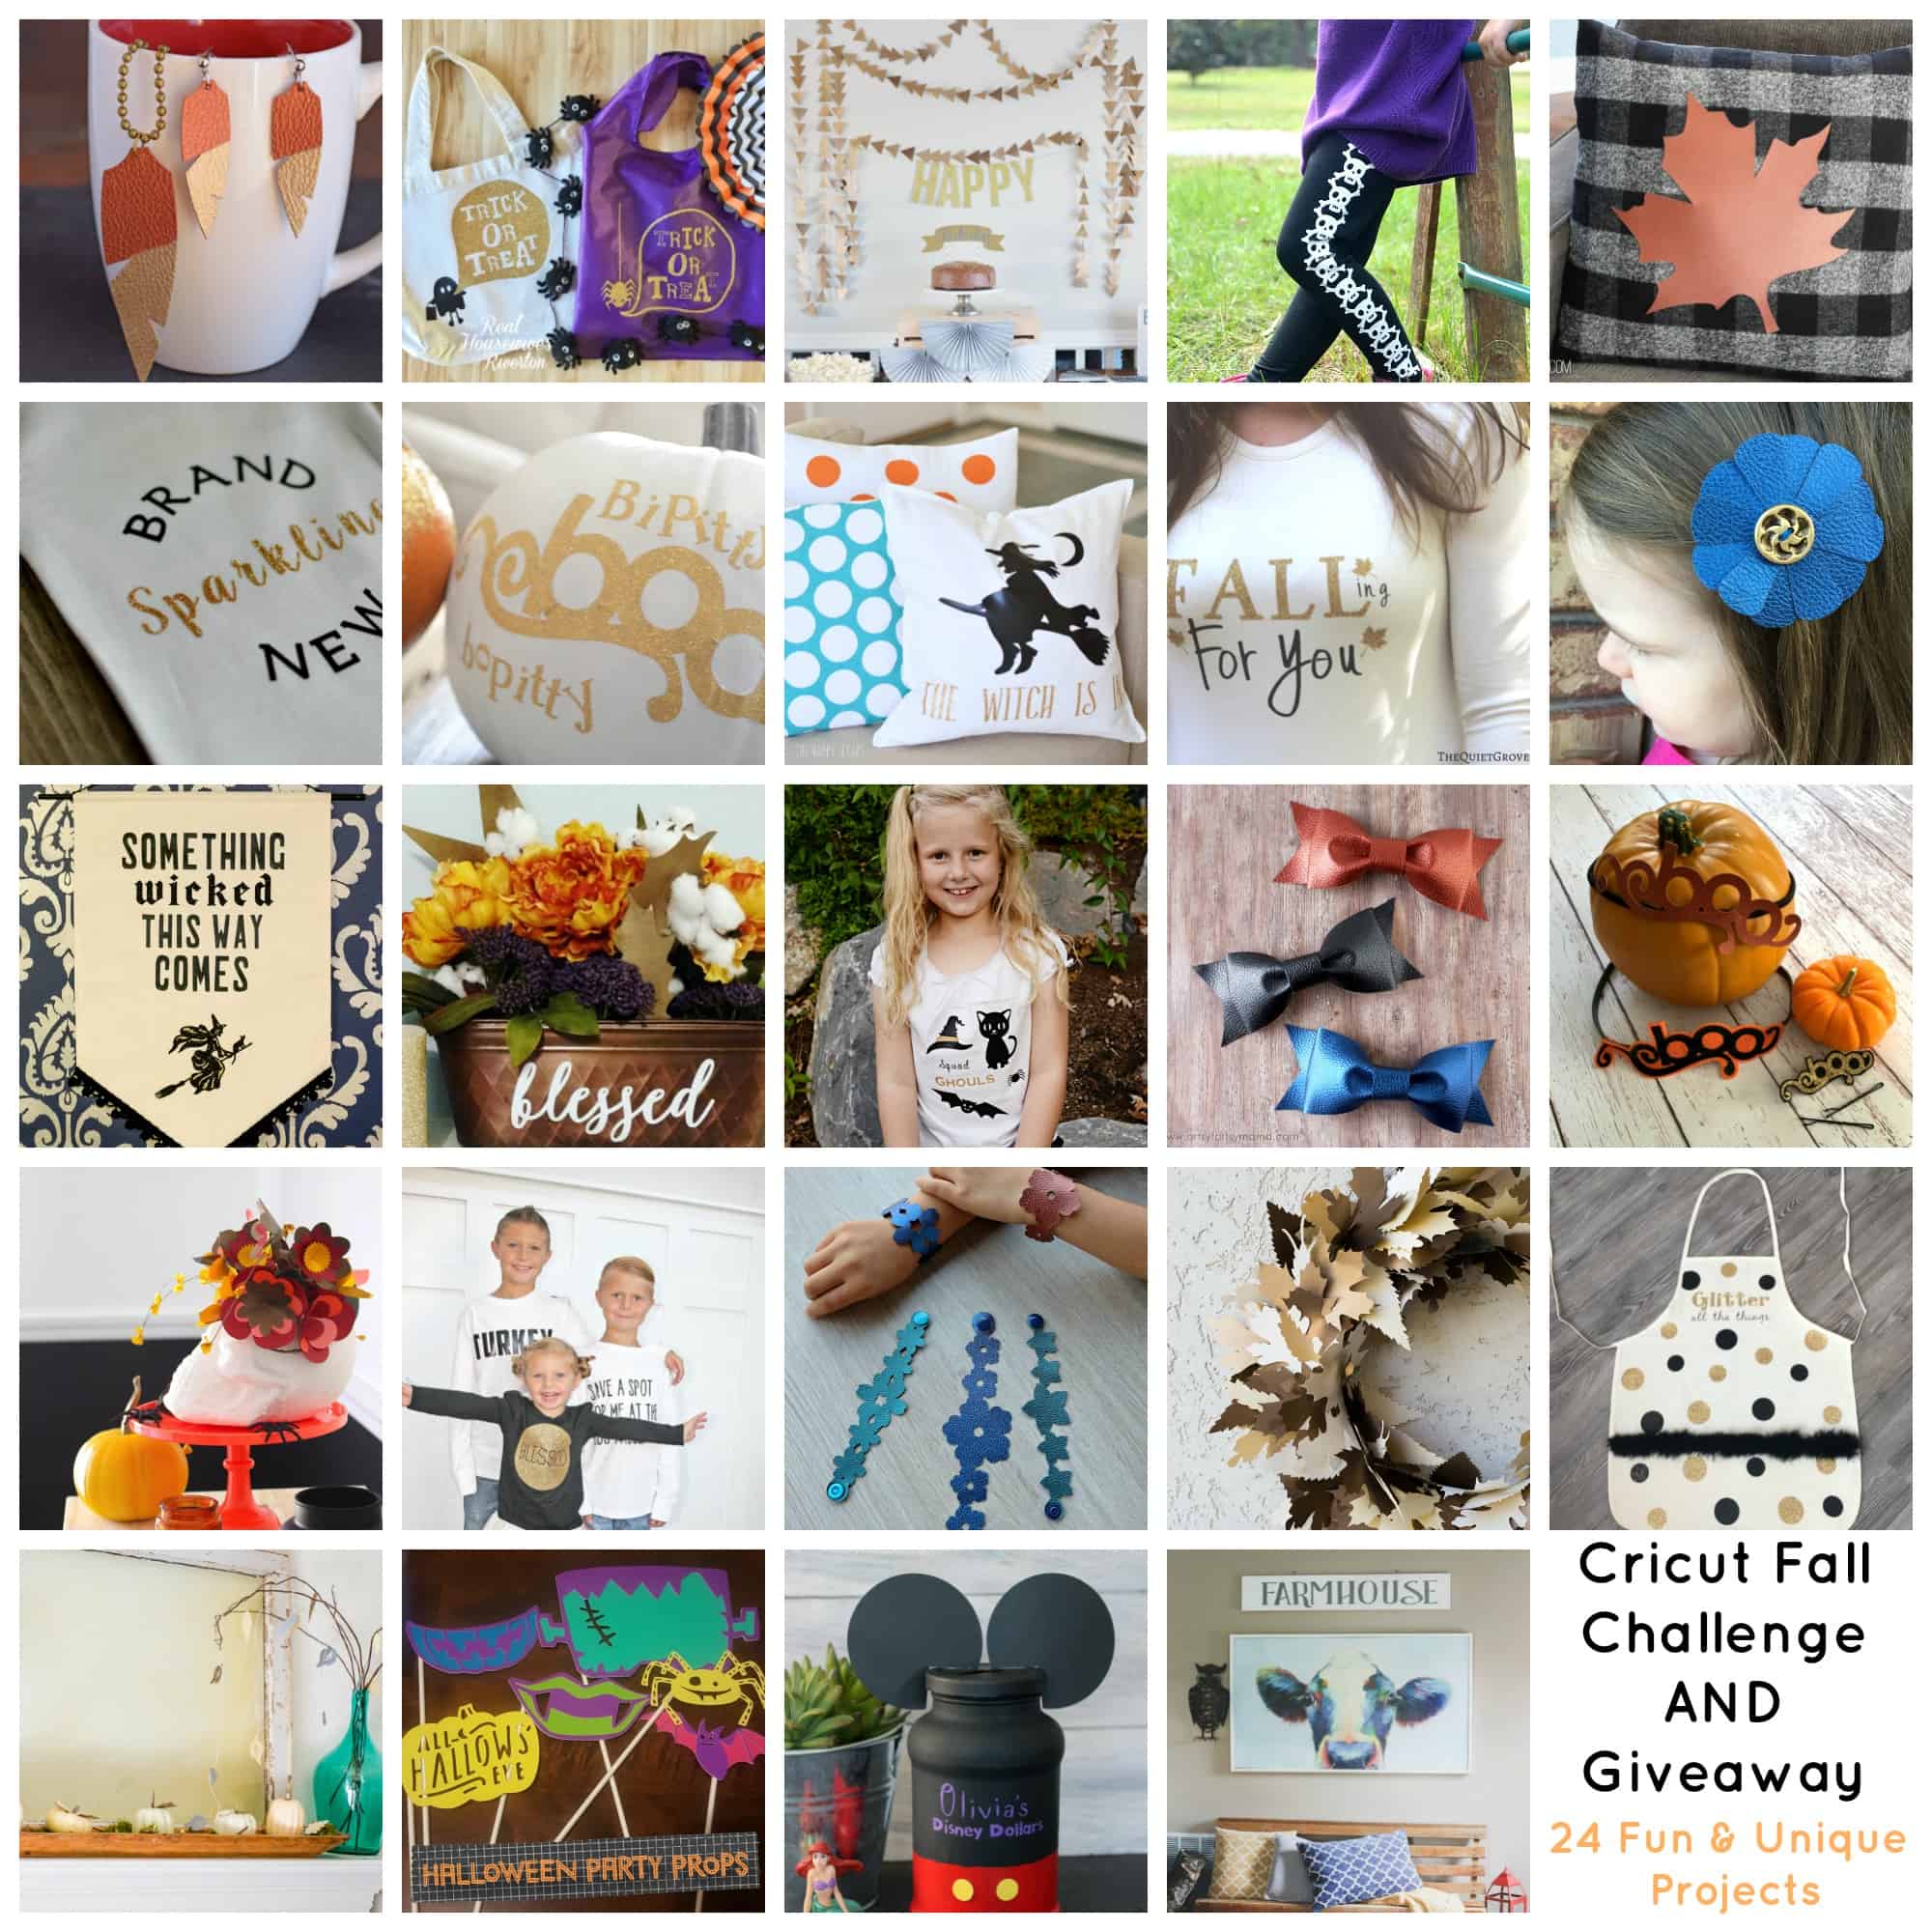
We are excited to join 22 other super talented bloggers for the Fall Cricut Challenge. Check out what these talented ladies created below and enter to win a HUGE box of supplies from Cricut!
DIY Faux Leather Jewelry from It Happens In A Blink DIY Trick or Treat Bags from Housewives of Riverton Easy Triangle Garland from Our Thirfty Ideas Halloween Skull Leggings from 7Alive Fall No Sew Buffalo Check Pillow from Lydi Out Loud Brand Sparkling New Onesie from Tastefully Frugal Cinderella Pumpkins from Auntie Tay DIY Halloween Pillow from The Happy Scraps Falling For You Shirt from The Quiet Grove Faux Leather Flower Clips from 5 Little Monsters Something Wicked This Way Comes Banner from Albion Gould Blessed Flower Arrangement from Crafting In The Rain Squad Ghouls Halloween T-Shirt from Housewife Eclectic DIY Leather Bows from Artsy-Fartsy Mama BOO Halloween Headbands from RaeGun Ramblings DIY Flower Skull From Cloudy Day Gray Kids Thanksgiving Graphic T-Shirts from Over The Big Moon Faux Leather Floral Cuffs from Hello Creative Family Fall Paper Leaf Wreath from Frenchie Wraps Glitter Apron from Midge and Madge DIY Fall Mantel from Major Hoff Takes A Wife Halloween Party Props from Nite Owl Creates Disney Savings Jar from Inspiration Made Simple DIY Farmhouse Sign from A Southern Mother Want to make one (or all) of these projects? We've teamed up with Cricut to help with that! Enter through the widget below to win a HUGE box full of supplies including: Variety 3 Pack of Cutting Mats Patina Pebbled Faux Leather Sampler a Rafflecopter giveaway Giveaway is open to residents of US and Canada ages 18+. Giveaway ends on 10/21/2016 at Midnight MST. Winner will be notified within 24 hours and has 24 hours to respond.
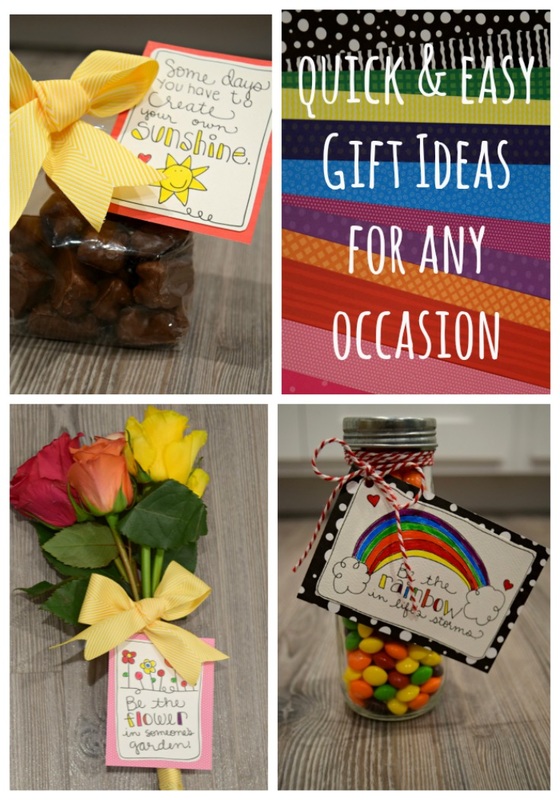
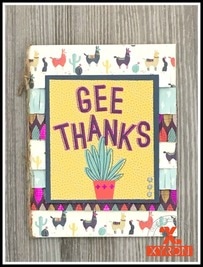
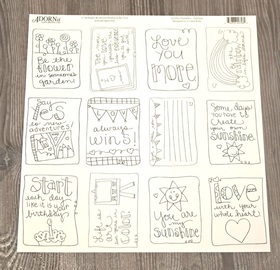
We are super excited to share with you our quick and easy Gift Giving ideas using the new ADORNit Art Play Printables By: Laura Kelly. We used the Sunshine paper. It only took ONE sheet of paper and we created three different gifts. It was easy as One, Two, Three! Who is ready to see what we did?
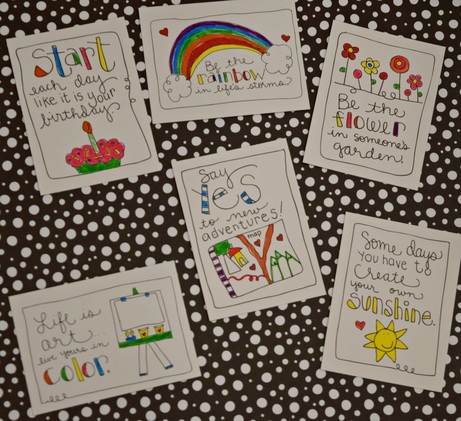
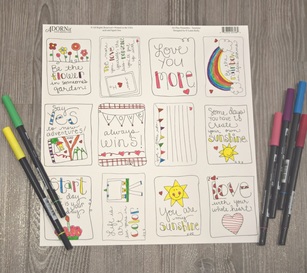
First, we took the Sunshine paper and used our Tombow markers and colored away!!!!
The next step is easy! Cut apart the different sentiments. Take the NEW Pattern Paper from ADORNit Designed by Laura Kelly, and adhere your cut outs to different patterns of paper.
Midge and I went to the store and found some fun things to use with Laura's super cute printables. We bought some chocolate covered cinnamon bears, a bag of Skittles, and a bundle of flowers. With those three things we created these cute gifts!
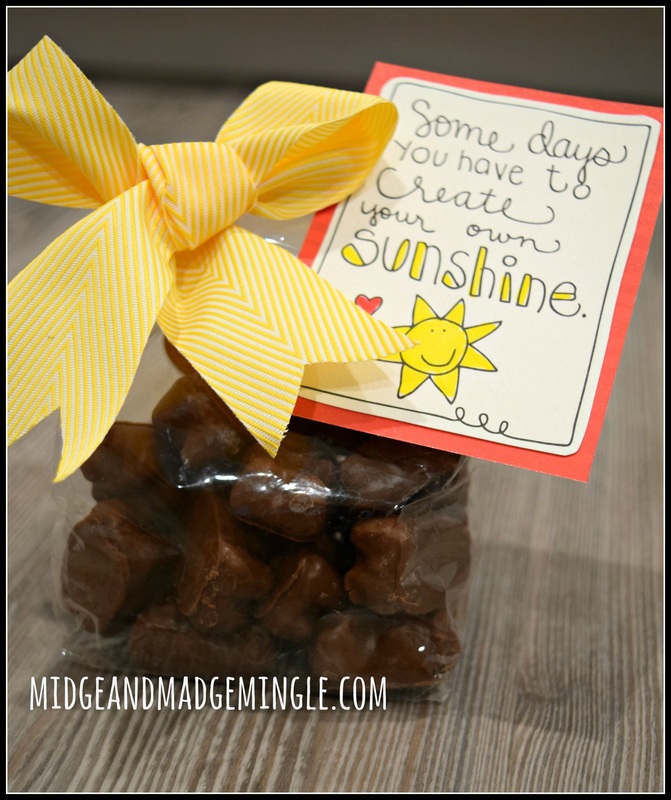
We mounted this cute tag on the Red pattern paper, used some yellow ribbon and tied a fast bow, and BINGO! Your gift bags is made. Isn't this adorbs???
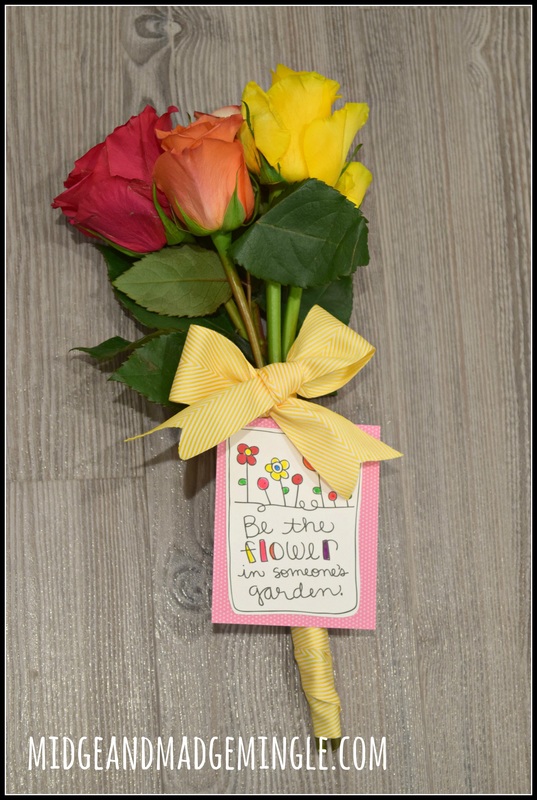
This next one is darling. We just fell in love with this sentiment! "Be the flower in someones garden!" We took a bundle of flowers and wrapped the stems with some yellow ribbon, tied a bow, mounted the cute colored tag to the Pink Pattern Paper! Who doesn't love to get flowers just because? I know that we do!
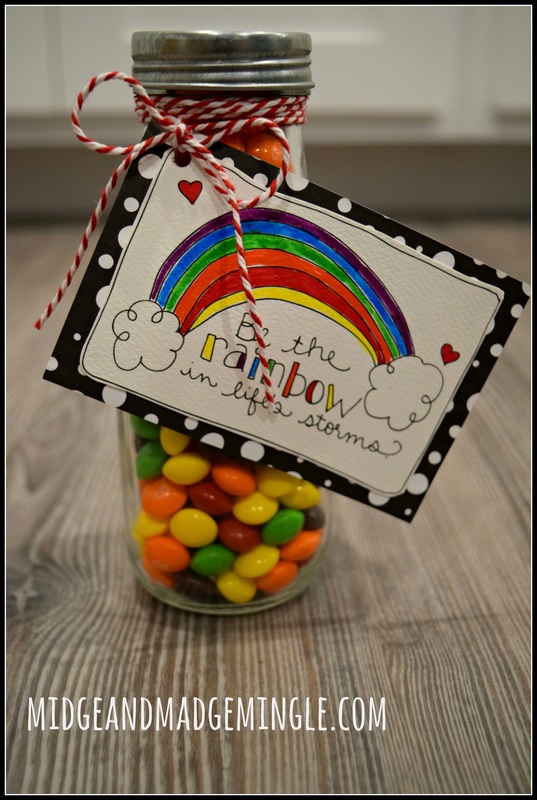
And for our final gift we took a bag of Skittles and put them in this cute milk jar, tied some red twine around the lid, mounted this cute Rainbow sentiment to the Black and White Polka Dot Pattern Paper.
We love the New Products from ADORNit designed by the amazing Laura Kelly! Be sure to check out ADORNit and Laura Kelly HERE! ***This post contains product that was sent to us by ADORNit and Laura Kelly. However, all thoughts, ideas and projects are our own. 
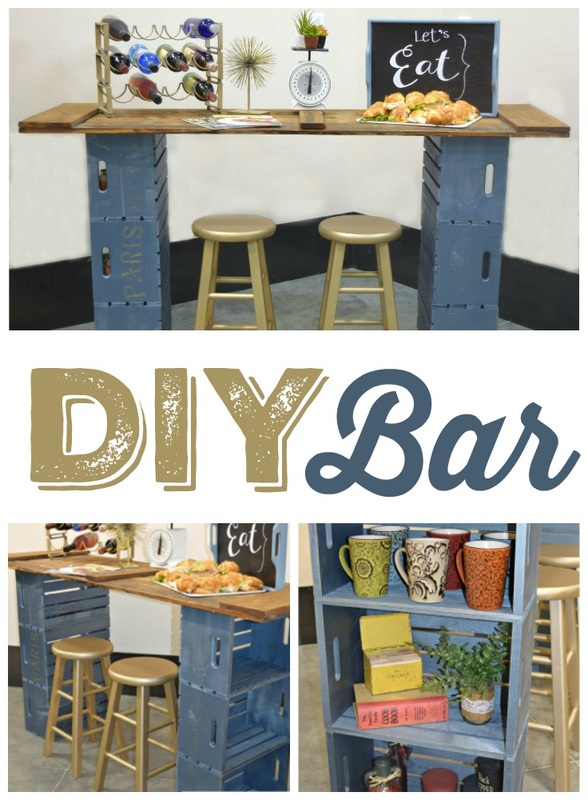 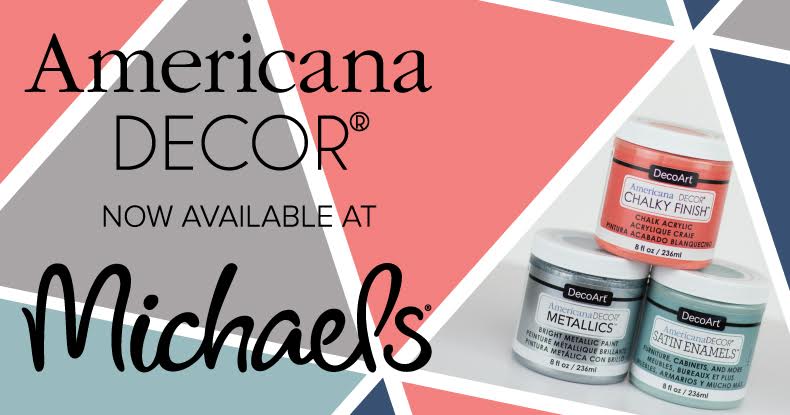 Midge and Madge are here to show you what you get when you mix a couple of our favorite items from Michaels, with some DecoArt Americana DECOR Metallic paint and a few reclaimed pieces. Fabulousness!!! We started with these super handy wooden crates that were purchased from Michaels. 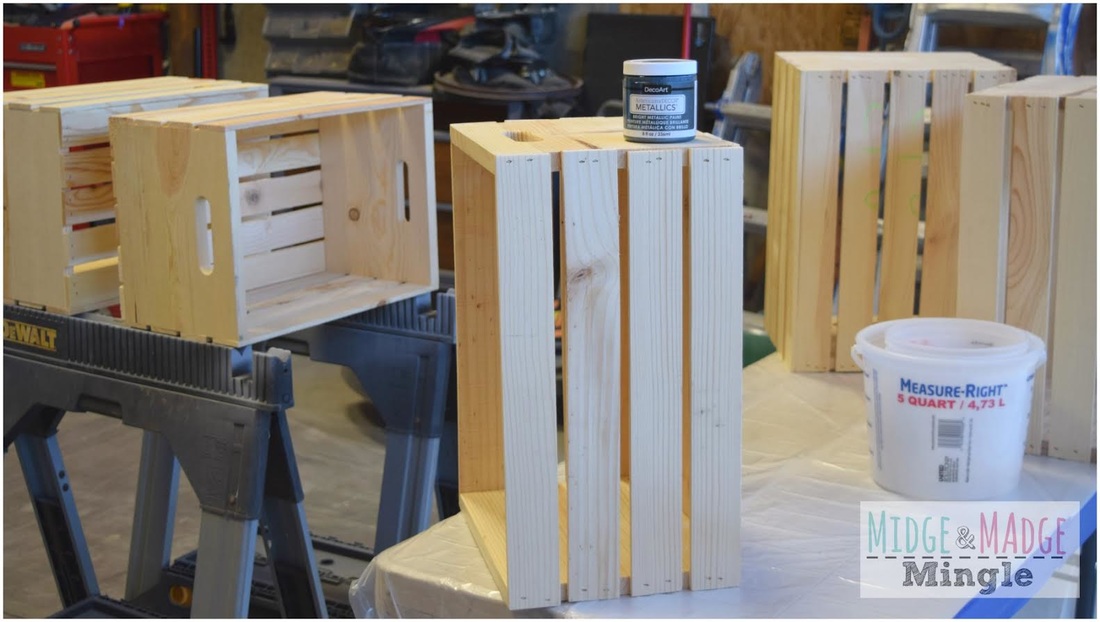 And DecoArt Americana DECOR Metallic paint in Pewter and Champagne Gold. (We suggest you run, don't walk, to your local Michaels and grab some of this awesome paint for yourself!) You will find these items in the "Stains and Finishes" aisle, it will not be in the "Craft Paint" aisle. 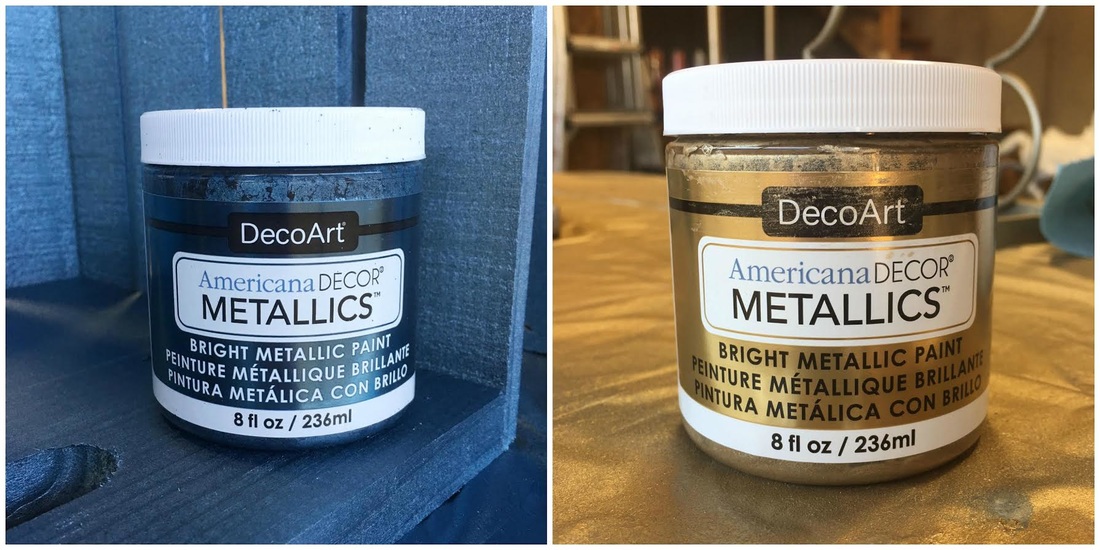 We didn't sand the crates. They are perfect just the way they come. We did sand the varnish off of our old bar stools. 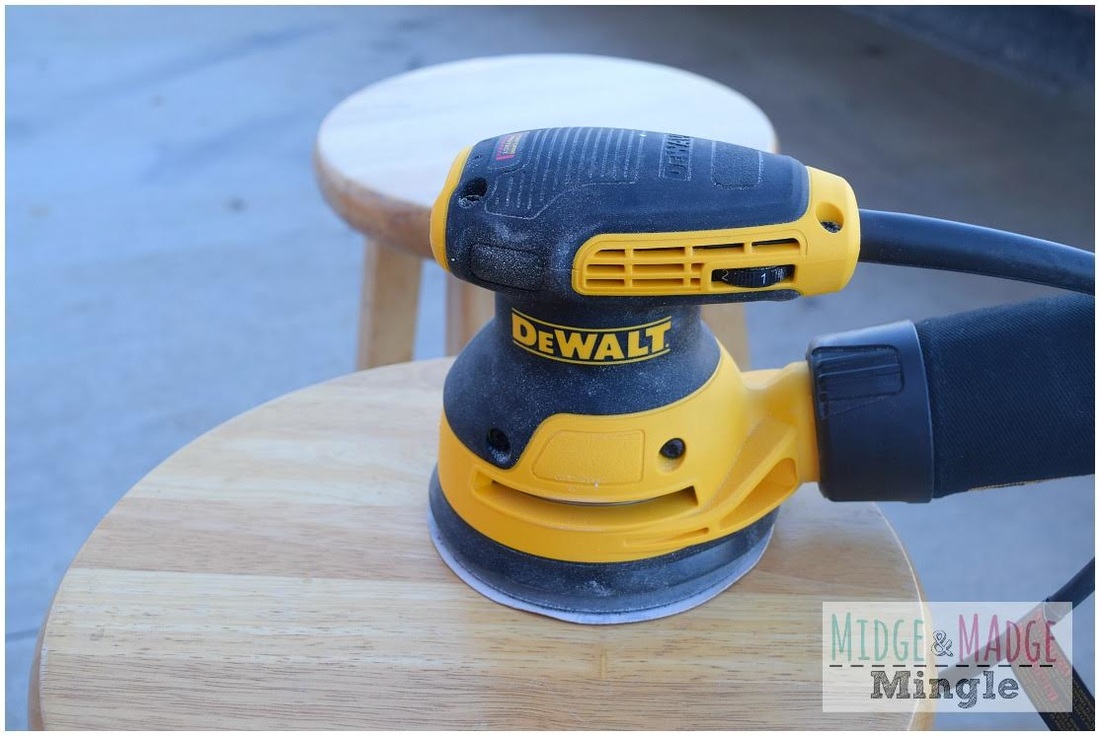 We used a paint sprayer to do a majority of the work. (You just have to add a small amount of water to your paint. Directions vary for different sprayers.) We sprayed our crates with the DecoArt Americana DECOR Metallics in Pewter. 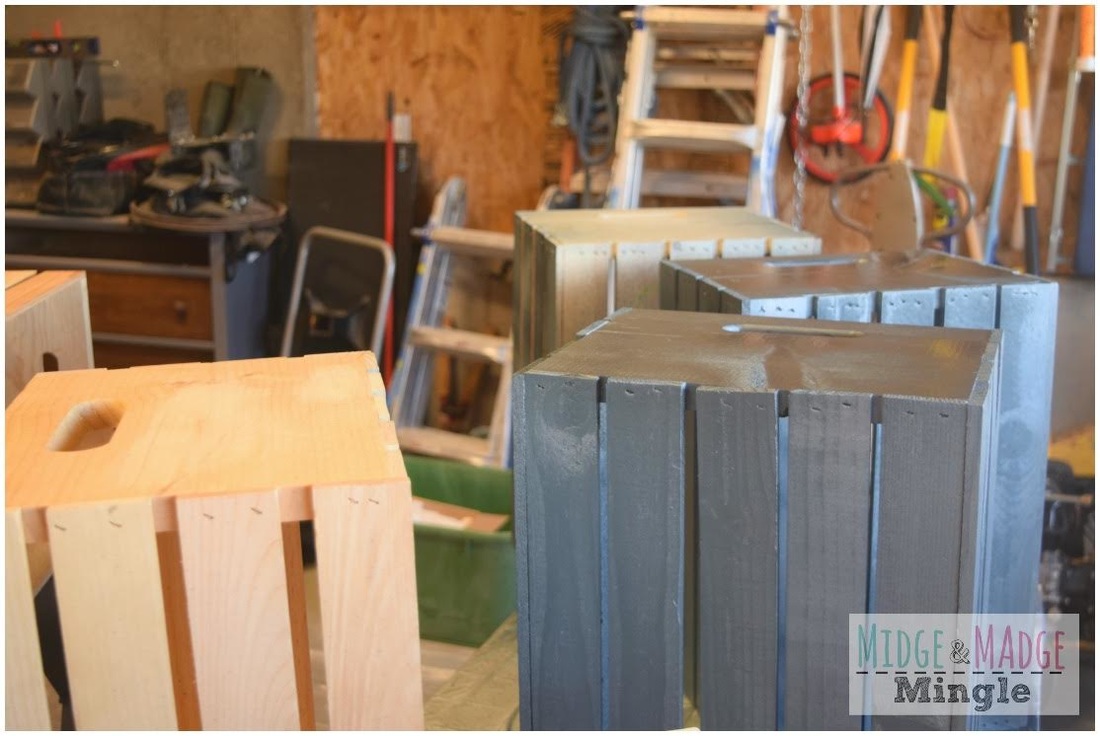 We sprayed our wine rack, bar stools, and a couple of decor pieces with the DecoArt Americana DECOR Metallics in Champagne Gold. 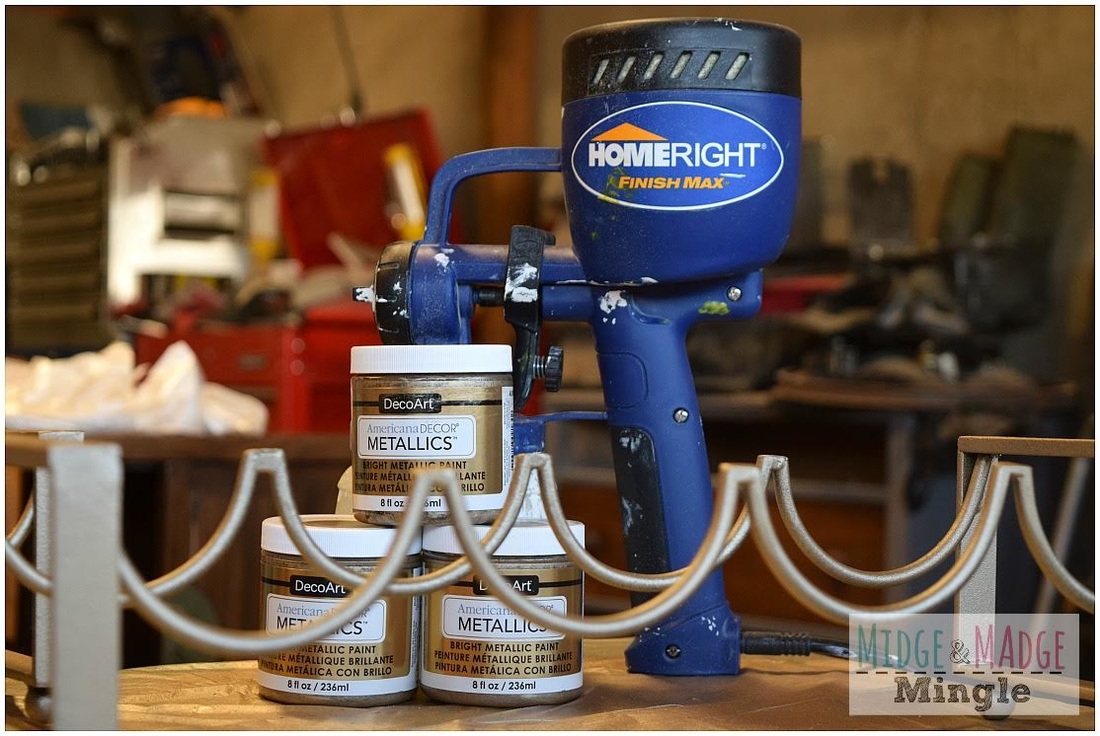 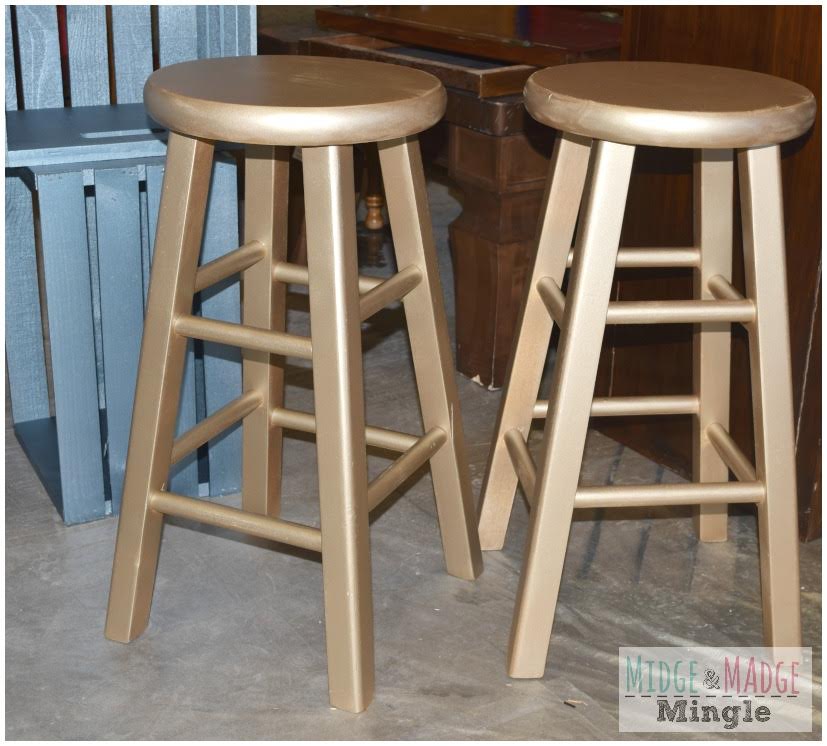 After the base coat dried. We stenciled on the side of the crates. We used the Champagne Gold metallic paint again, and 3 different Americana DECOR Parisian themed stencils that you can find at your favorite Michaels Store or online here. We wanted them to have a rustic, more worn look, so we didn't use a lot of pressure or paint while stenciling. 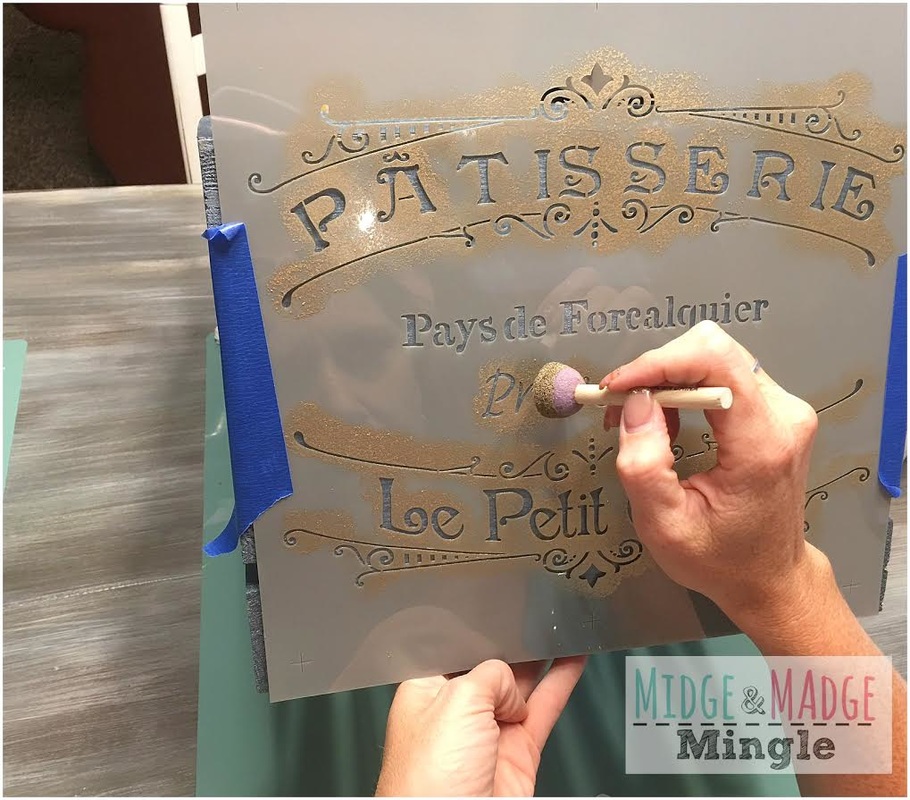 We wanted them to have a rustic, more worn look, so we didn't use a lot of pressure or paint while stenciling.. 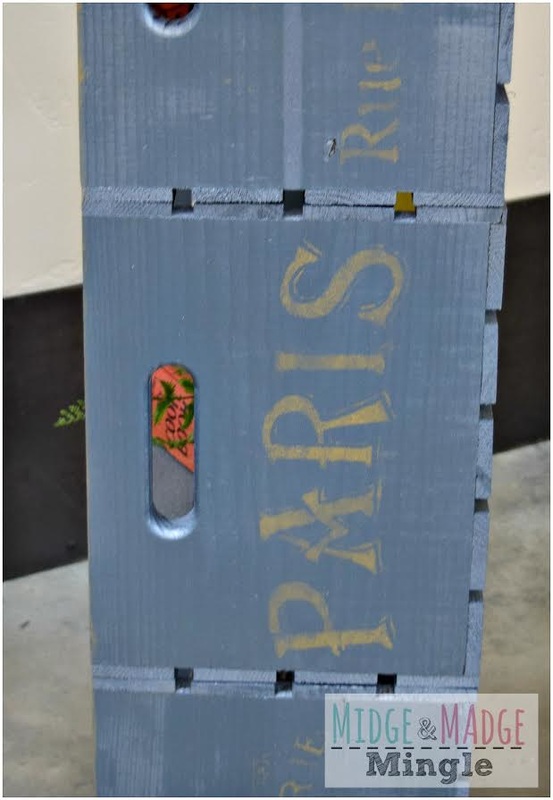 Next step was to stack and fasten crates together to form the "Legs" of our bar. Using wood glue, we glued and stacked crates together. 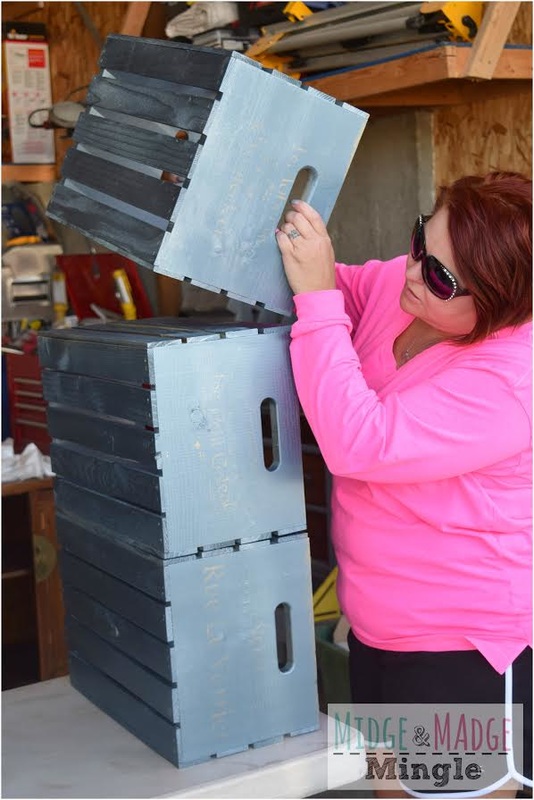 Madge used a staple gun to fastener crates together just to make sure we had a sturdy base. 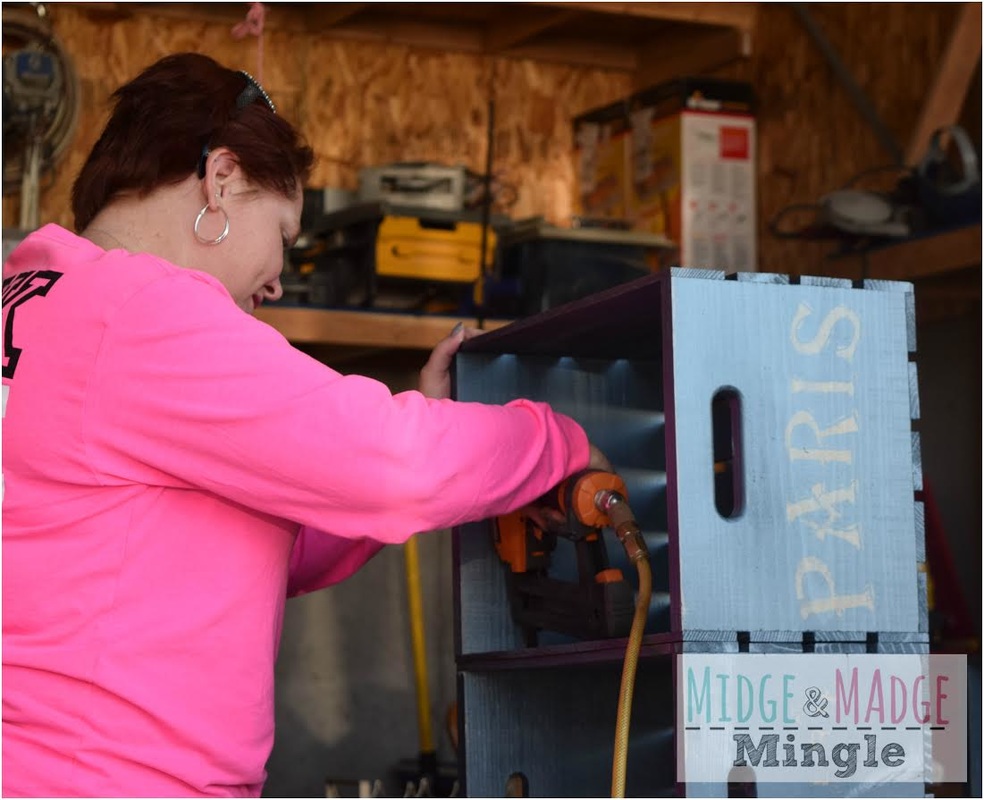 A reclaimed wood door makes a perfect bar top. Using a circular saw, Midge cut the door down to the desired width.  After cutting the door, we made sure none of the slats in the door were warped or jagged. 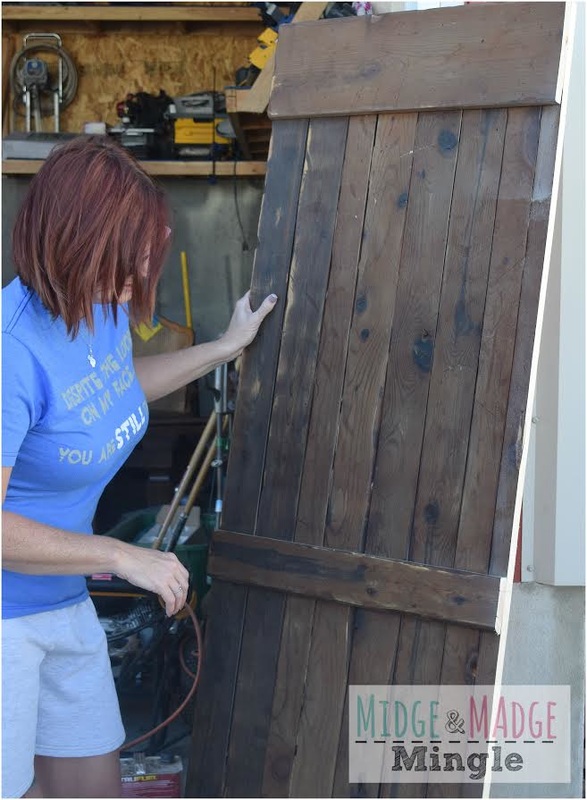 Last step for this project is placing the reclaimed bar top onto the crate base. You can mount the top to the crates using wood glue and nails. For a more mobile piece, if your bar top is heavy enough, there is no need to permanently mount the top. And there you have it...A fabulous, fun, and functional bar with storage space! All with just a few versatile products you can get from Michaels and reclaimed or salvaged items. 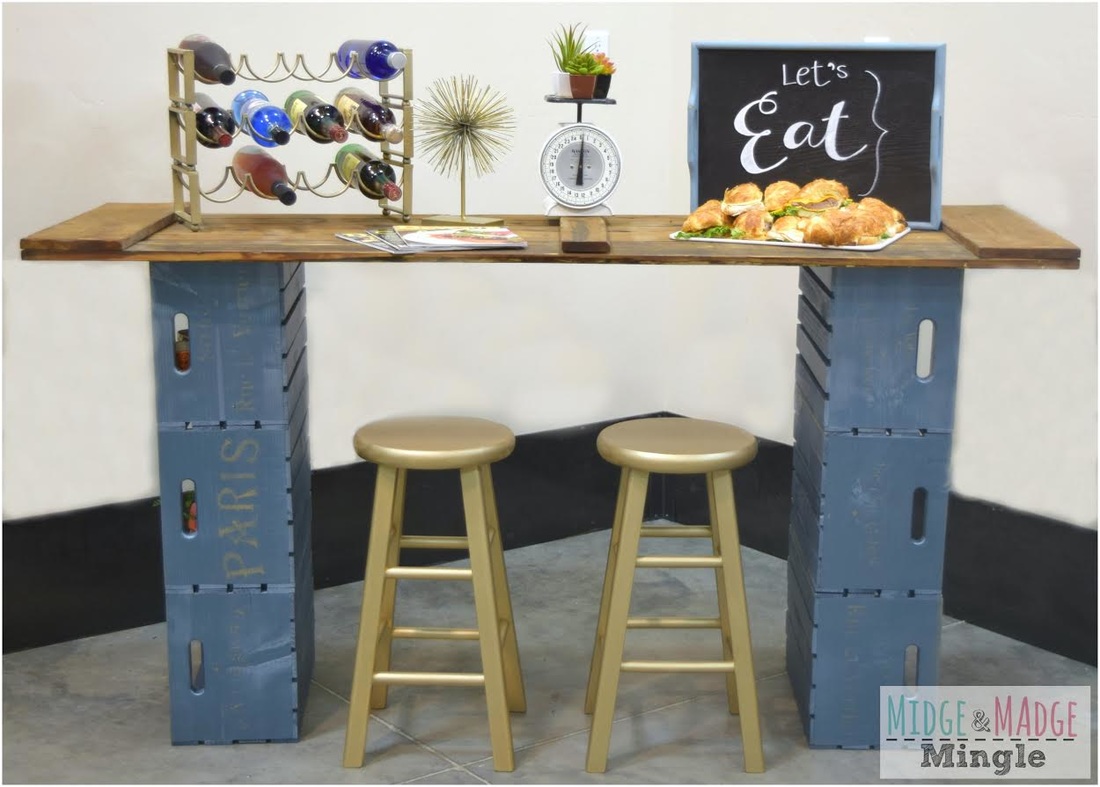 We love the storage space that the crates create. 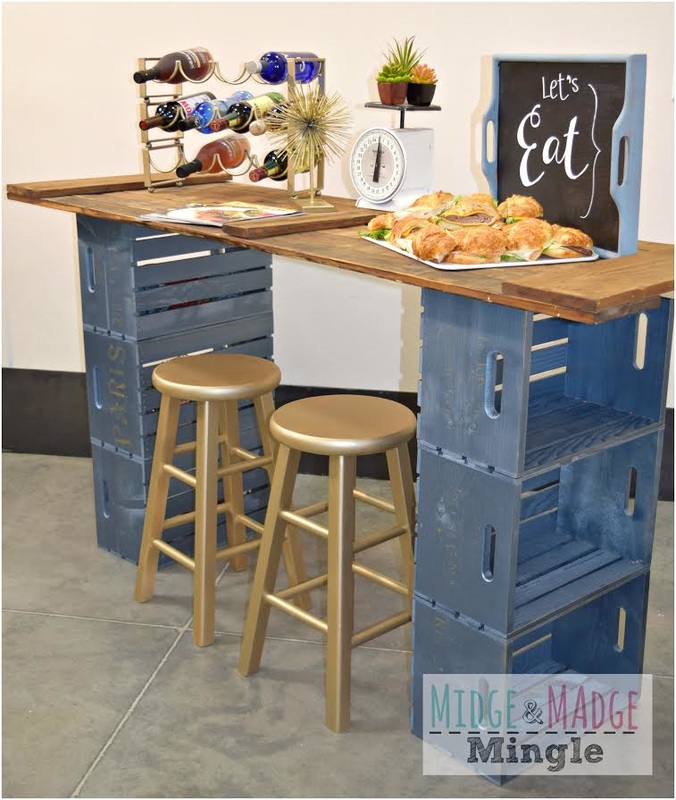 The shelves are sturdy and have plenty of room for any item you want at your fingertips! 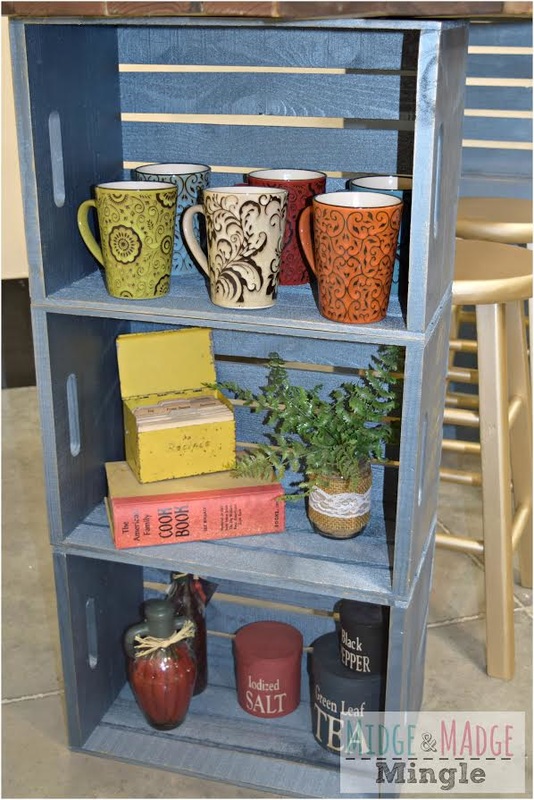 We are so thrilled with the way this project turned out! And we absolutely LOVE the products we used. We have used these wooden crates from Michaels in multiple projects and they never disappoint! The Americana DECOR Metallic paints add a bit of pazzaz to everything they are used on!
Many thanks to DecoArt for sponsoring this post. All projects and opinions are our own. That being said...we would really like to encourage you to head out to Michaels, or hop online and grab yourself some of this amazing paint today. We already have another project in the works using Metallics and can't wait to share! Until next time, have a super crafty day.
Hello friends! Today we have a super fun DIY project that you can make in under 15 minutes for those cute little witches and the ghouls in your life! This craft is not only budget friendly but it is kid friendly too. This is one DIY craft that will make you want to race to the store to pick up your bags for $1.00 (yes, you read that right! I said “ONE DOLLAR”) pull out your paint and get cracker lack'n! Be sure to make your trick-or-treat bags today! Below is a photo of our bags!
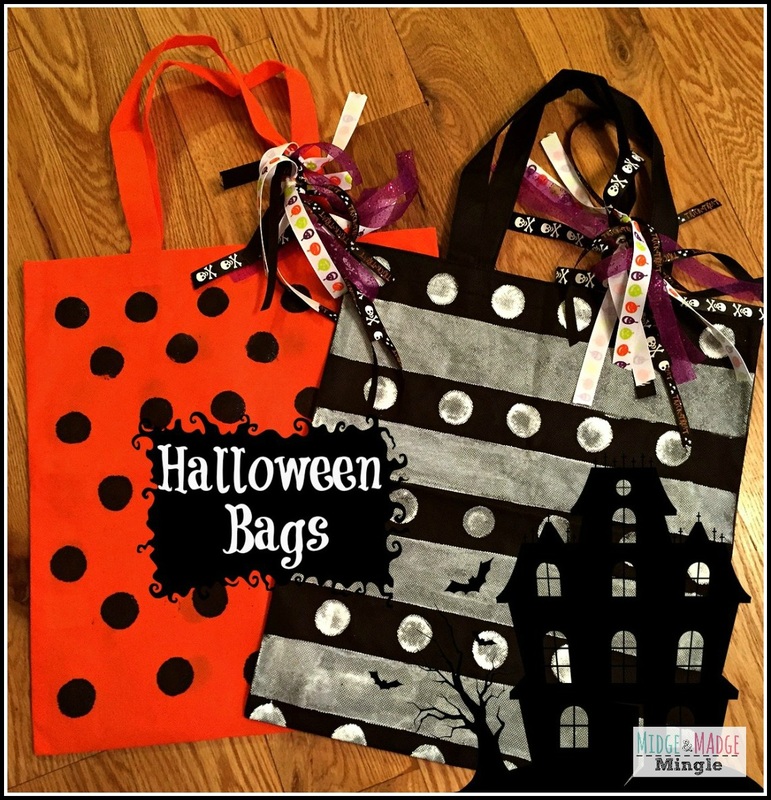
This is what you need to create these fun Trick-or-Treat bags!
* Bag from Dollar Store *Masking Tape *Paint *Paint Dobber *Paint Brush *Ribbon *Paper Plate or something to pour paint onto Instructions: Place bag on surface Tape off stripes with masking tape (if you do not want the stripes discard steps 1-3) Paint stripes on our bag (allow to dry) Take off Masking Tape Use the Paint Dobber to paint the polka dots onto the bag (allow to dry) Cut different types of ribbon and tie onto the bag We hope that you enjoyed this quick and easy DIY that you can complete start to finish in under 15 minutes! We want to thank Craft Lightning for allowing us to participate in their Halloween Edition! 
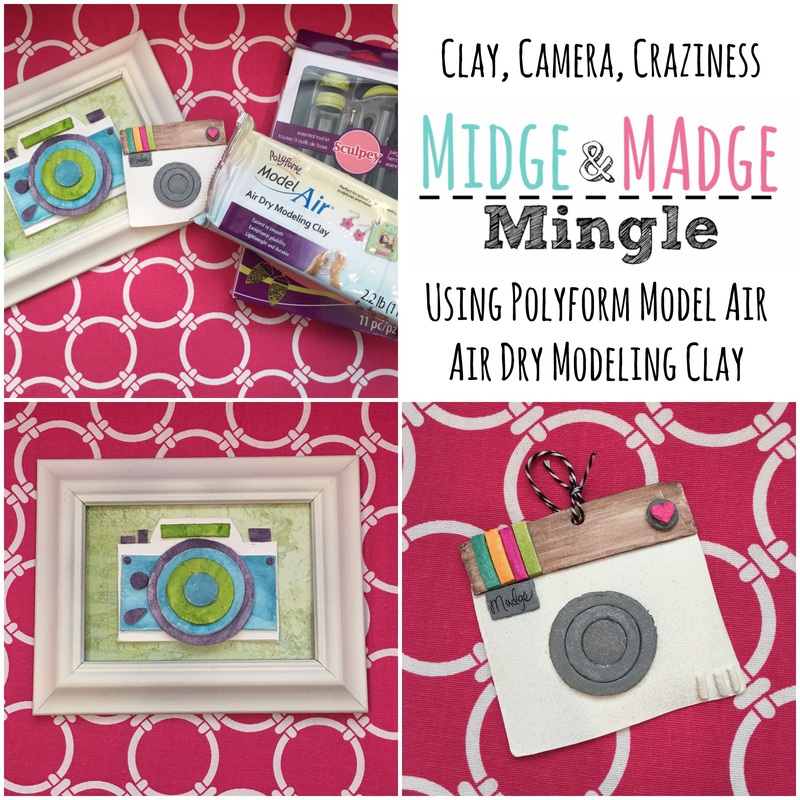 Have you had a chance to check out our latest Mingle? If not what are you waiting for? We have attached it below so you can join us right here!! Remember that this was recorded LIVE on FB, so we are "Mingling" while we show you how to create your very own Cameras out of Polyform Air Dry Clay! In this weeks episode we had a lot of fun, laughing and telling funny stories, all in all that is what we do! We hope that you were able to laugh out loud with us and join in the fun! We go live every Monday at 11:00am MST on our FB page! Hope you tune in and watch each week! Now we promised a close up of the cameras using Polform Air Dry Clay so that is what we are going to give you! First up Midge's Camera, she wanted to place hers in a frame so she could display it as a Home Decor or Office piece. She used Tattered Angels Chalkboard Misting sprays to color her camera. 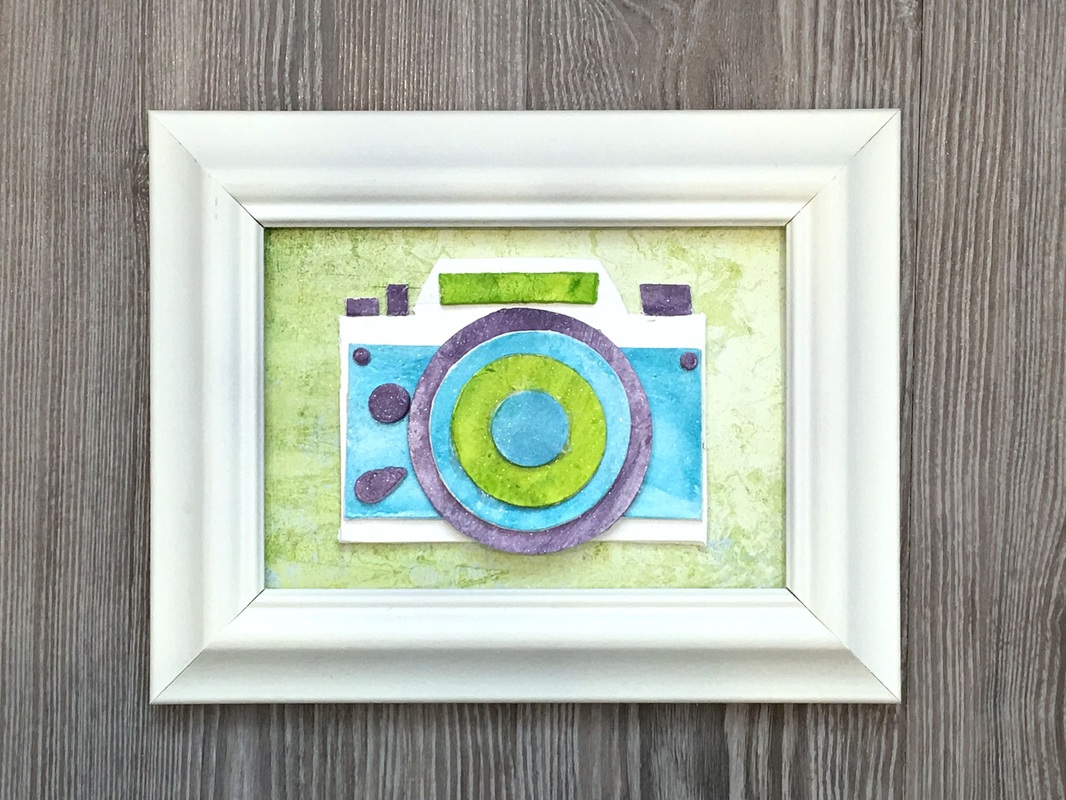 This is a close up of the camera, We also put it on the wall as a wall hanging. We love this wall collage (we have to apologize about the shadow) Isn't this the cutest thing ever? 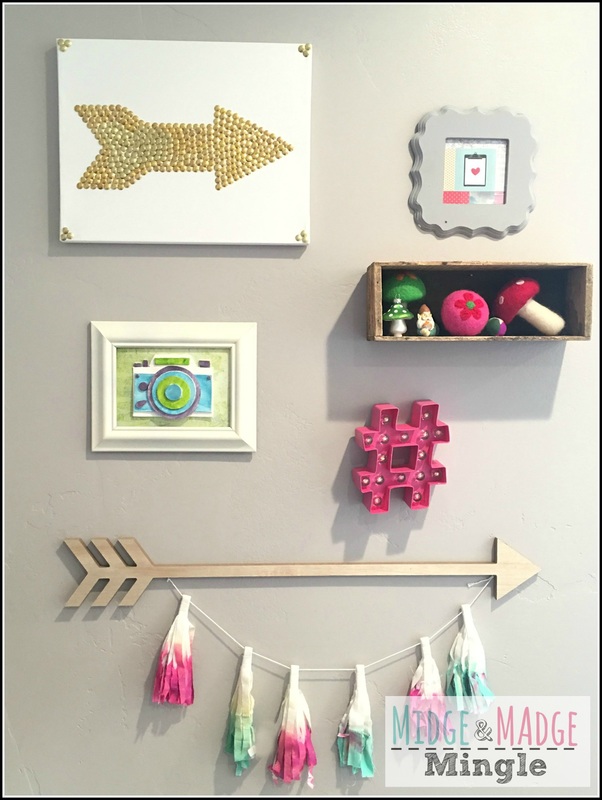 Here is a pic of Madge's Camera. She used Tattered Angels Chalkboard Misting Sprays, and she did mix a little grey DecoArt acrylic paint with her spritz to the lens. Madge created a Christmas Ornament using the Sculpey tools and a little twine! 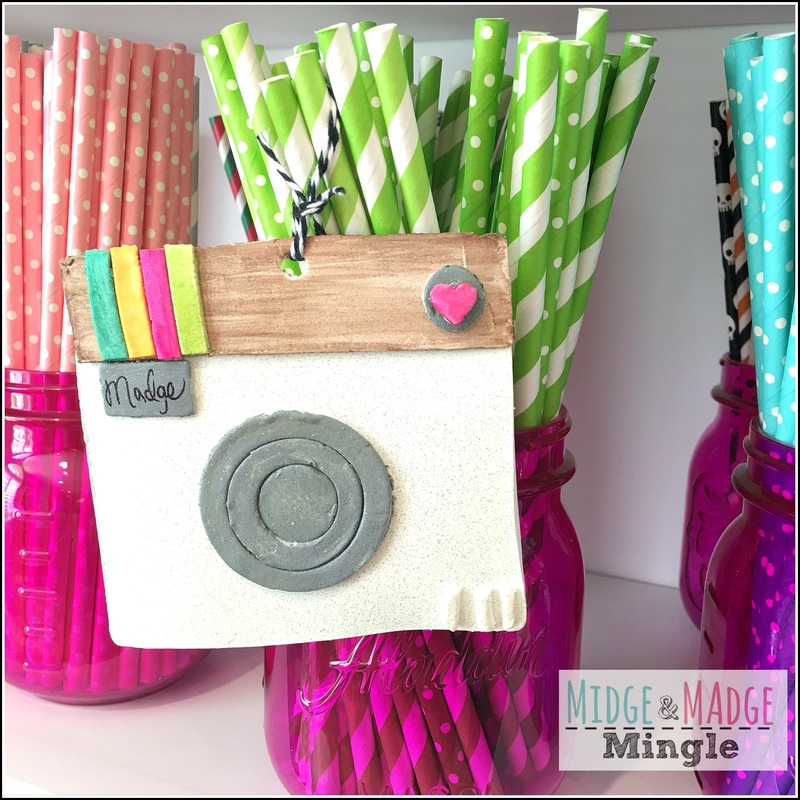 We loved how our cameras turned out! Let us know what you think by leaving us a comment below! And be sure to follow us on Instagram and FB!!! All of our videos are on Youtube and our videos page right here on our site!!!
Have a great week!! *This is a sponsored post with Sculpey. However, all projects, ideas and thoughts are our own.  Hi Ho, Hi Ho, it's back to school we go (whistle...whistle... whistle...) Hi Ho, Hi Ho! Well friends, it's that time of year again! The kids went to bed early (first time since summer started), woke up with a little spring in their step (so did we) they then hustled around the house getting ready, eating breakfast and putting their backpacks on! Outside we go to take first day pictures, you know the ones, they stand there and look at you like you are taking a mug shot! We then hear the bus pull up, they get excited (so do we) we rush to get them on that bus. While walking them to the bus stop we secretly can't wait for the bus to pull away! We wave and look sad that they are leaving. The bus turns the corner and we break out in dance! Yes, I was doing the running man, and the sprinkler along with running and jumping in the air like the Toyota commercial! Needless to say, the two of us were excited to have our kids back in school! However, with that we needed to do a couple of things to get Organized. Check out our Mingle to see what we are talking about. What do you think? Super fun ideas right! Check out how the hangers turned out! 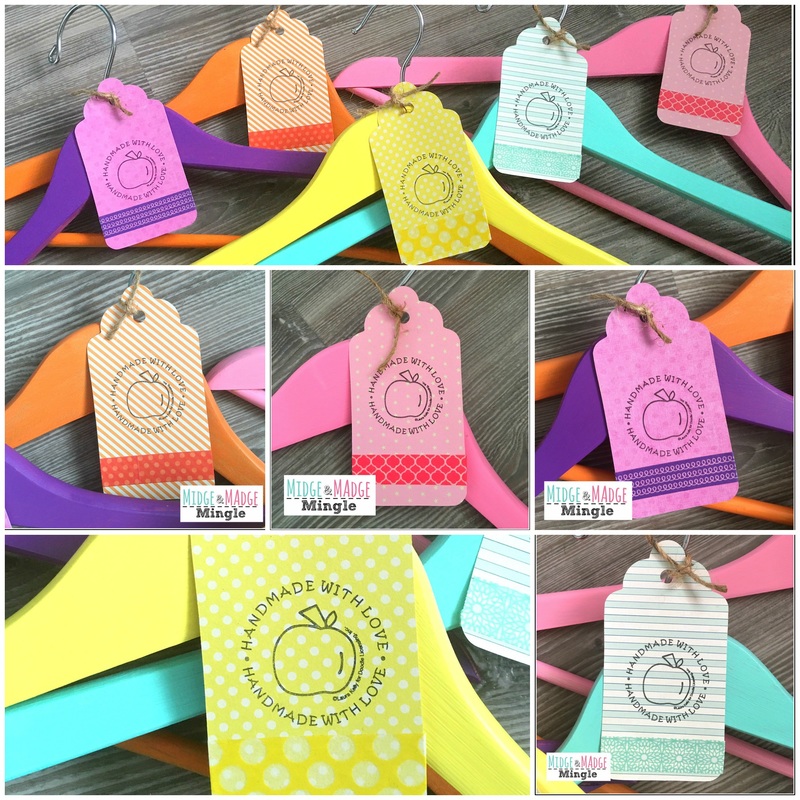 Warning*** I am posting alot of photos because these hangers are so cute!! EEK!! I am crushing on these cute tags from Expressionery using the Laura Kelly Custom Stamp!!! They match perfectly with our Deco Art Painted wooden hangers! 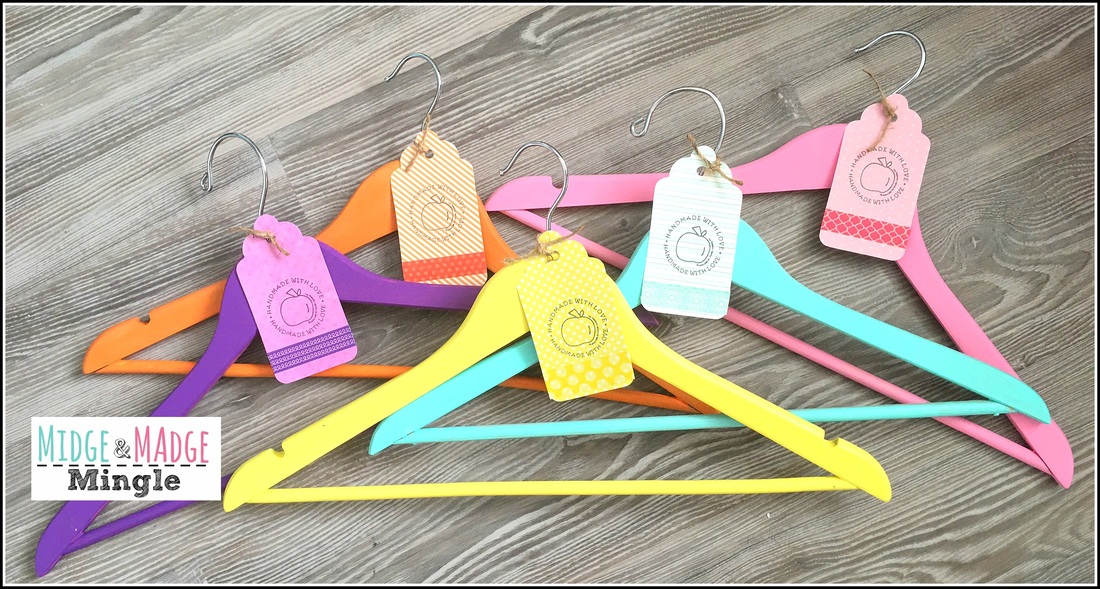 There are 5 colors of Hangers one for each day of the week! Monday-Friday! Choose a color for each day and your kids know what to wear, save on time! Who doesn't love that?? 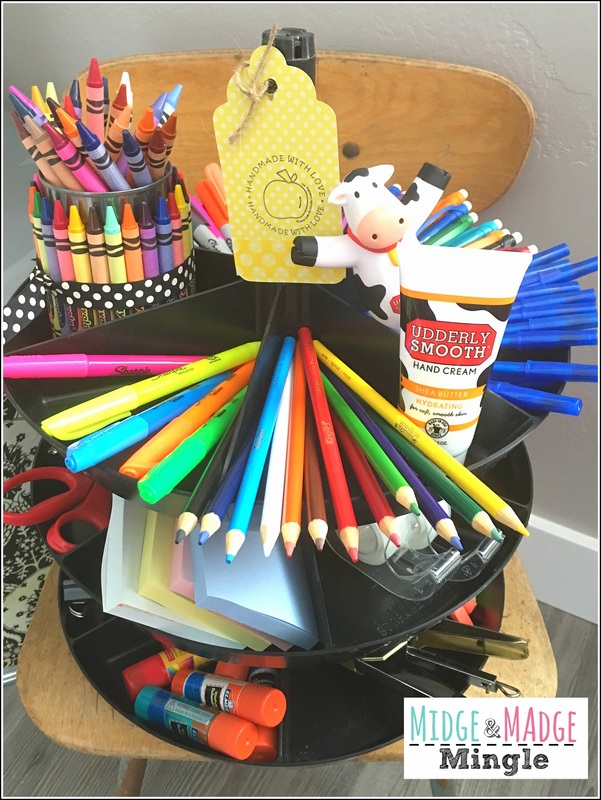 How about this fun Homework Station! We have filled it with our favorite school supplies! Save time finding the supplies you need for your kids to complete their homework by creating a fun "Homework Station" We also included our favorite hand lotion Udderly Smooth, and of corse we had to throw in some candy (not shown)! 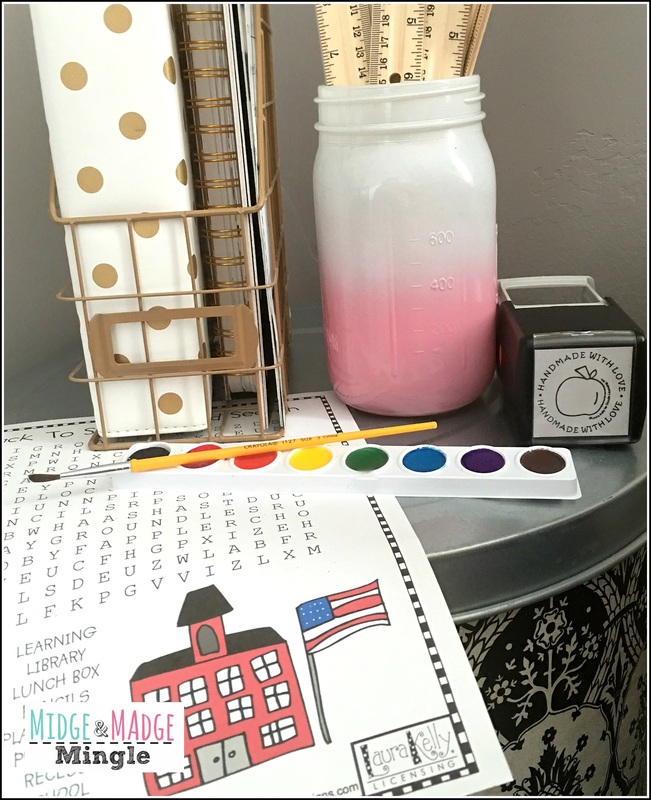 By adding in some extras to our Homework Station, filing paper work and signing disclosure documents is easy. With this magazine holder keep your papers in one spot. Now let's talk Back to School Printables by the amazing Laura Kelly! She has customized products along with these fun word searches. As mentioned in the Mingle these would be great to put in the memory books with the kids "mug shots" that you got on the first day! (LOL) Be sure to get your printables HERE!!!  After watching our Mingle, you saw how we saved money by putting together our lunch door hanger. Many have done this, and it is brilliant we must say. However, we added washi tape to our pockets using our color coding system to help the kids keep on track. Example: Monday is Yellow day, they choose their clothes from the yellow hanger, and a lunch out of a yellow pocket! Tuesday is Orange: Orange hanger, orange pocket. Catch our drift! This way you are saving time and are able to do other things throughout your day and in the mornings for sure! Know more fighting with the kids on what they should where! Just lay out the outfits on Sunday, and once a month fill the lunch pockets, and BINGO you are all set!!!! We hope that you enjoyed our Back to School Organization tips and money saving ideas!
|

Midge & MadgeTwo Best Friends doing what they love and loving what they do. Learn more about us in the About Us tab above.  

Archives
October 2019
Categories
|
 RSS Feed
