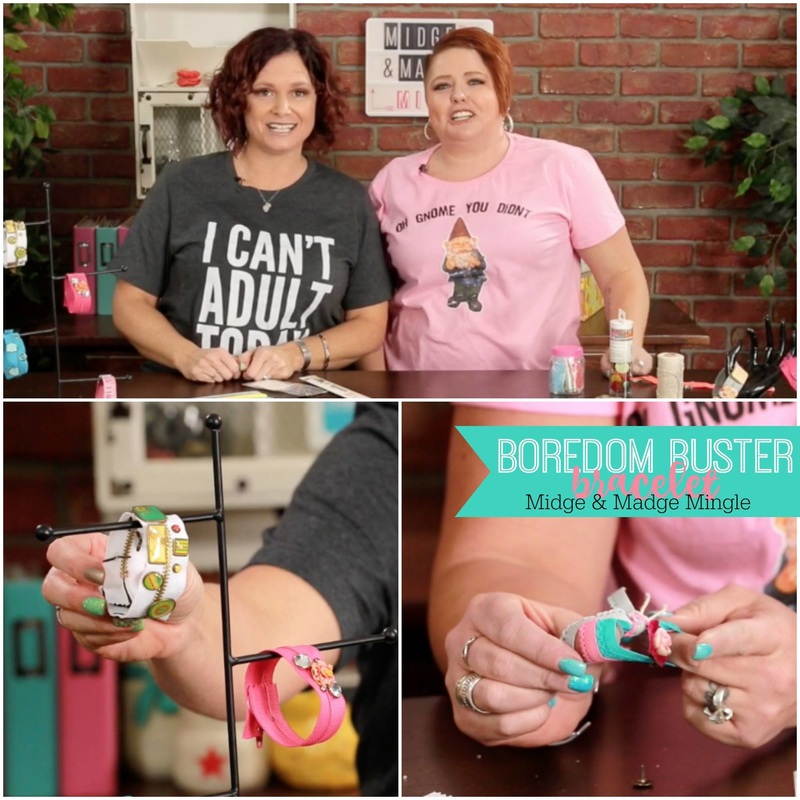
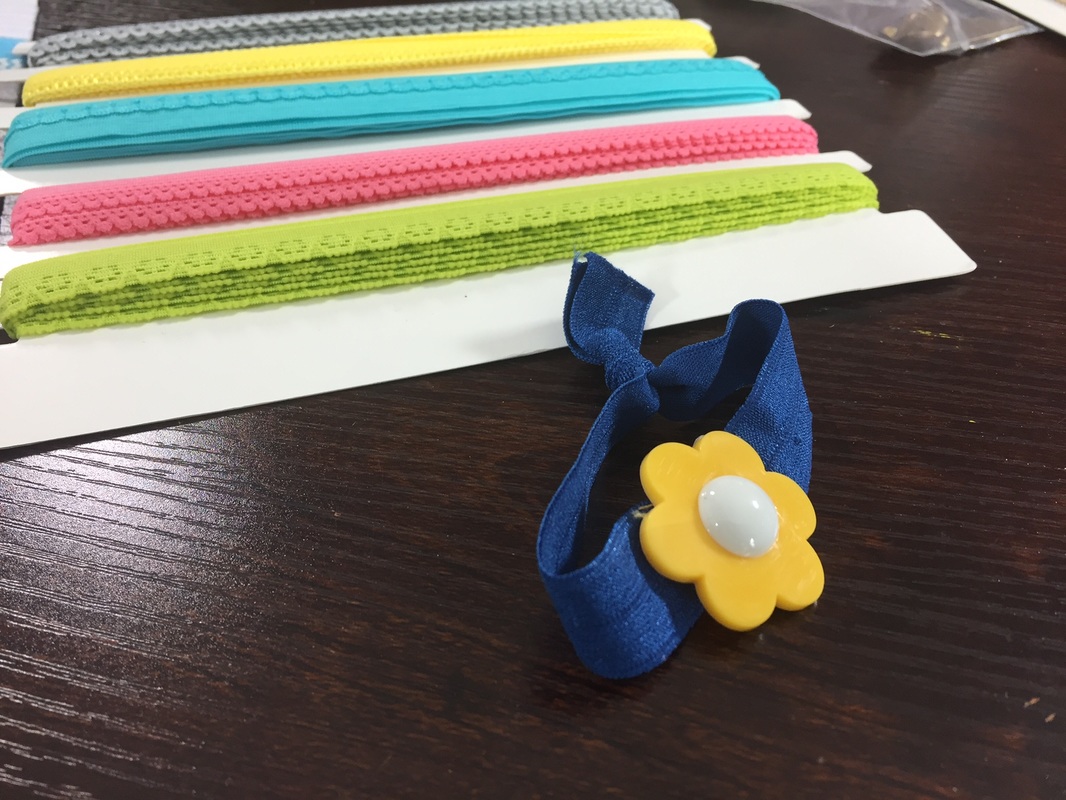
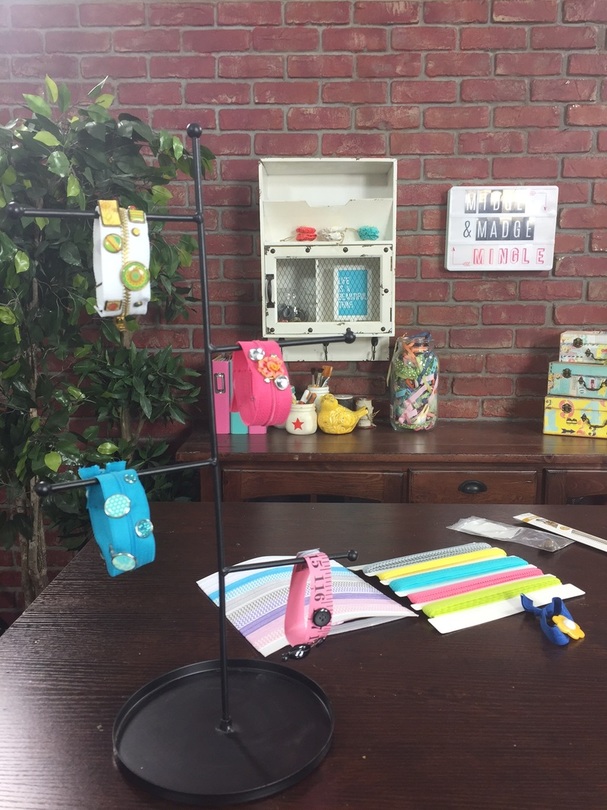
Are you tired of hearing your kids say, “I’m bored”? Well now you can tell them to “zip it”! Today we are sharing some unique bracelets using items from your sewing stash like, zippers, elastic, buttons, and more. Be sure to check them out!
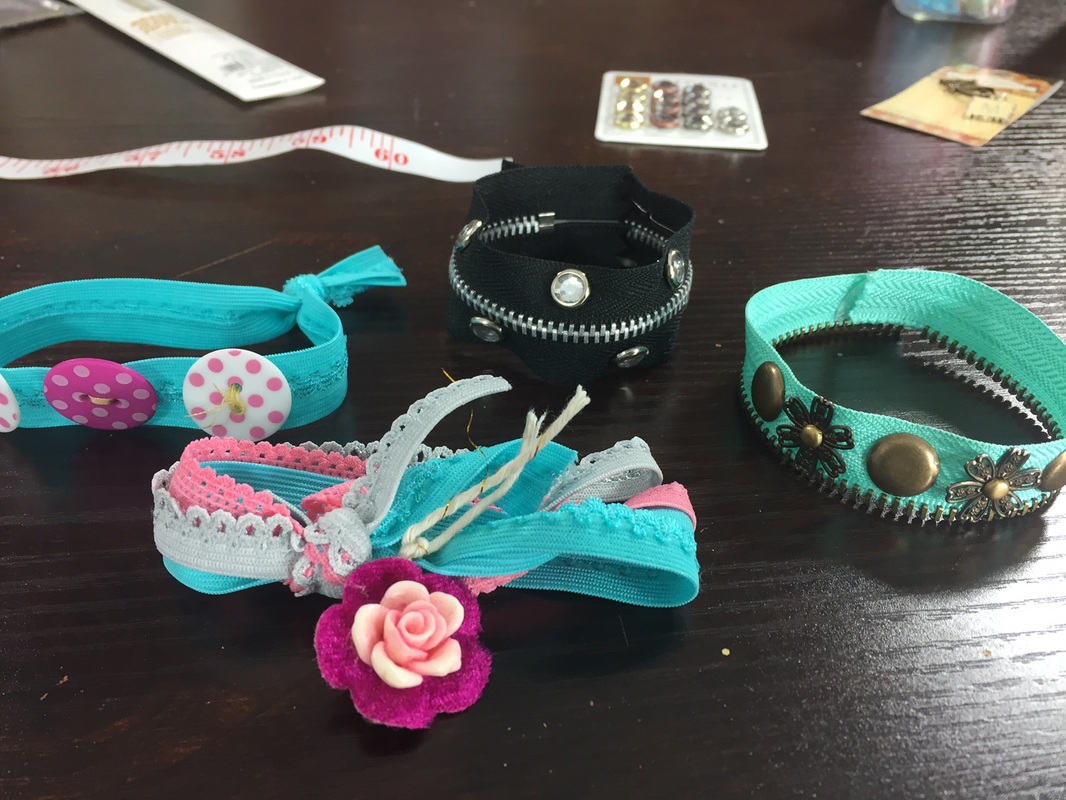
Do you see why we say Boredom Buster? These bracelets are awesome! What a fun way to teach your kids how to sew on a button, use their hands, and to get crafty!
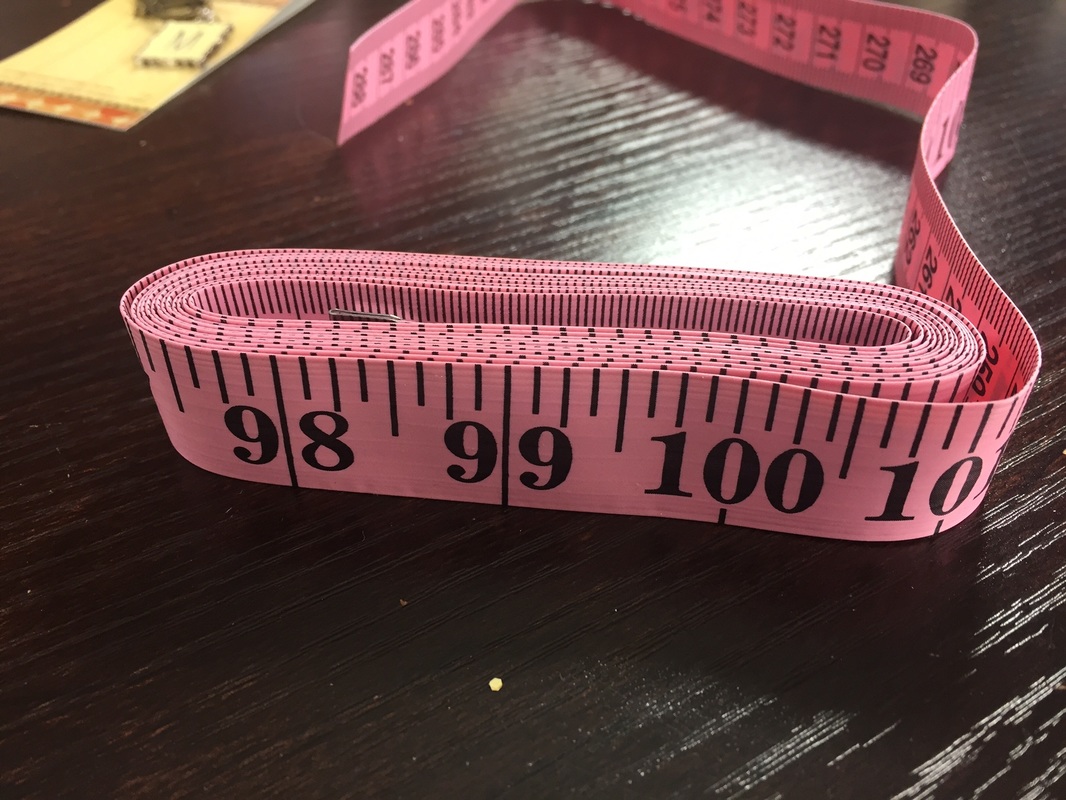
I just love how Midge uses this tape measure to create a fun and unique bracelet! Be sure to go through your stash, see what odds and ends you have laying around. Let the kids get creative!
You may think, I don't have fun colors of elastic what else can I use? I have to say, check out the grocery store, Wal-Mart or anywhere that may carry hair elastics. They now have different colors that come in a bundle that are already tied into knots so your kids could just decorate them if you wanted!!
By the raise of hands who has eyelets in their stash that are gathering a little bit of dust? Now is the perfect time to get our your Crop-a-dile and create a fun unique bracelet!
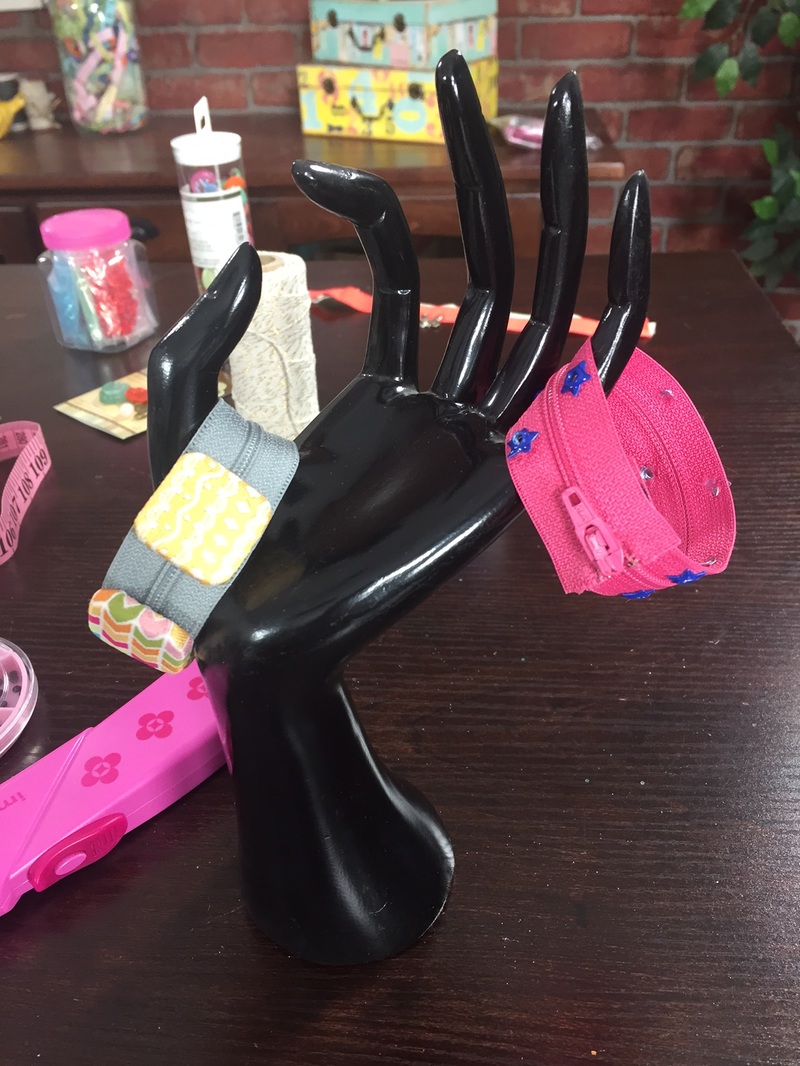
I am in love with the different ways Midge used Brads and different embellishments on her bracelets!!
We hope that you enjoyed todays show, and our Kids Craft- Boredom Buster Bracelets. Be sure to leave a comment, which enters you into our weekly giveaway!!! EEK!!! Until next time friends!!
3 Comments
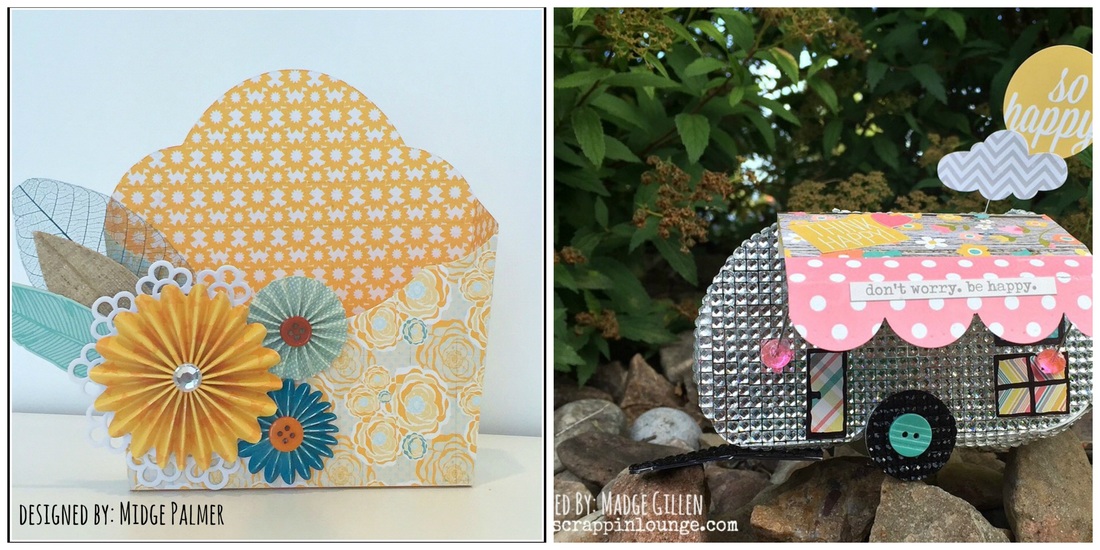 Who loves Bling??? Well today's fun project includes some fabulous bling and an amazing 3-d die. Eileen Hull has created an amazing Scoreboards XL Die by Sizzix! If you don't know what die I am talking about this is it!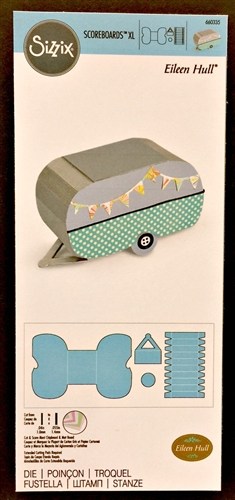 I met Eileen Hull for the first time, it was at the SNAP conference in April of 2015. Midge and I met up with Eileen again at CHA 2016 where we taught a make and take at the Scotty trailer. Eileen is such a gem, she is super sweet and so full of talent we loved listening to her talk about her very own trailer Scotty. You can read all about Eileen and her awesome travels HERE. Eileen has always had a love for Chipboard and she created the amazing Scoreboard Dies, which is what this awesome trailer die is. Be sure to stop by Eileen's blog and read more about her and her awesome journey HERE. We love Eileen's dies and are thrilled and honored to receive this awesome package! What better time to pull out these cute dies and create awesome projects! Here is the fun Trailer: 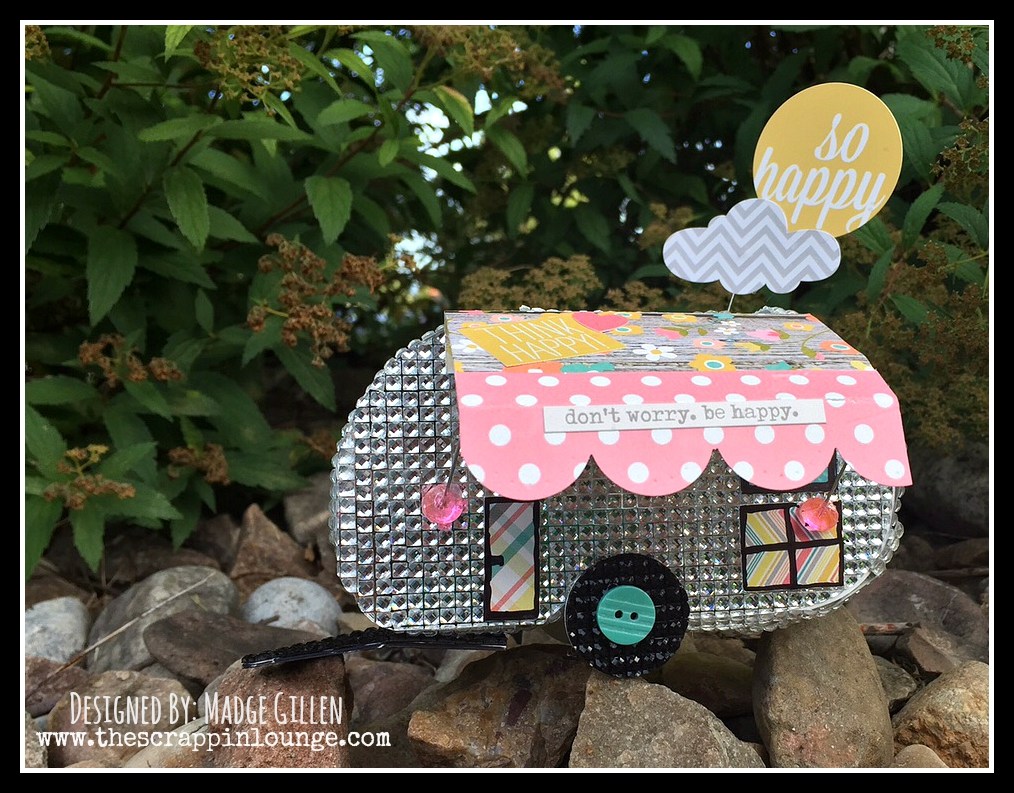 Let me show you how I created this fun little guy…. Step ONE 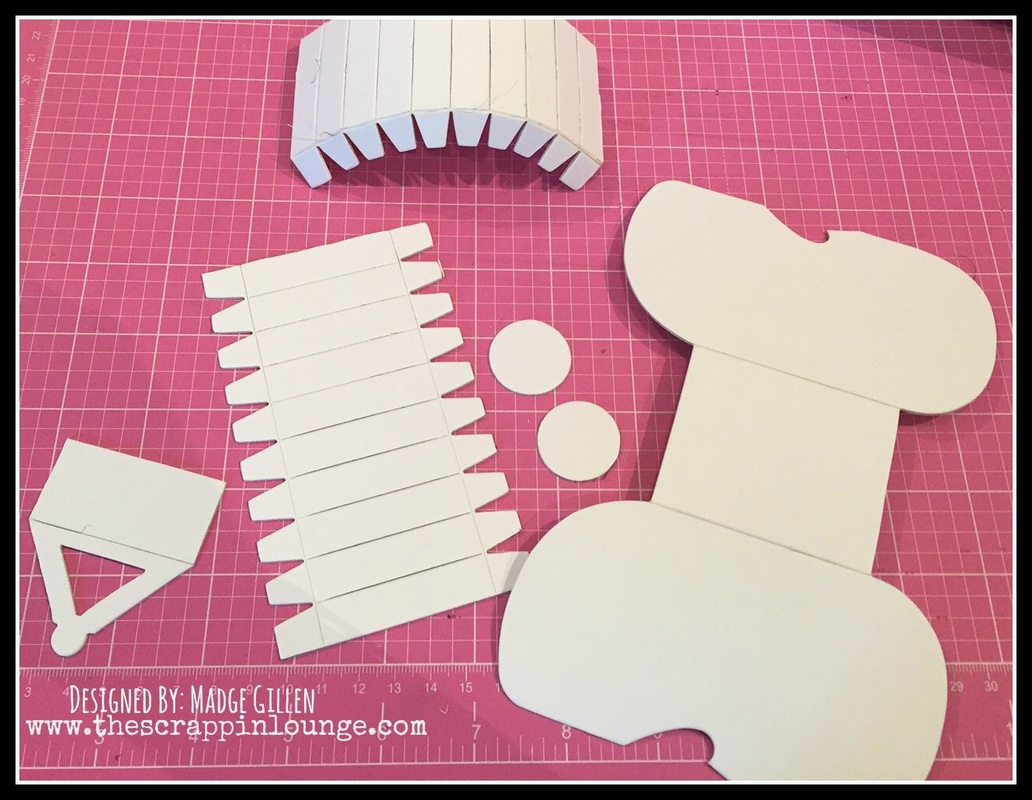 Be sure to take your Scoreboard and cut all of the pieces on the die. You will then want to cut out one more piece that looks like a fence (LOL) and one more tire. Step TWO 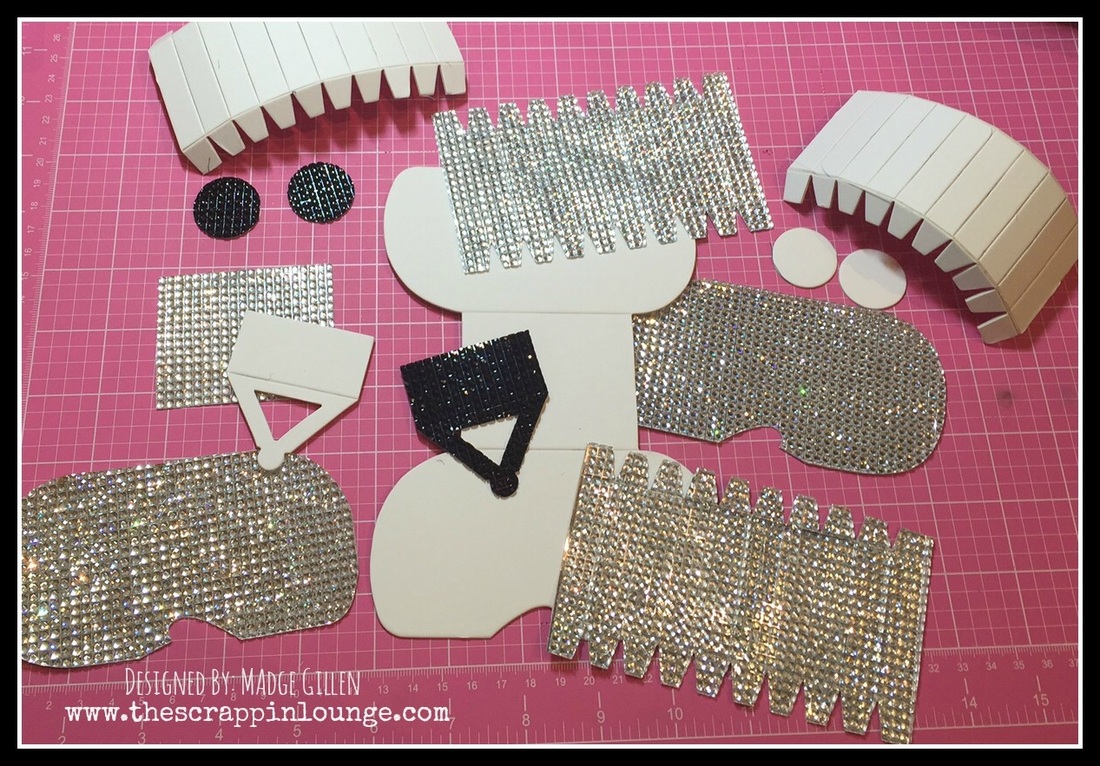 I used a Clear Dazzling Diamond Bling sheet. I took the bling and placed it face down onto the die, and ran it through my Big Shot Machine. I cut three small pieces out of black bling and placed them onto the die with the silver bling. This is for the tires and the hitch. Be sure to repeat the process twice for the side of the trailer. (for the sides of the trailer I cut the bling off along the sides of the large pieces that make up the sides of the trailer) Take the adhesive off of the bling and adhere to the scoreboard. Step THREE 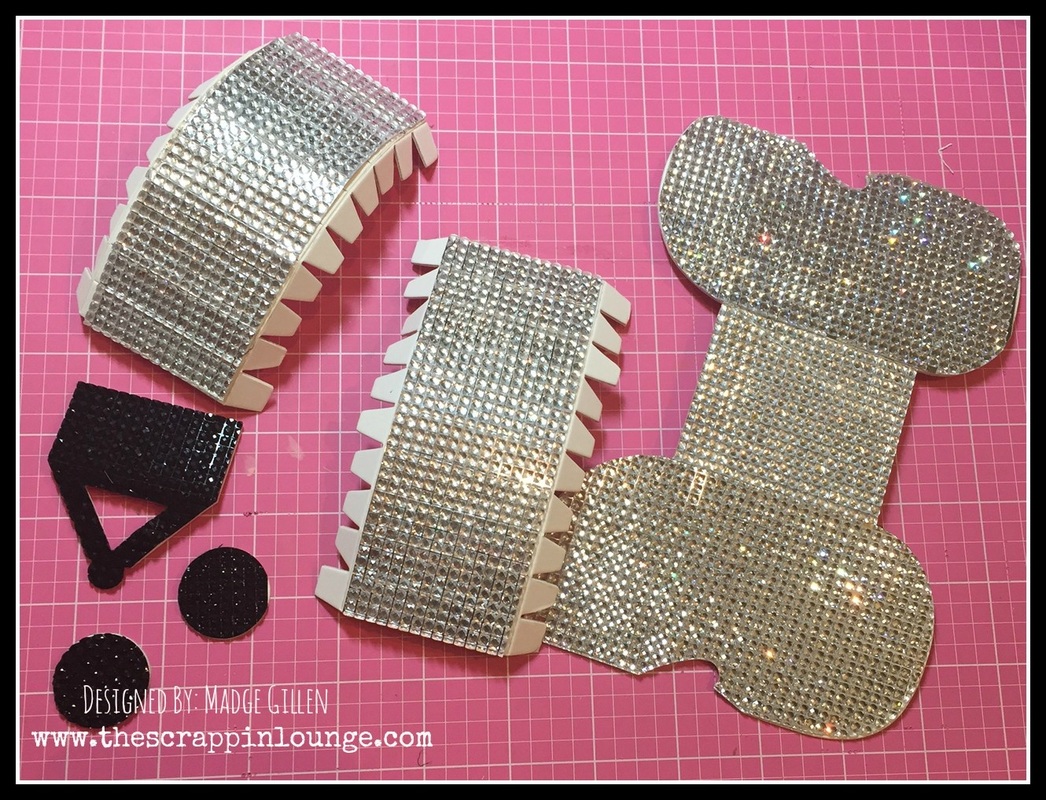 Step FOUR I then took my hot glue gun and adhered the trailer together. Then I added some fun embellishments. I used buttons on the trailer wheels and used Simple Stories Stickers to create the windows and the door, the awning, and the license plate. I took two straight pins to act as the awning poles. Scoring with my score board the awning so it would stand up. I also used another straight pin to adhere the cloud and the sun to, so it looked like the sun and a cloud above the trailer. Taking a black marker to the window and to door to give a little more dimension, and adding the “MADGE” license plate. This trailer was so fun to make! Bling Out your own trailer! Here is one more look at this cute little guy!!! 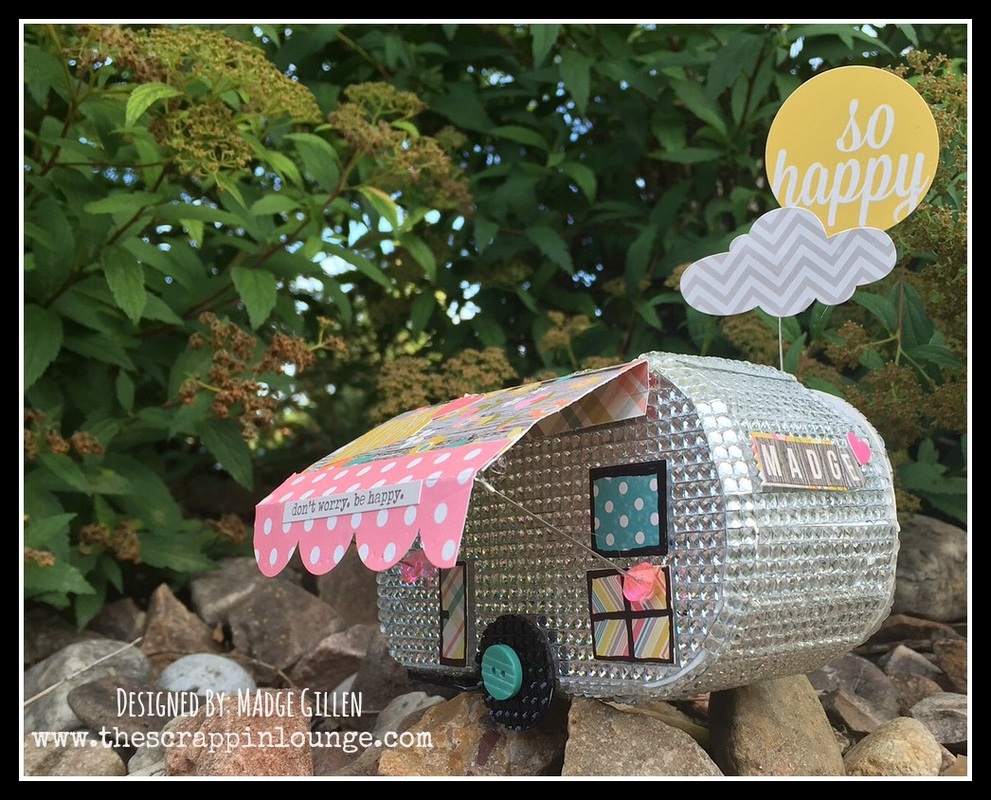 Midge used the Flower Pocket Die, and created this cute pocket gift box. There are so many different possibilities that Midge had a hard time deciding which direction to go. The pocket box was a perfect fit for a gift that she was delivering. 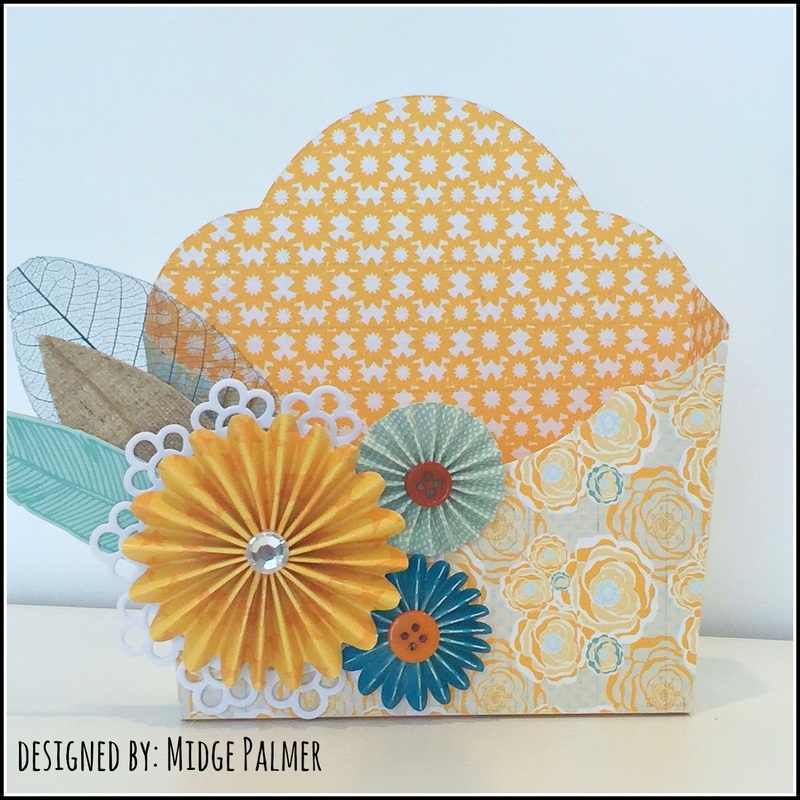 Midge used a double sided piece of pattern paper, three rosettes, mini doily, and three feathers. Putting the box together is a snap! Eileen's dies come with not only the cut the scoring. Assembling this pocket box is a breeze. 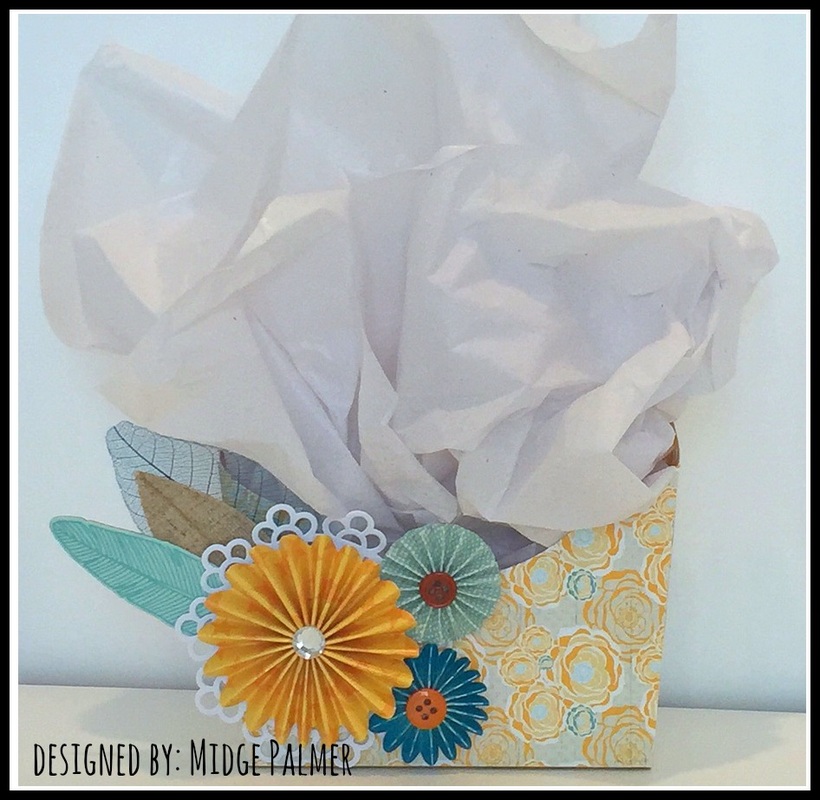 All wrapped up and ready to gift. You can get this die and all of the other Eileen dies HERE
We would like to Thank Eileen for having us as guest designers on her blog today. Be sue to join us every Monday on My Craft Channel "Midge and Madge Mingle"!
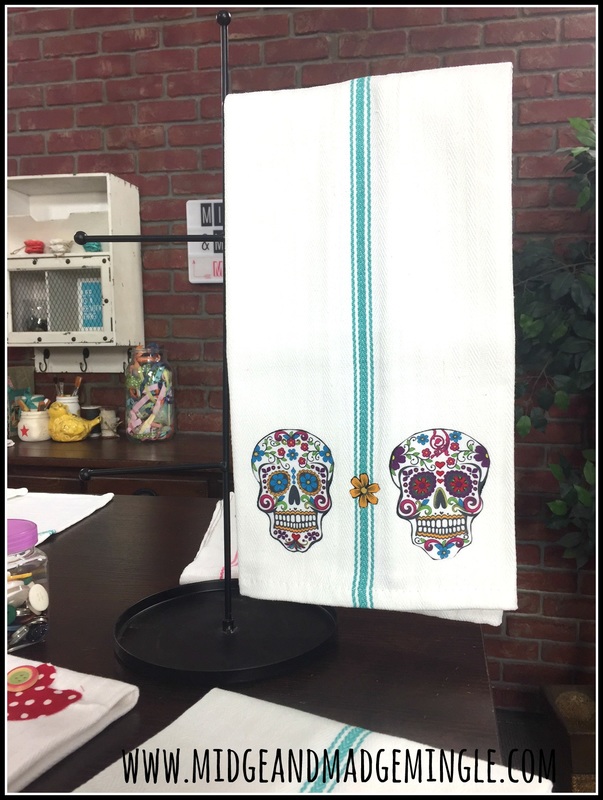
Hello friends!!! We are super excited for this weeks episode of Midge and Madge Mingle on My Craft Channel!!! This week we are showing you how to make your very own DIY Designer Dishtowels!! Yes, I said designer dishtowels for half of the cost.
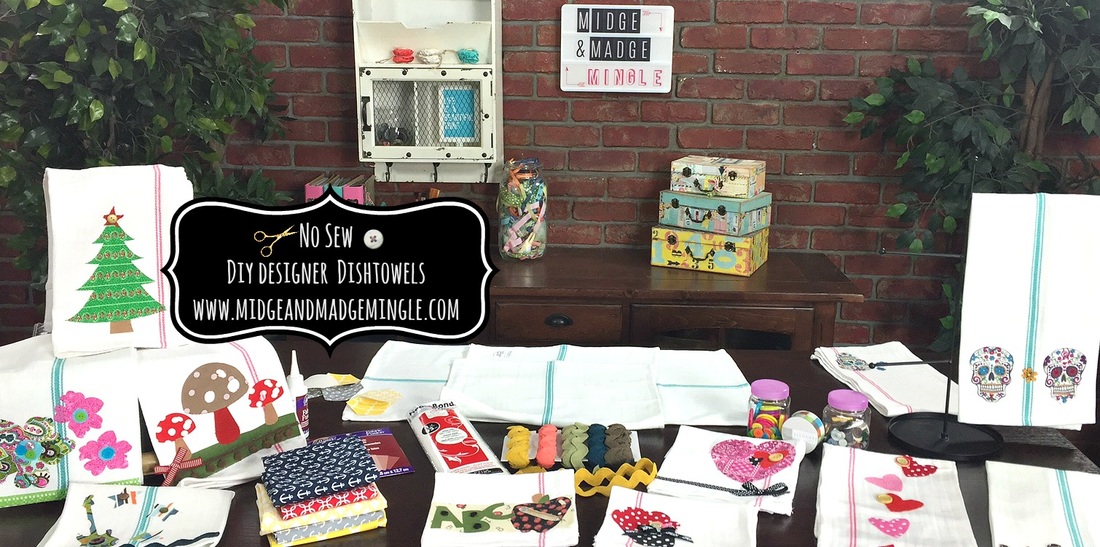
Friends do you like what you see? Watch as we show you what you need to make and complete your very own Designer Dishtowels.
See, we told you that they were No Sew, and that they were as easy as pie! Pull out your fabric stash, order you some tea towels, grab some fun embellishments and get to work!!
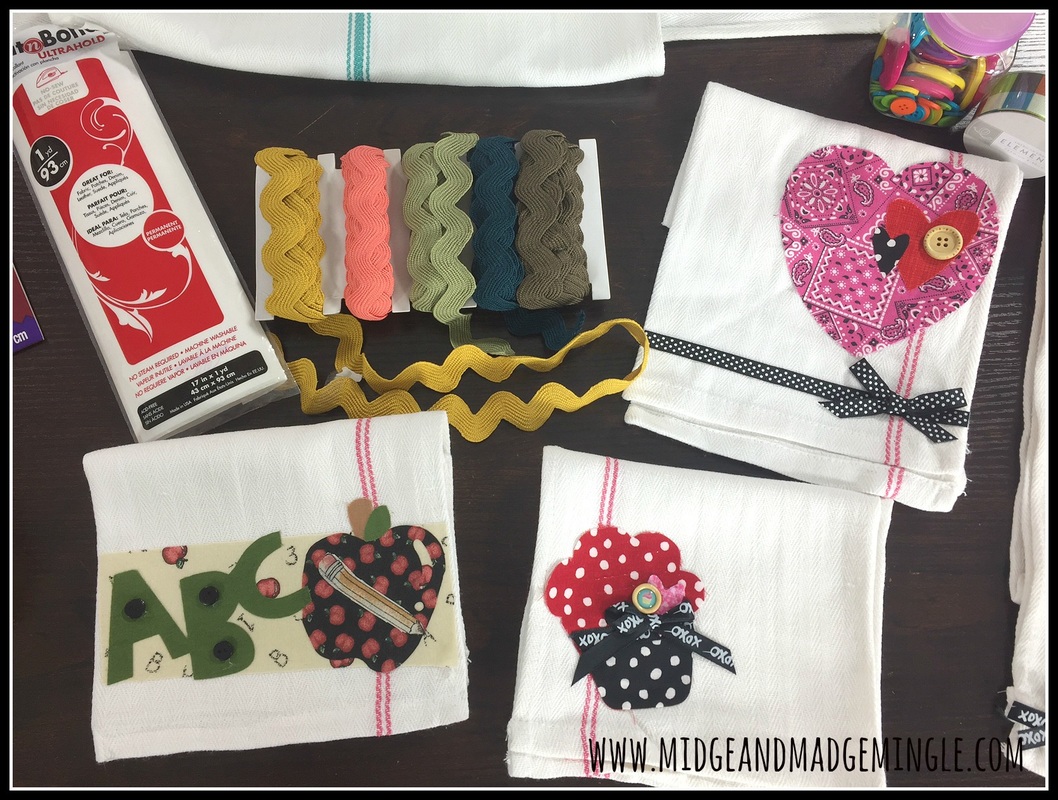
Top Tip: Be sure to get the ULTRAHOLD Heat-n-Bond to make it easy!!!
Let's go over the items that you will need in order to complete your designer towel. *Tea Towel *Fabric- either a die cut, or fussy cut your image that you want on your towel. *Heat-n-Bond Ultrahold *Iron *Embellishments *Sharp Scissors That list is a short list! I had to go over it several times to make sure that is ALL that you need to complete your fun towels!!! 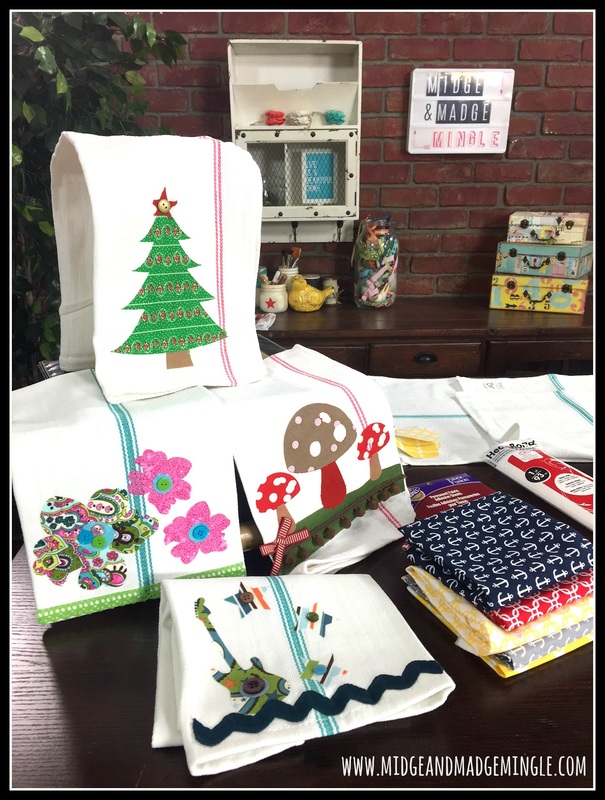
These Designer DIY Dishtowels are perfect for any special occasion, holiday, season or just because! Oh and wait! They are also great to give as gifts! Think Christmas neighbor gifts! Hmmmmm.... That just gave me a fun idea! LOL
Remember when I said fussy cut? Check out this fun towel that Midge made!!! Isn't it the cutest thing ever?? YAY!!!
Be sure to leave a comment, share and pin if you like this fun Mingle!!! Hugs- Madge 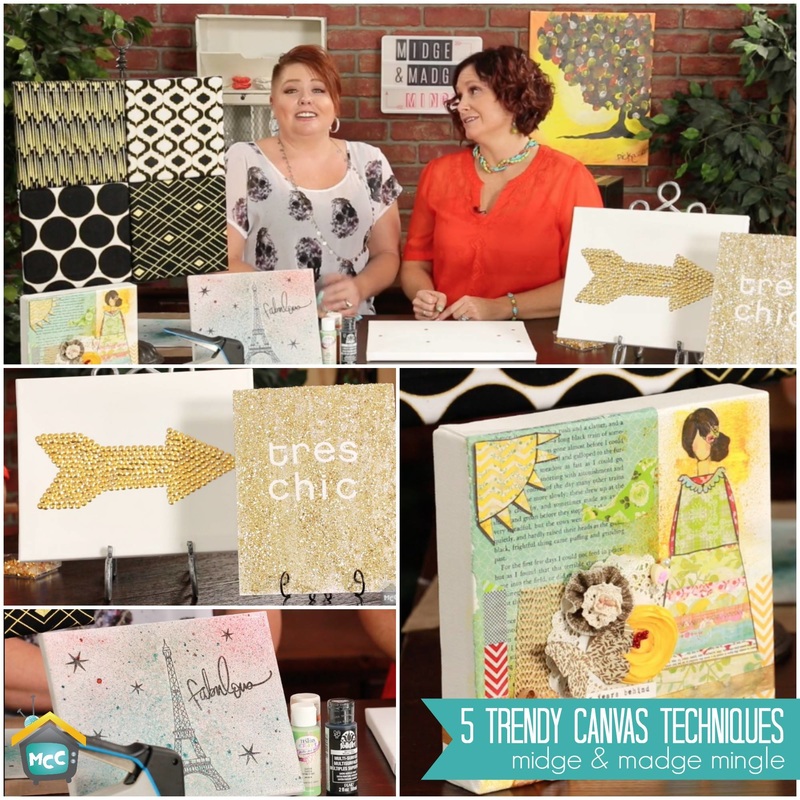 Hello friends! We hope that you are having a great week so far! Welcome back to another fun Mingle. This week we show you 5 different ways to create a trendy canvas. Now these are NOT your mamma’s canvas! J Watch now to learn tons of trendy canvas techniques to liven up your home. We all love to have Canvas in our homes, offices and craft rooms right? Check out how Midge does this awesome Glittered Canvas using stickers, white paint and gold glitter. 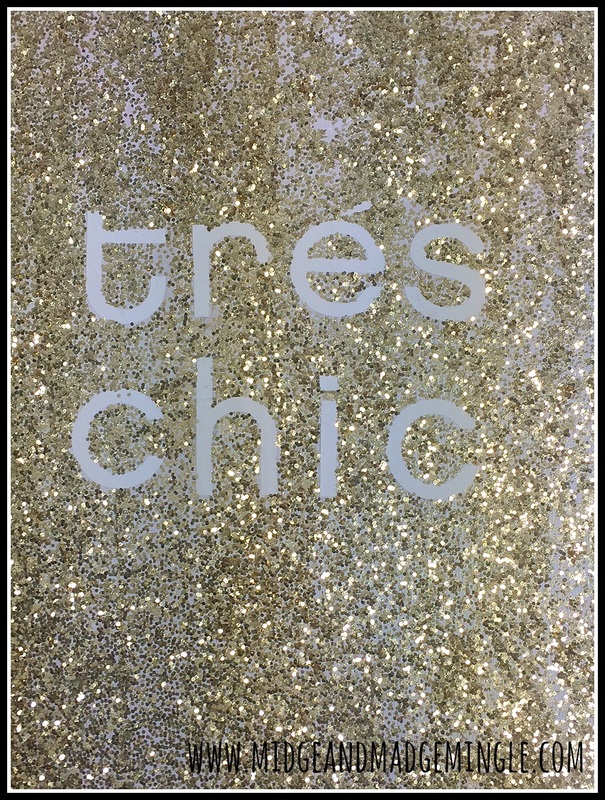 I am sure many of you have seen this before! Wrap a canvas or four (snicker snicker) in fun trendy fabric! It is easy as 1. 2. 3... Iron Fabric, lay canvas face down on fabric and wrap like you are wrapping a present. Be sure to use a staple gun for a nice tight wrap! Don't you just love the Classic colors Black, Gold and White? 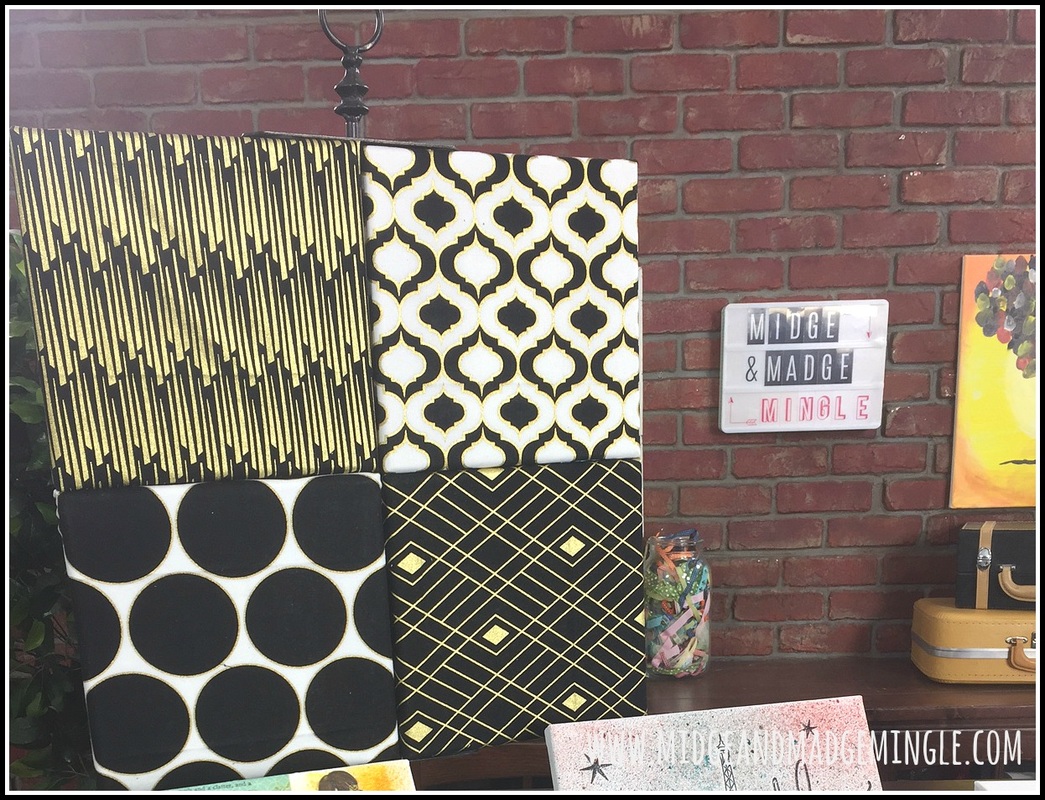 We all love Girls night right? Who has been to "Paint Night"? So fun laughing until your cheeks hurt and watching your canvas come to life! We love to paint with acrylic paints! Check out the Painting on the wall behind us!! So fun! 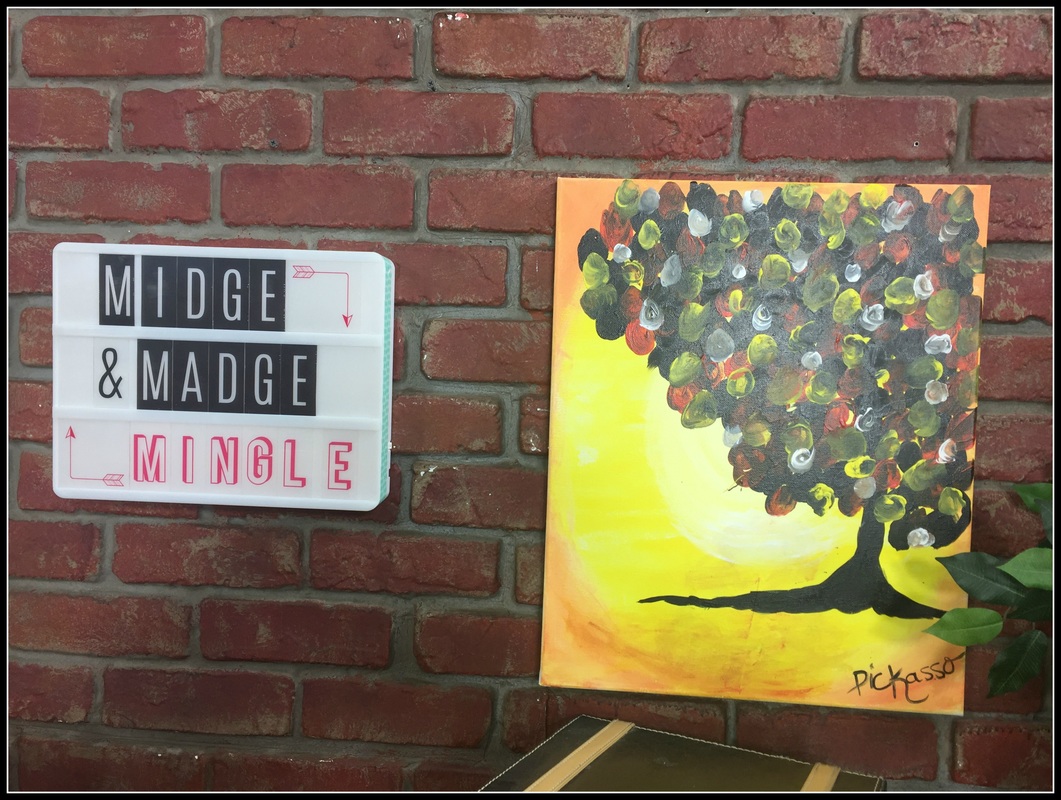 Thumb Tacks! What in the world!! Check out the awesome Arrow that Midge created out of thumb tacks! She explains that is is super easy to create this masterpiece! You can even get your thumbtacks at the dollar store! BOOM! Isn't that awesome?? 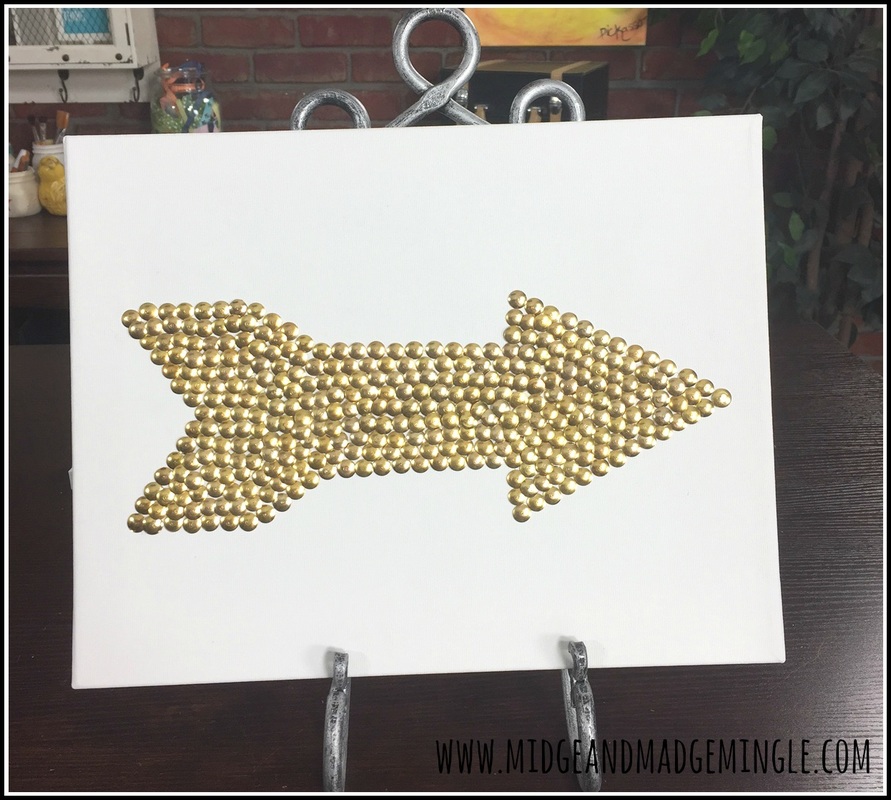 This fun Mixed Media project is one of my all time favorite projects that I have made. Using a fun square canvas, I used the amazing Christy Thomlinson's stickers (I got these in a kit when I subscribed to her kit club) the bird, the girl and the sun are all her stickers that made this canvas come together super fast. I used washi tape, flowers, butterfly, mesh, straight pin and ribbon to add dimension. But my favorite part is that I printed chevron onto a sheet of tissue paper and used mod podge to adhere it to the canvas. I then used Heidi Swapp Color Shine on a book page and also used the mod podge. So fun but so cute! The possibilities are endless with canvas and mixed media! 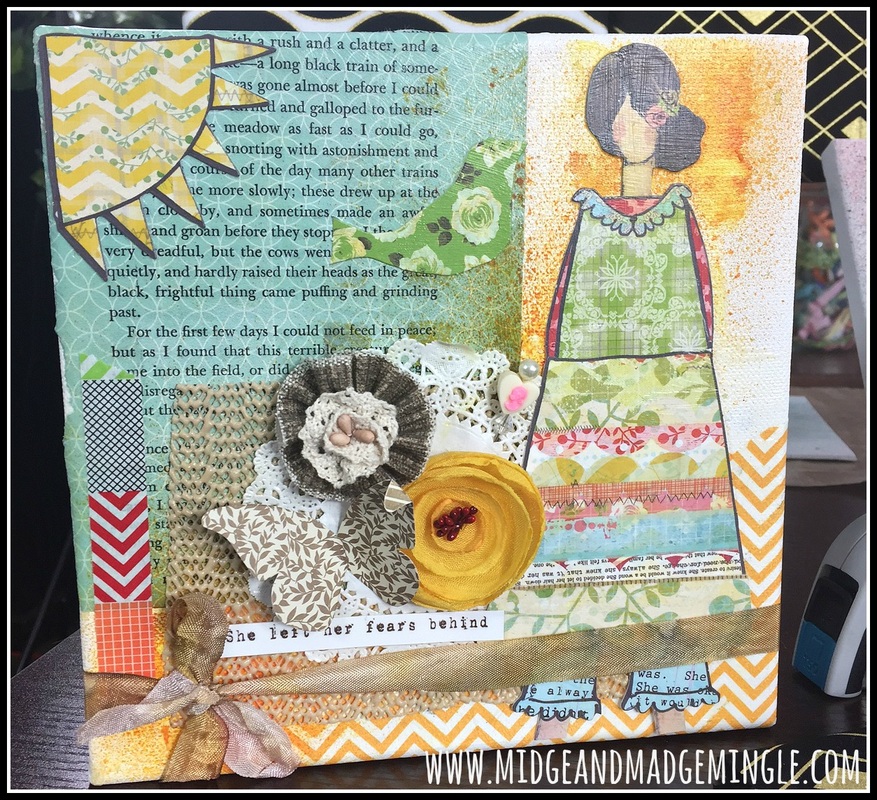 Last but not least the super fun canvas just using spritz! You can layer and layer your spritz until you get the look that you want. Hang it alone or with some friends on a wall or on a plate stand! You decide! Super fun all the way around! 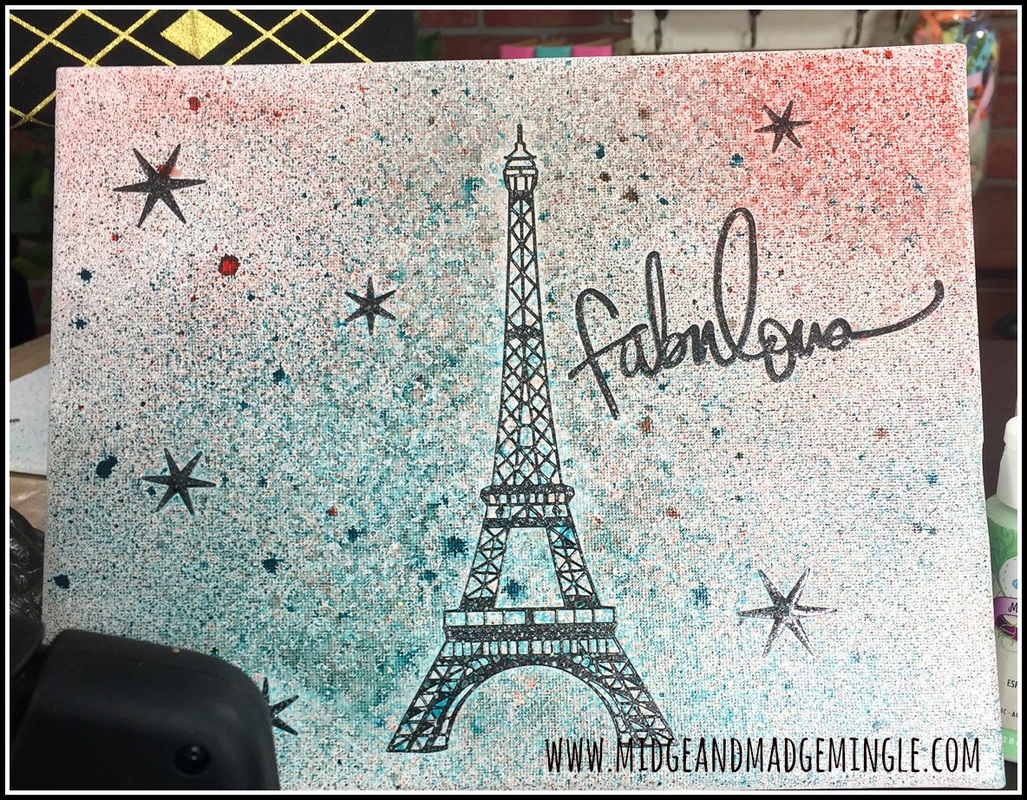 Be sure to Pin it to Win it!!! Whoop Whoop!!! Hope you have a super crafty day!! Hugs- Midge and Madge
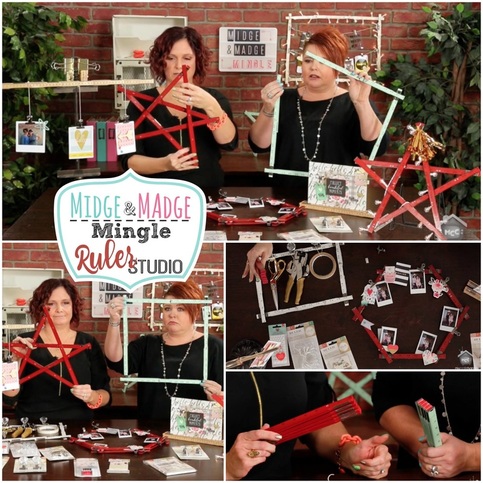
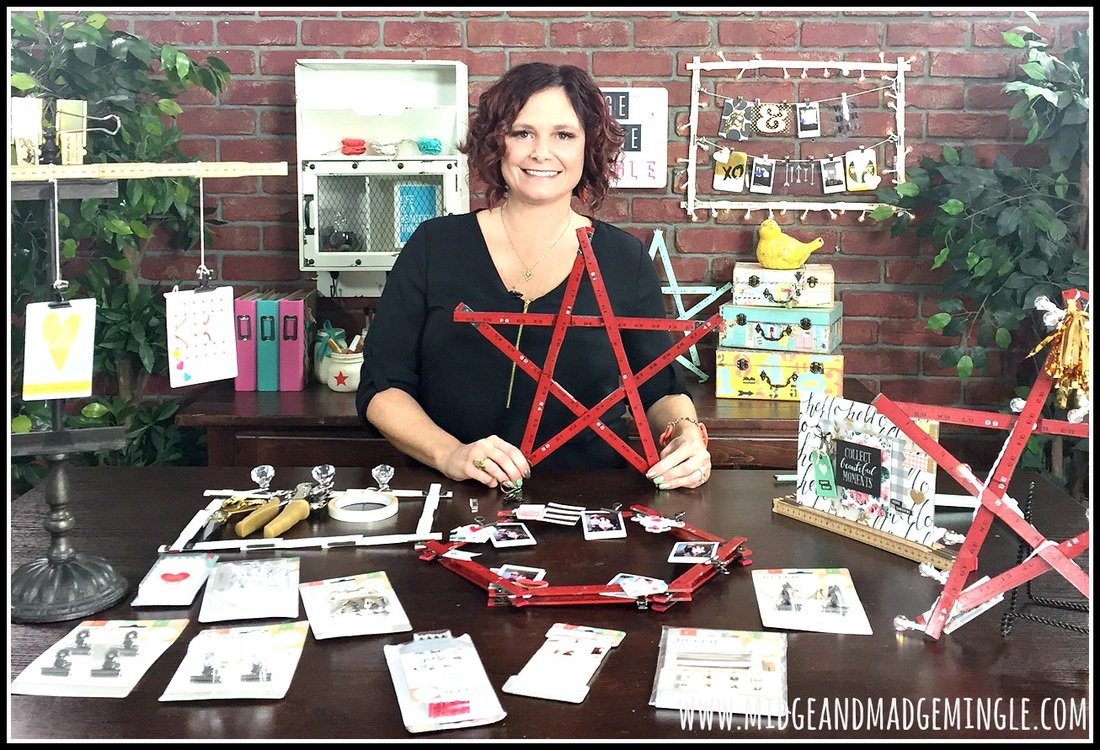
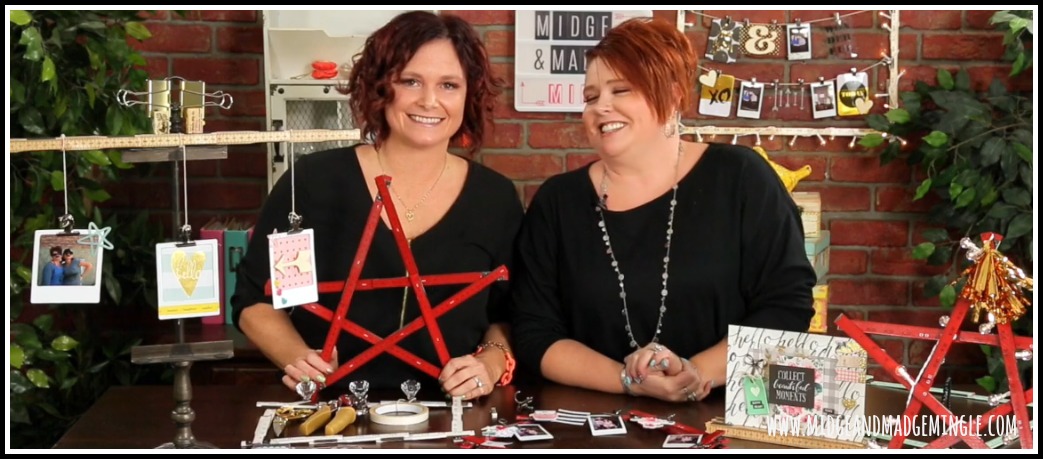
We R Memory Keepers has done it again folks!!! Ruler Studio products were hot, hot HOT at CHA. And we couldn’t wait to get their hands on them. Be sure to see the multiple ways these vintage inspired items can be used. Oh SNAP!
Aren't those rulers awesome?! We couldn't get enough! Playing with them is fun, making different shapes and thinking of fun new uses for home decor! EEK!! As you can see Midge and I were in deep concentration in the opening thumbnail of this "Mingle". (Snicker, Snicker) Check out the different photos below for an up close and personal look!
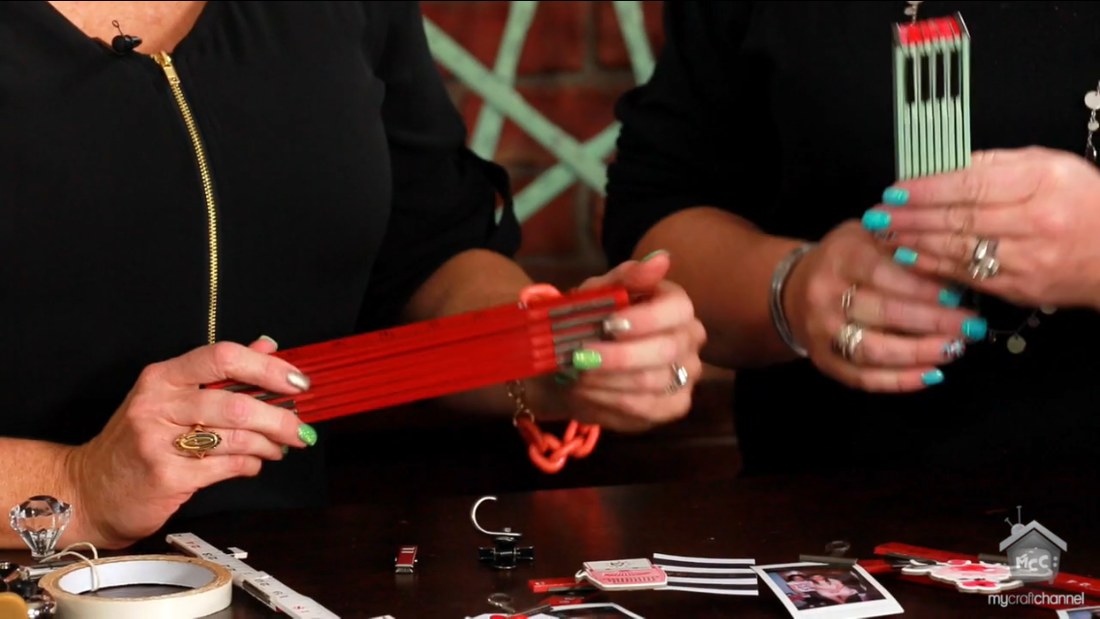
We are in love with the variety of colors that these rulers come in !!
Did you find this pic on our FB page? We have a awesome contest happening, so be sure to check out the details on our FB Page HERE!!!
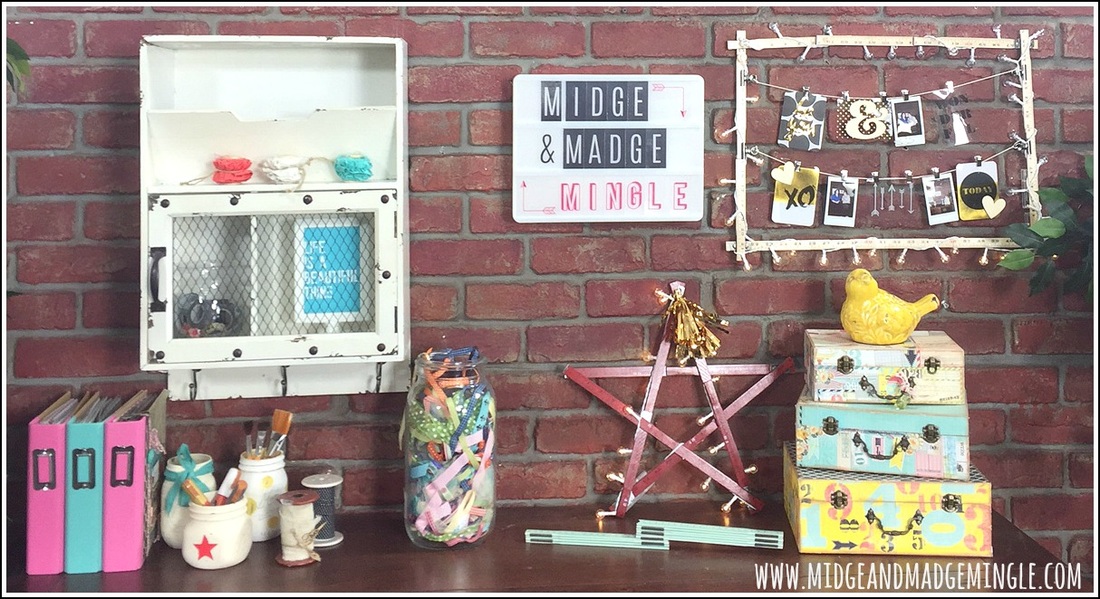
Check out the rectangle with the lights on it! Simply adorable!!
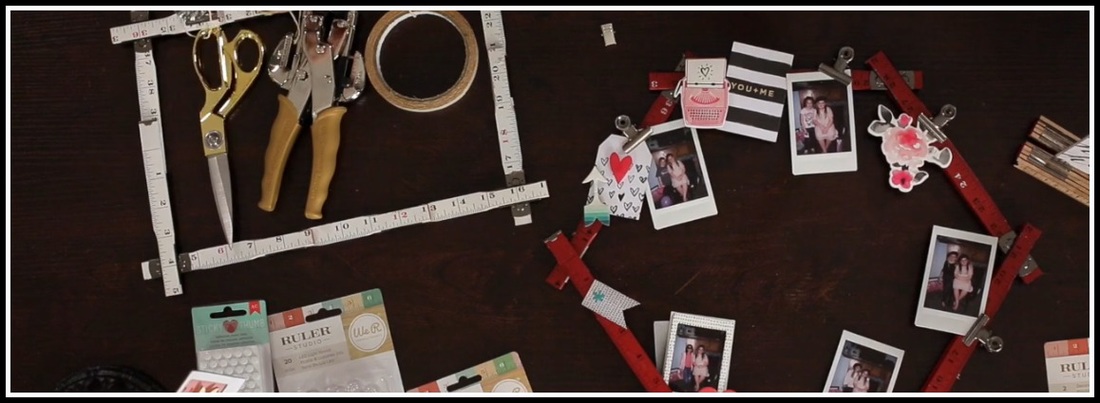
The possibilities are endless with these rulers! There are so many different fun things that you can use them for!!
Order your Ruler Studio Products at We R Memory Keepers. Be sure to join us next Tuesday for another Midge & Madge Mingle!!!
|
Midge & MadgeTwo Best Friends doing what they love and loving what they do. Learn more about us in the About Us tab above.  
Archives
October 2019
Categories
|
 RSS Feed
