|
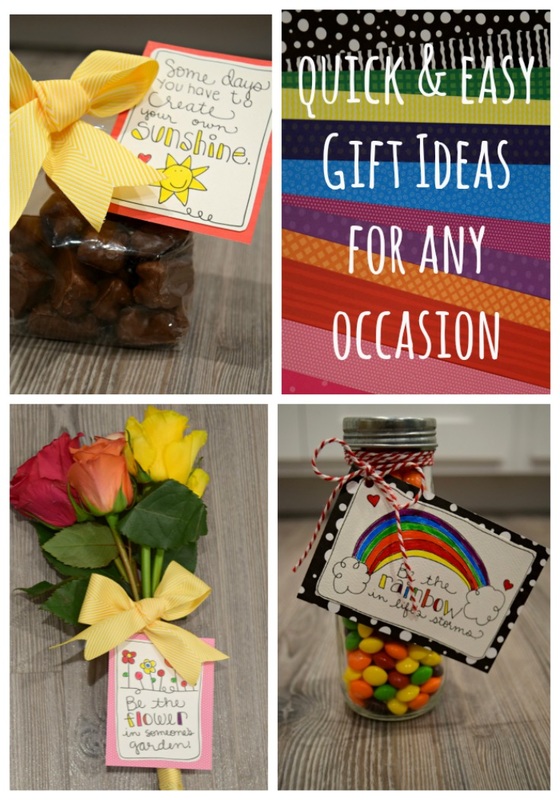
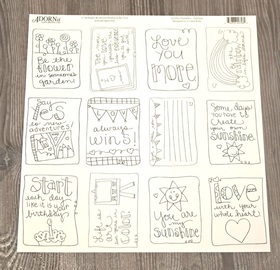
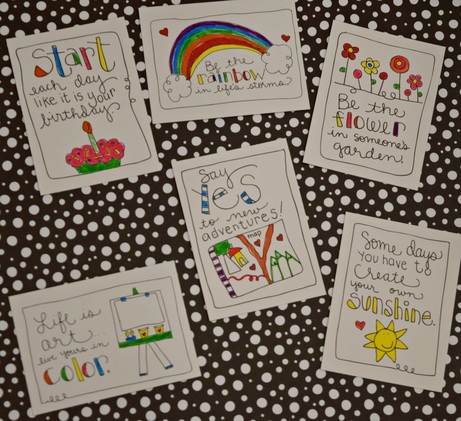
We are super excited to share with you our quick and easy Gift Giving ideas using the new ADORNit Art Play Printables By: Laura Kelly. We used the Sunshine paper. It only took ONE sheet of paper and we created three different gifts. It was easy as One, Two, Three! Who is ready to see what we did?
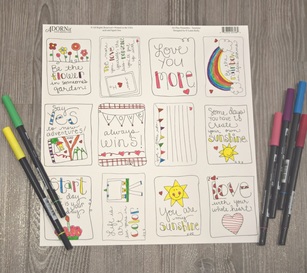
First, we took the Sunshine paper and used our Tombow markers and colored away!!!!
The next step is easy! Cut apart the different sentiments. Take the NEW Pattern Paper from ADORNit Designed by Laura Kelly, and adhere your cut outs to different patterns of paper.
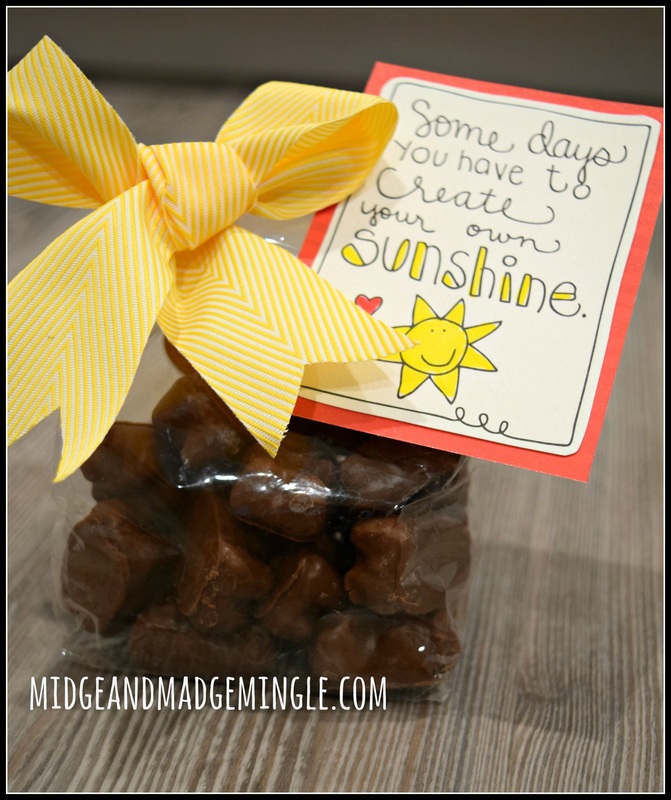
Midge and I went to the store and found some fun things to use with Laura's super cute printables. We bought some chocolate covered cinnamon bears, a bag of Skittles, and a bundle of flowers. With those three things we created these cute gifts!
We mounted this cute tag on the Red pattern paper, used some yellow ribbon and tied a fast bow, and BINGO! Your gift bags is made. Isn't this adorbs???
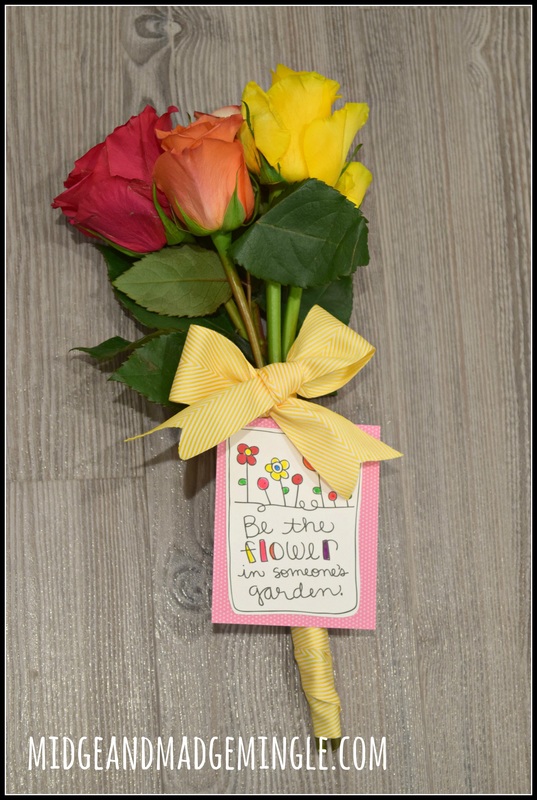
This next one is darling. We just fell in love with this sentiment! "Be the flower in someones garden!" We took a bundle of flowers and wrapped the stems with some yellow ribbon, tied a bow, mounted the cute colored tag to the Pink Pattern Paper! Who doesn't love to get flowers just because? I know that we do!
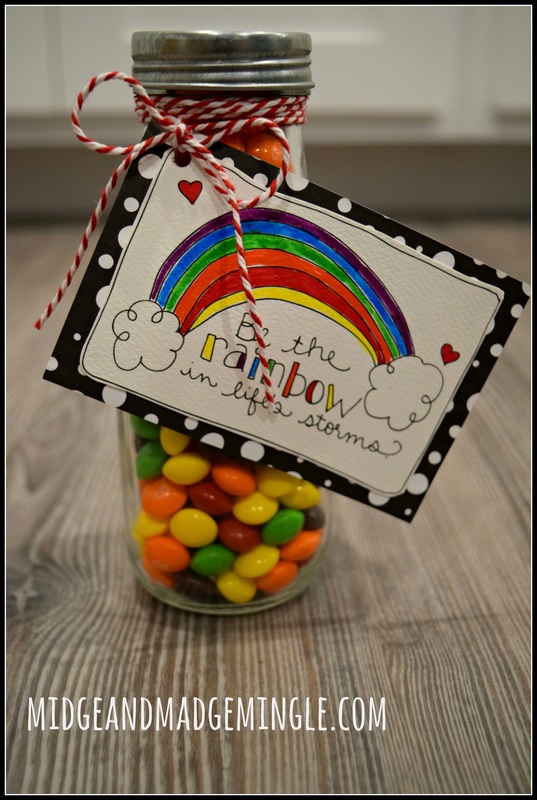
And for our final gift we took a bag of Skittles and put them in this cute milk jar, tied some red twine around the lid, mounted this cute Rainbow sentiment to the Black and White Polka Dot Pattern Paper.
We love the New Products from ADORNit designed by the amazing Laura Kelly! Be sure to check out ADORNit and Laura Kelly HERE! ***This post contains product that was sent to us by ADORNit and Laura Kelly. However, all thoughts, ideas and projects are our own.
0 Comments
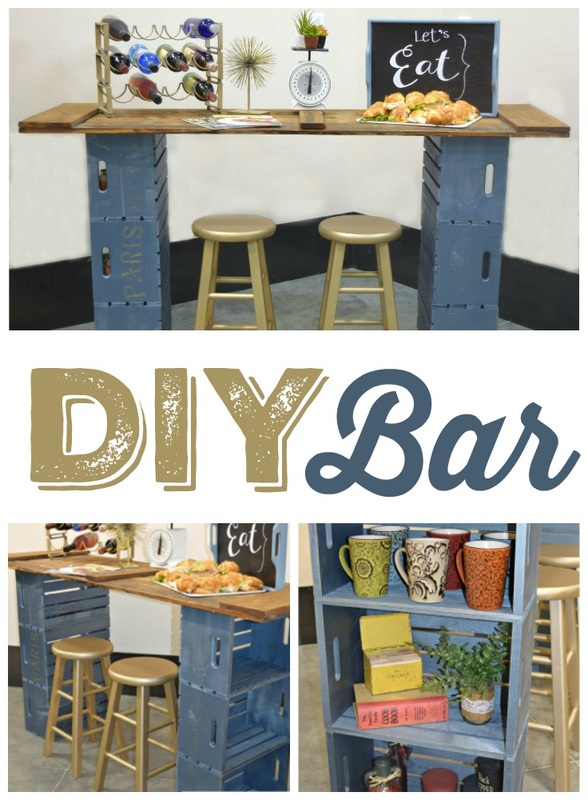
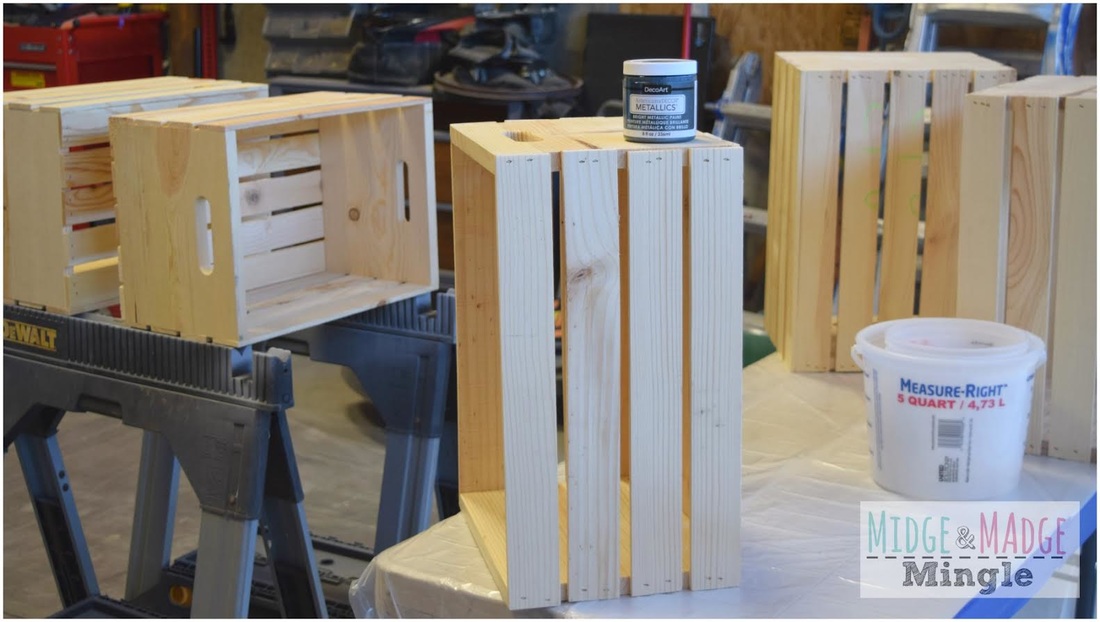
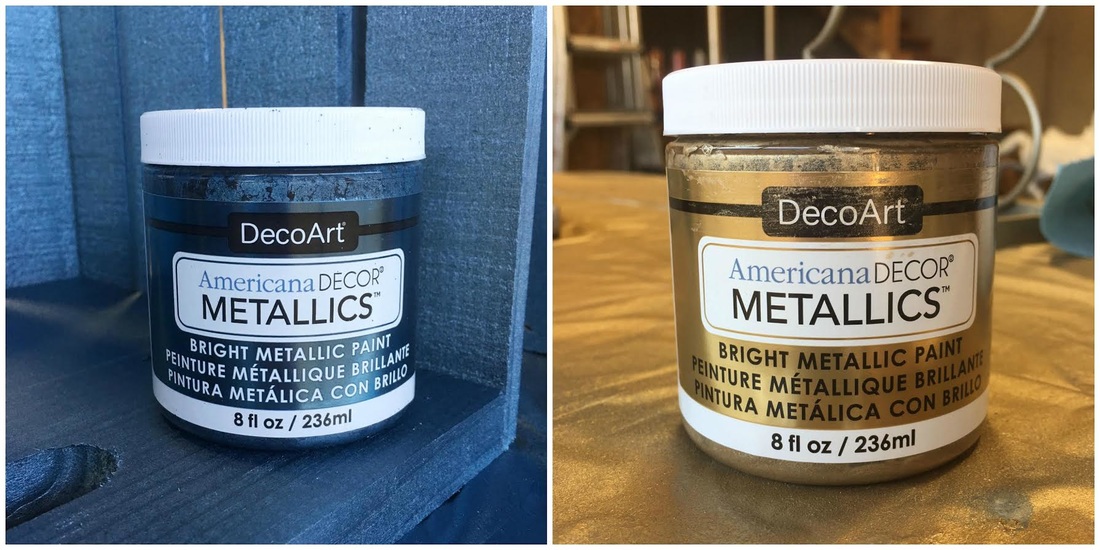
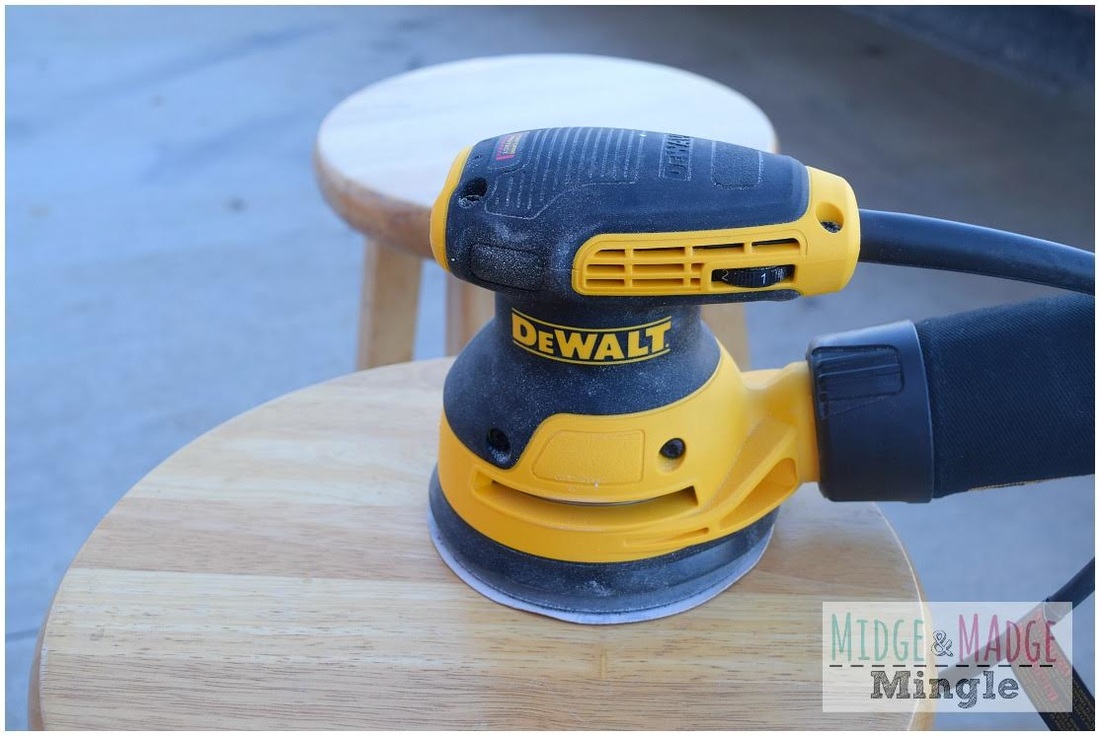
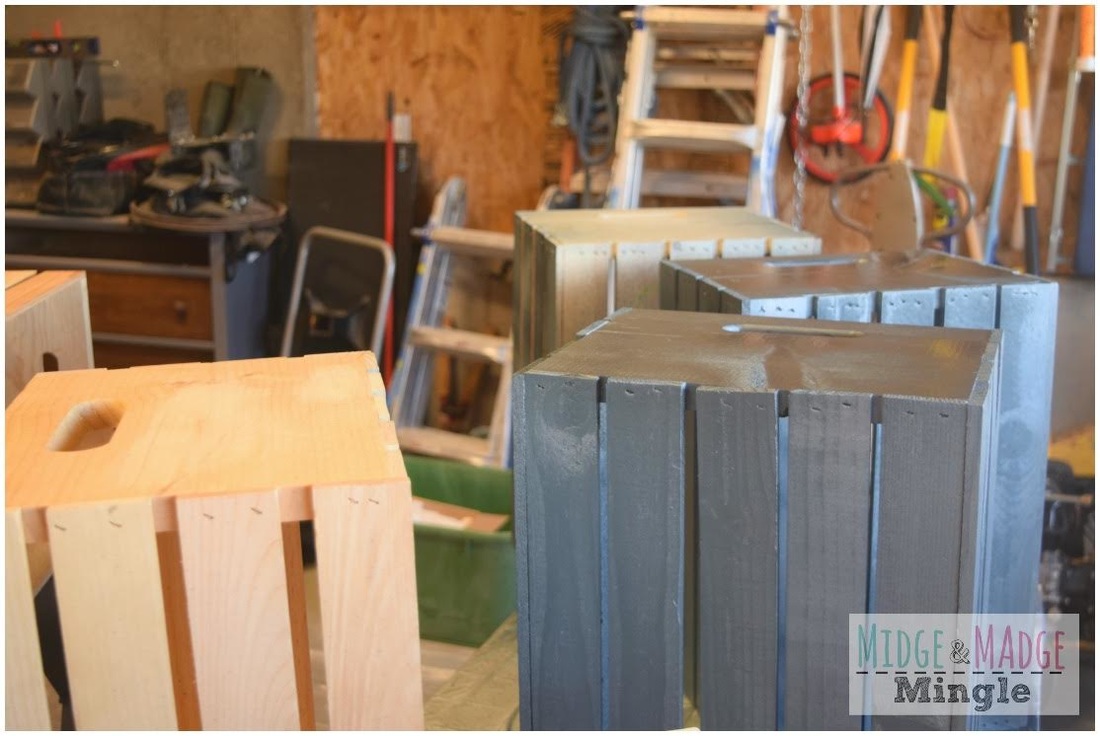
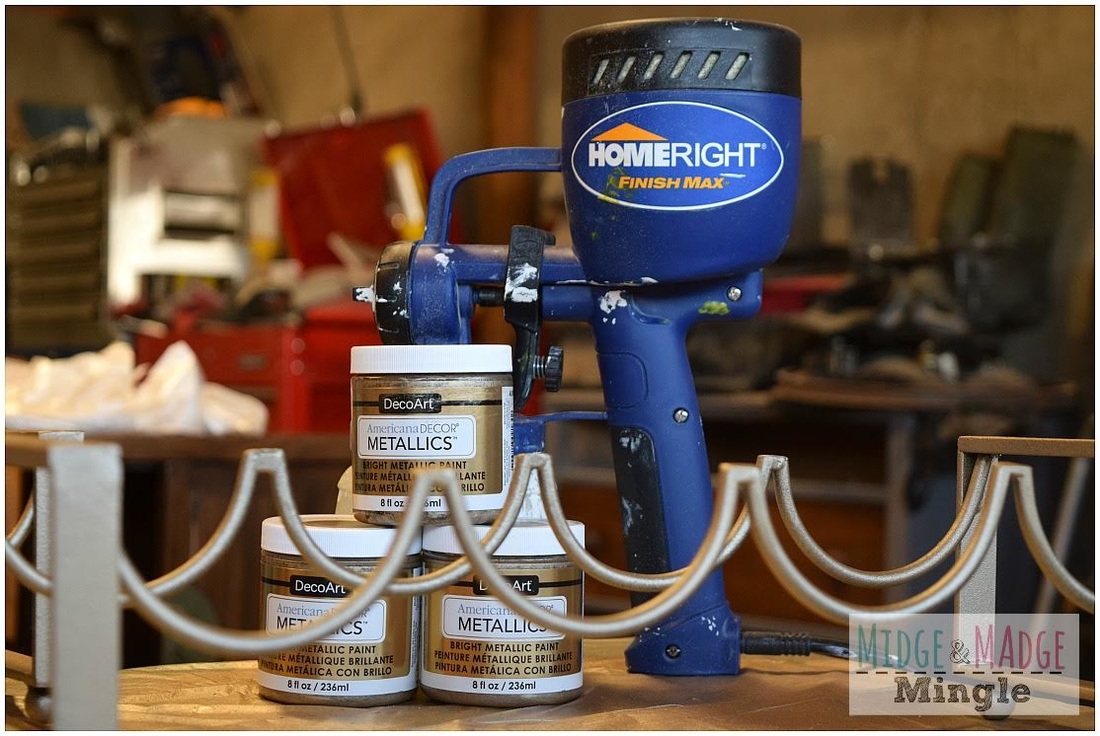
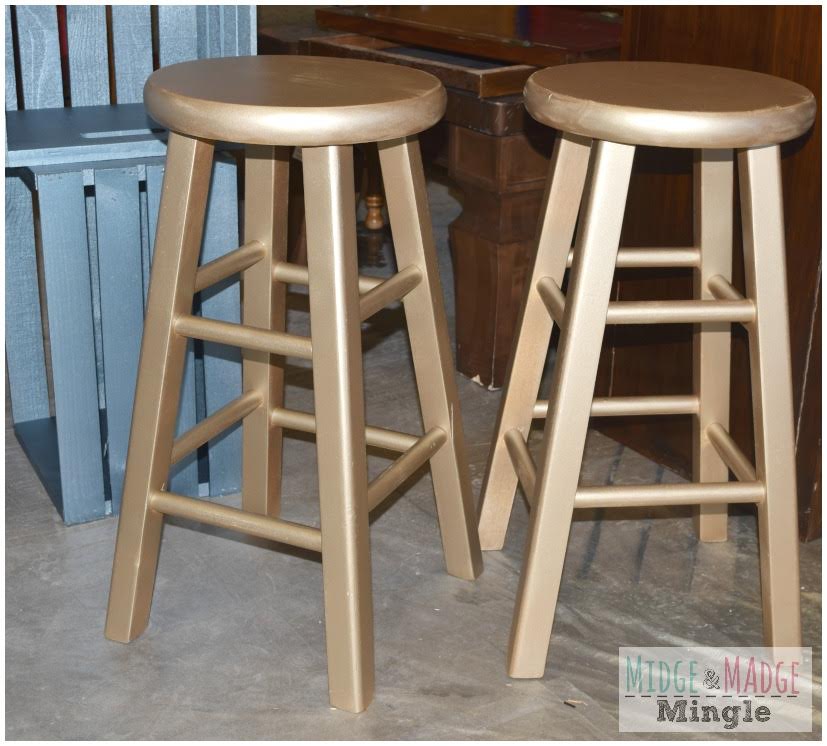
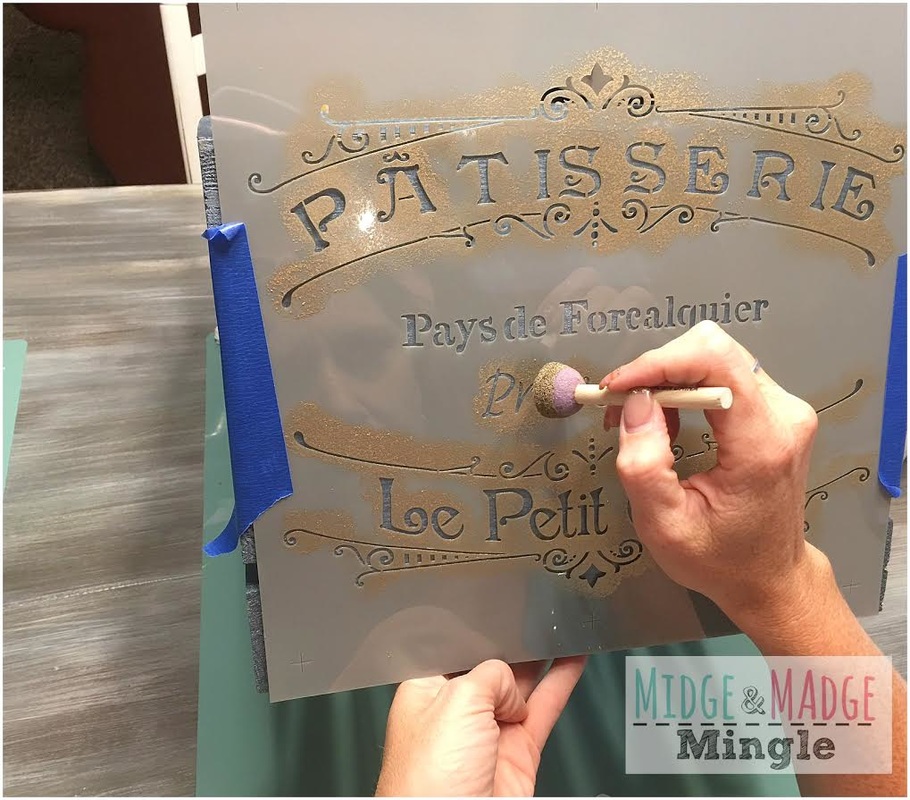
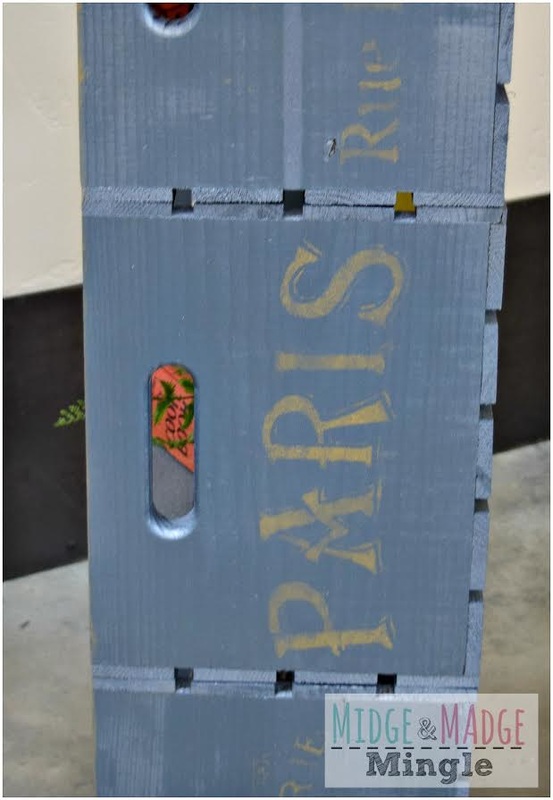
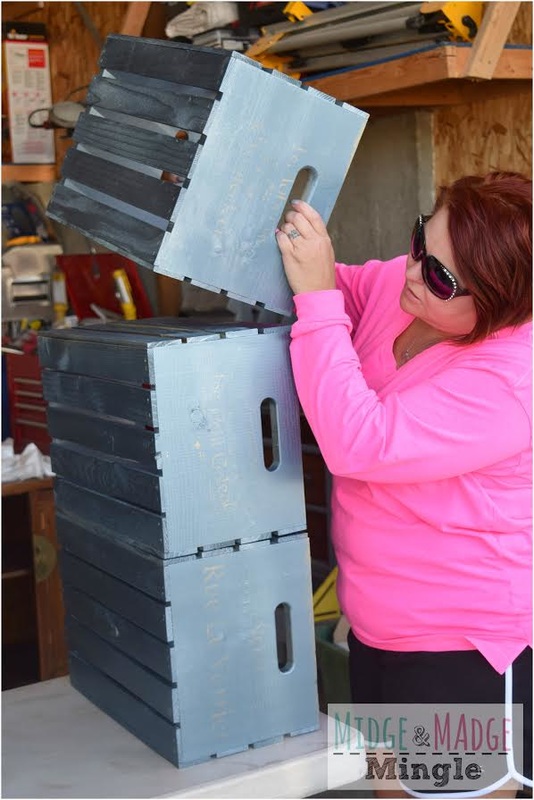
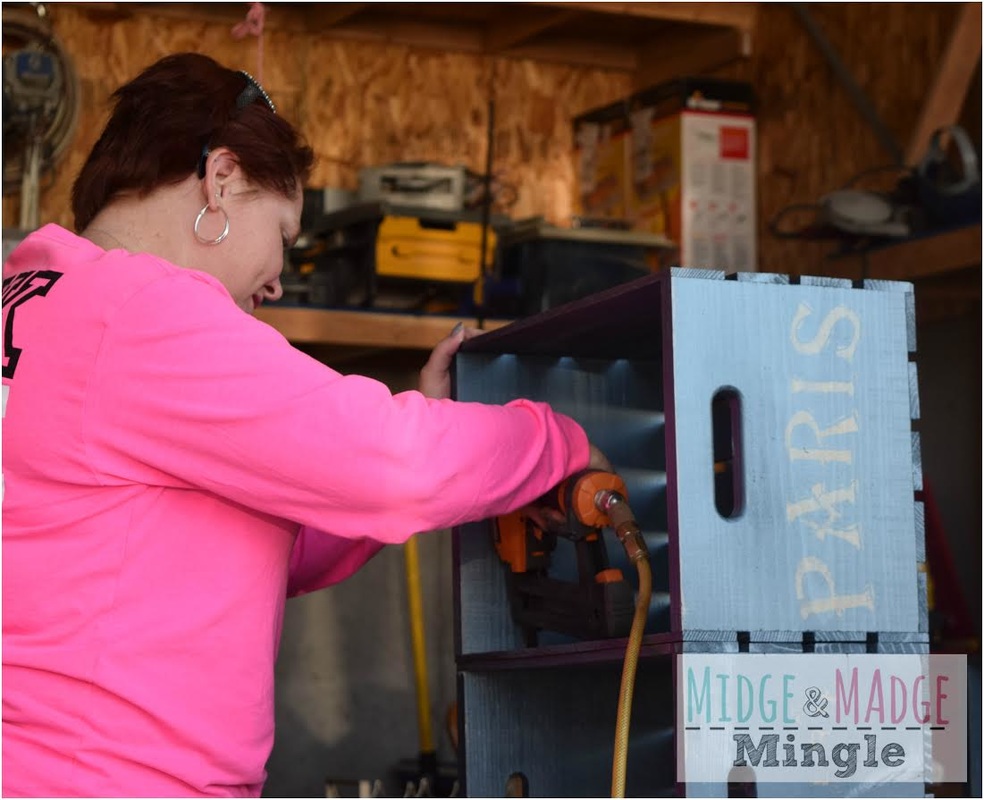
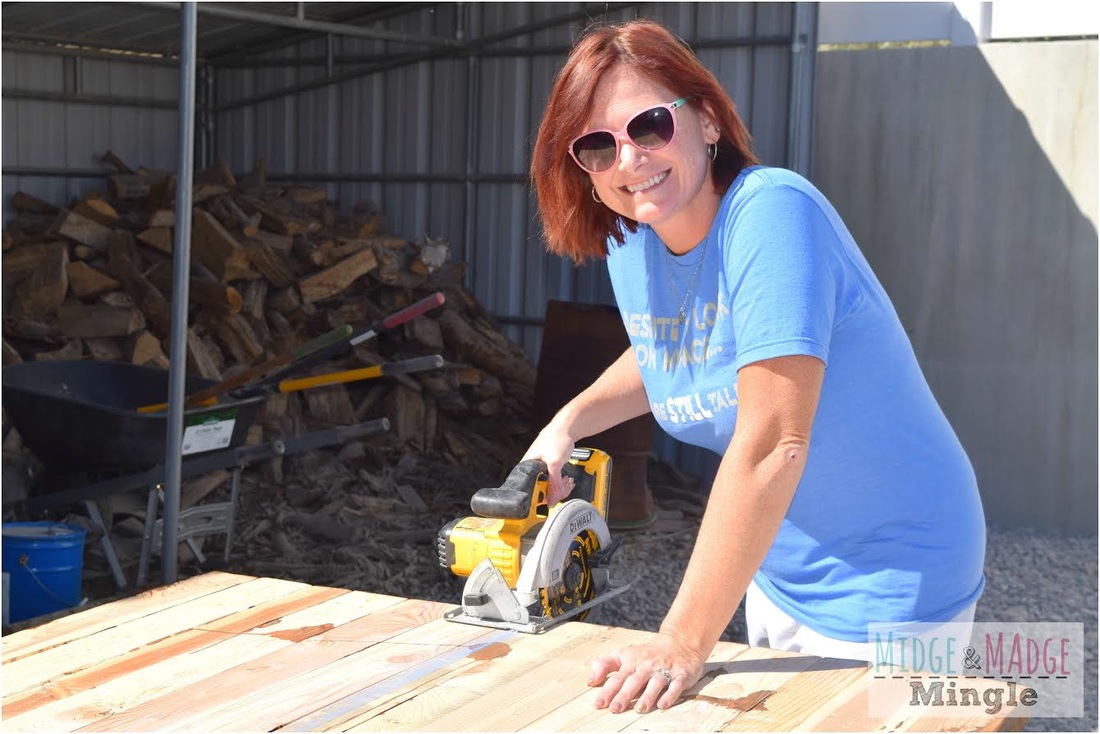
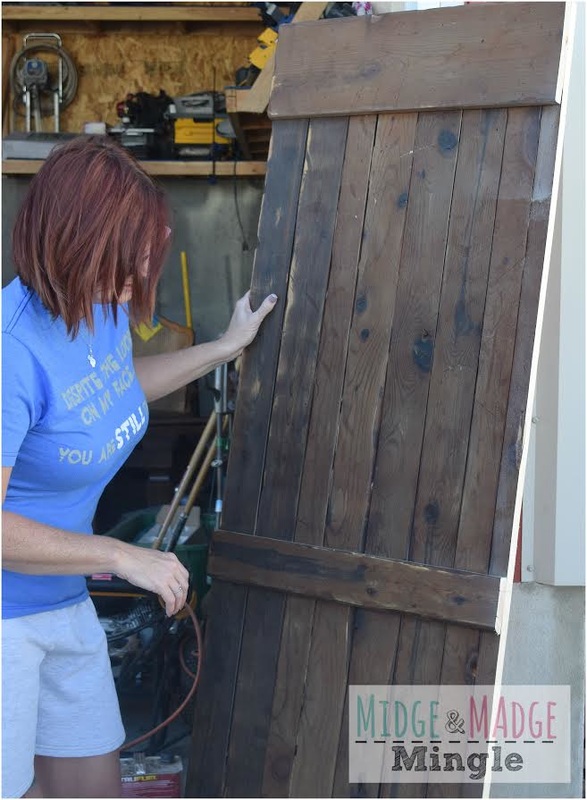
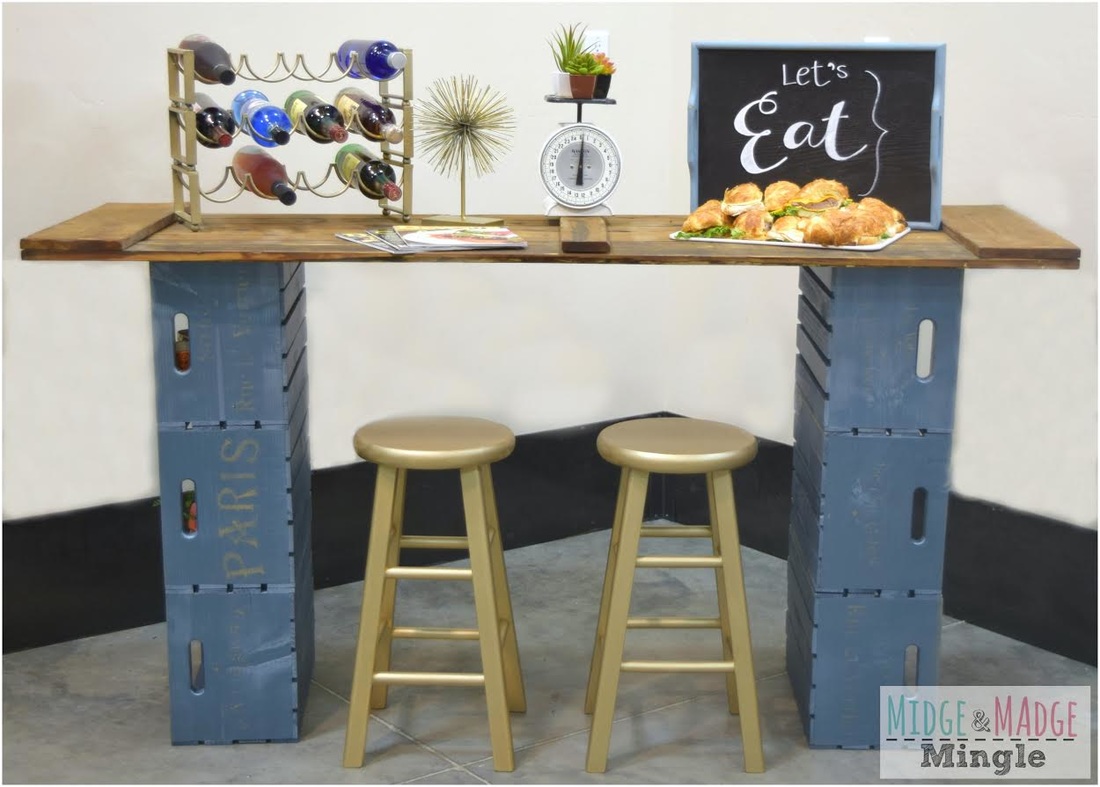
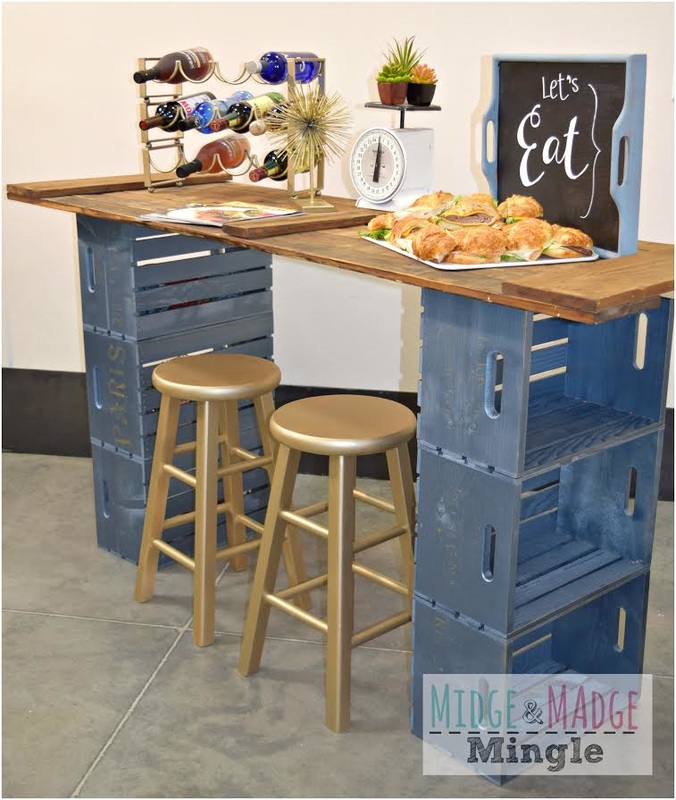
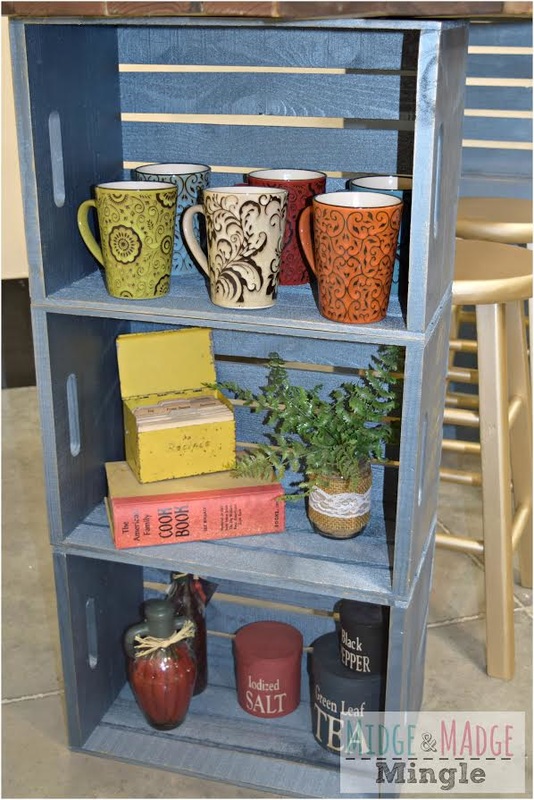
Midge and Madge are here to show you what you get when you mix a couple of our favorite items from Michaels, with some DecoArt Americana DECOR Metallic paint and a few reclaimed pieces. Fabulousness!!! We started with these super handy wooden crates that were purchased from Michaels. And DecoArt Americana DECOR Metallic paint in Pewter and Champagne Gold. (We suggest you run, don't walk, to your local Michaels and grab some of this awesome paint for yourself!) You will find these items in the "Stains and Finishes" aisle, it will not be in the "Craft Paint" aisle. We didn't sand the crates. They are perfect just the way they come. We did sand the varnish off of our old bar stools. We used a paint sprayer to do a majority of the work. (You just have to add a small amount of water to your paint. Directions vary for different sprayers.) We sprayed our crates with the DecoArt Americana DECOR Metallics in Pewter. We sprayed our wine rack, bar stools, and a couple of decor pieces with the DecoArt Americana DECOR Metallics in Champagne Gold. After the base coat dried. We stenciled on the side of the crates. We used the Champagne Gold metallic paint again, and 3 different Americana DECOR Parisian themed stencils that you can find at your favorite Michaels Store or online here. We wanted them to have a rustic, more worn look, so we didn't use a lot of pressure or paint while stenciling. We wanted them to have a rustic, more worn look, so we didn't use a lot of pressure or paint while stenciling.. Next step was to stack and fasten crates together to form the "Legs" of our bar. Using wood glue, we glued and stacked crates together. Madge used a staple gun to fastener crates together just to make sure we had a sturdy base. A reclaimed wood door makes a perfect bar top. Using a circular saw, Midge cut the door down to the desired width. After cutting the door, we made sure none of the slats in the door were warped or jagged. Last step for this project is placing the reclaimed bar top onto the crate base. You can mount the top to the crates using wood glue and nails. For a more mobile piece, if your bar top is heavy enough, there is no need to permanently mount the top. And there you have it...A fabulous, fun, and functional bar with storage space! All with just a few versatile products you can get from Michaels and reclaimed or salvaged items. We love the storage space that the crates create. The shelves are sturdy and have plenty of room for any item you want at your fingertips! We are so thrilled with the way this project turned out! And we absolutely LOVE the products we used. We have used these wooden crates from Michaels in multiple projects and they never disappoint! The Americana DECOR Metallic paints add a bit of pazzaz to everything they are used on!
Many thanks to DecoArt for sponsoring this post. All projects and opinions are our own. That being said...we would really like to encourage you to head out to Michaels, or hop online and grab yourself some of this amazing paint today. We already have another project in the works using Metallics and can't wait to share! Until next time, have a super crafty day.
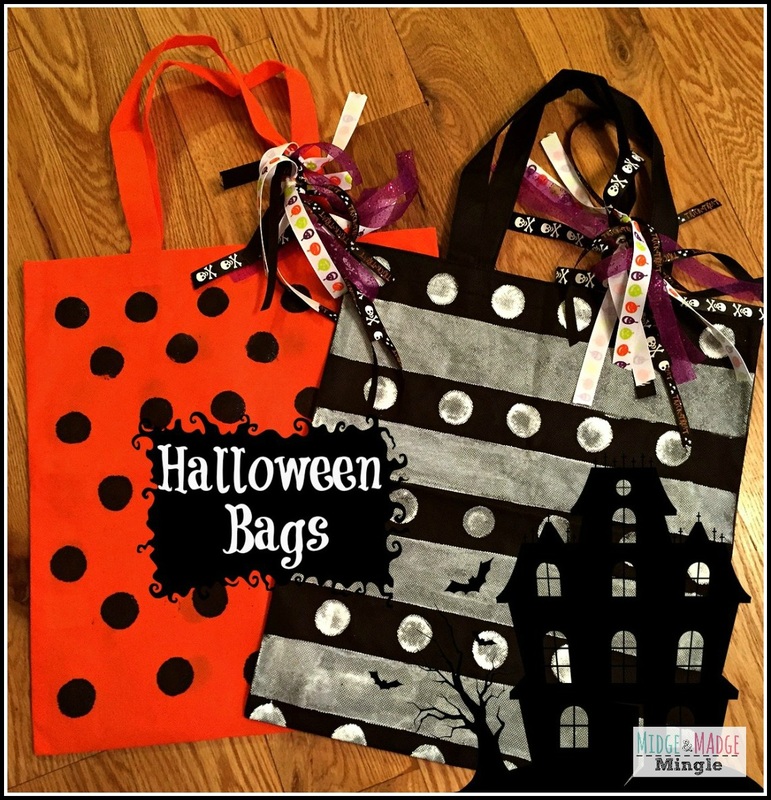
Hello friends! Today we have a super fun DIY project that you can make in under 15 minutes for those cute little witches and the ghouls in your life! This craft is not only budget friendly but it is kid friendly too. This is one DIY craft that will make you want to race to the store to pick up your bags for $1.00 (yes, you read that right! I said “ONE DOLLAR”) pull out your paint and get cracker lack'n! Be sure to make your trick-or-treat bags today! Below is a photo of our bags!
This is what you need to create these fun Trick-or-Treat bags!
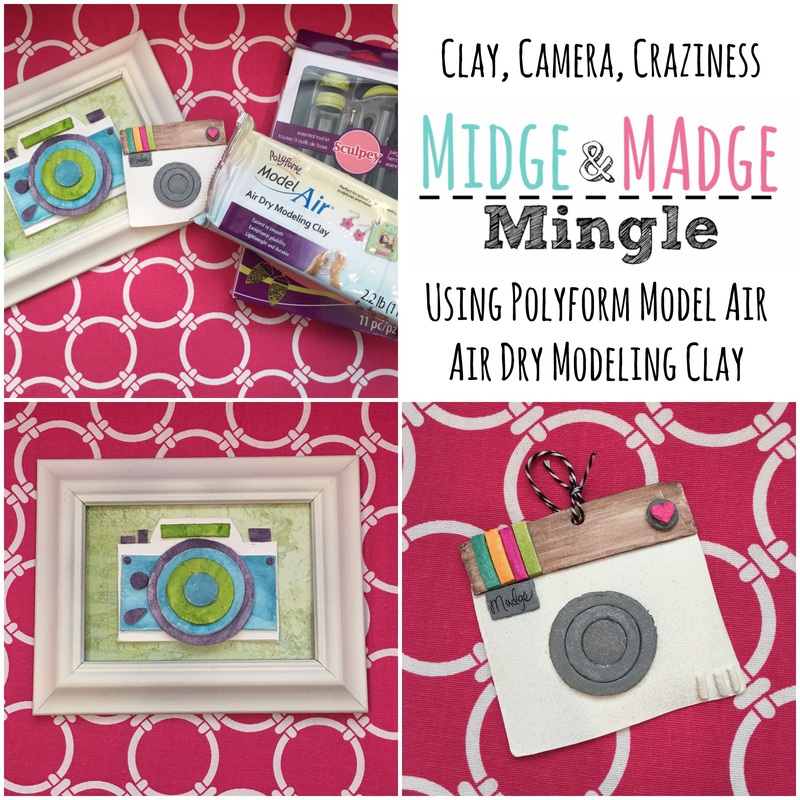
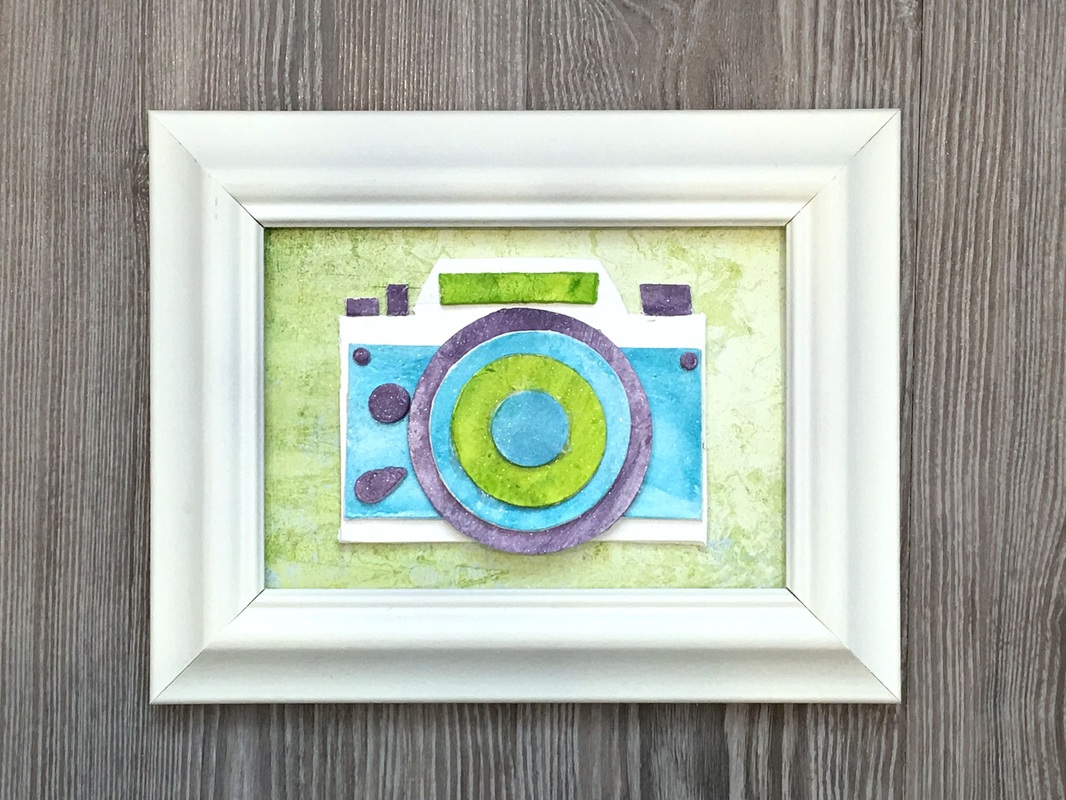
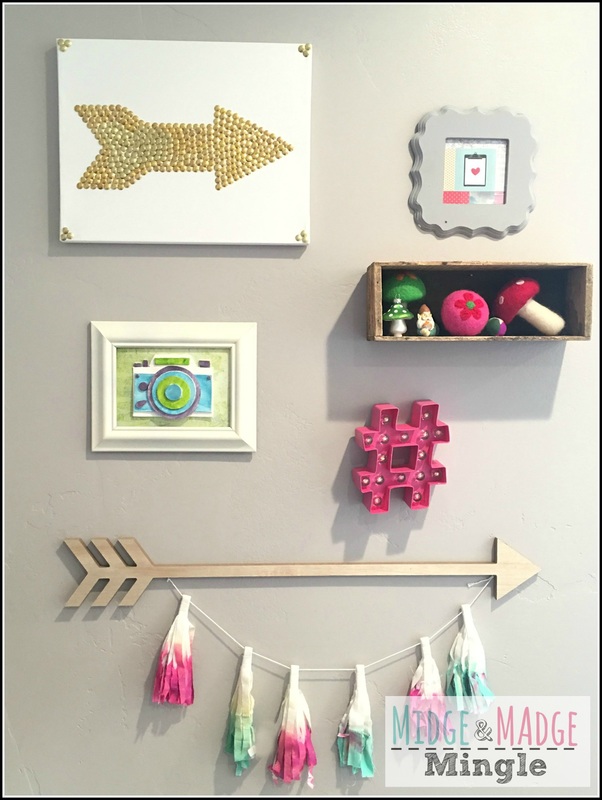
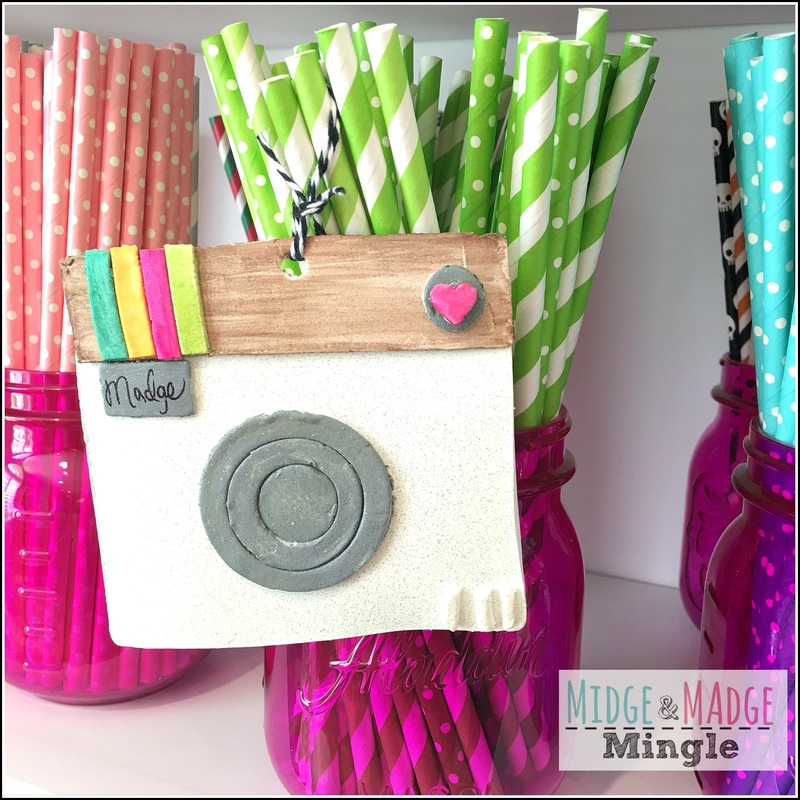
* Bag from Dollar Store *Masking Tape *Paint *Paint Dobber *Paint Brush *Ribbon *Paper Plate or something to pour paint onto Instructions: Place bag on surface Tape off stripes with masking tape (if you do not want the stripes discard steps 1-3) Paint stripes on our bag (allow to dry) Take off Masking Tape Use the Paint Dobber to paint the polka dots onto the bag (allow to dry) Cut different types of ribbon and tie onto the bag We hope that you enjoyed this quick and easy DIY that you can complete start to finish in under 15 minutes! We want to thank Craft Lightning for allowing us to participate in their Halloween Edition! Have you had a chance to check out our latest Mingle? If not what are you waiting for? We have attached it below so you can join us right here!! Remember that this was recorded LIVE on FB, so we are "Mingling" while we show you how to create your very own Cameras out of Polyform Air Dry Clay! In this weeks episode we had a lot of fun, laughing and telling funny stories, all in all that is what we do! We hope that you were able to laugh out loud with us and join in the fun! We go live every Monday at 11:00am MST on our FB page! Hope you tune in and watch each week! Now we promised a close up of the cameras using Polform Air Dry Clay so that is what we are going to give you! First up Midge's Camera, she wanted to place hers in a frame so she could display it as a Home Decor or Office piece. She used Tattered Angels Chalkboard Misting sprays to color her camera. This is a close up of the camera, We also put it on the wall as a wall hanging. We love this wall collage (we have to apologize about the shadow) Isn't this the cutest thing ever? Here is a pic of Madge's Camera. She used Tattered Angels Chalkboard Misting Sprays, and she did mix a little grey DecoArt acrylic paint with her spritz to the lens. Madge created a Christmas Ornament using the Sculpey tools and a little twine! We loved how our cameras turned out! Let us know what you think by leaving us a comment below! And be sure to follow us on Instagram and FB!!! All of our videos are on Youtube and our videos page right here on our site!!!
Have a great week!! *This is a sponsored post with Sculpey. However, all projects, ideas and thoughts are our own. |
Midge & MadgeTwo Best Friends doing what they love and loving what they do. Learn more about us in the About Us tab above. Archives
October 2019
Categories
|




 RSS Feed
