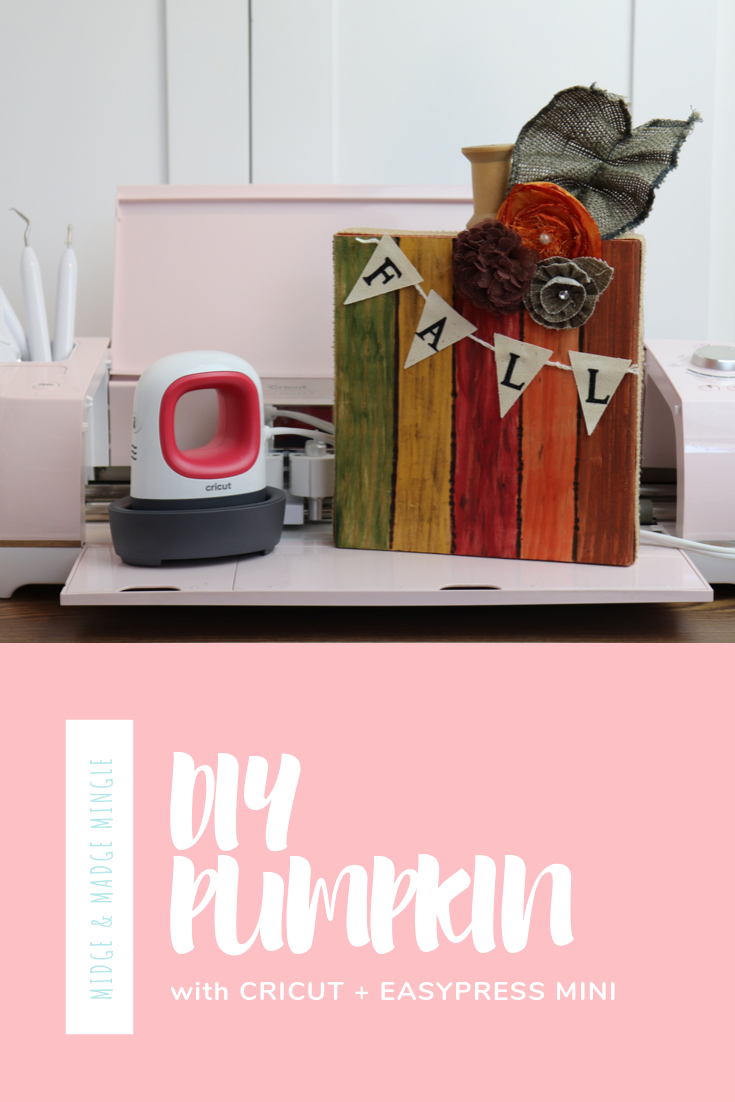
Hello friends! We are so excited to share with you this fun DIY Pumpkin. Of course we used our fabulous Cricut Explore Air 2 to cut out our Glitter Iron On, AND we used the newest addition to the Cricut EasyPress family, (insert drumroll here) and that is the Cricut EasyPress Mini! It is a great companion to whatever size Cricut EasyPress you have in your collection. We all have those smaller and/or unique projects like hats, shoes, shirt sleeves, cuffs, and pockets, and more. Right?
The Cricut EasyPress Mini isn't just adorable to look at, the Cricut EasyPress Mini offers the same benefits and technology as the Cricut EasyPress 2: even heat plate and easy-to-use heat settings for effortless heat transfers. 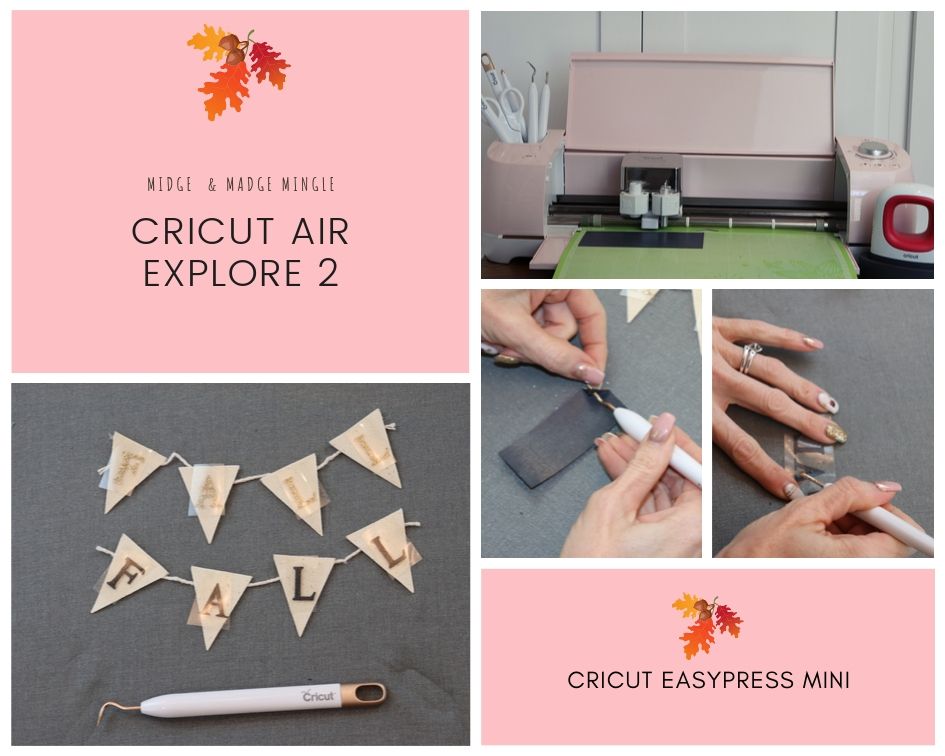
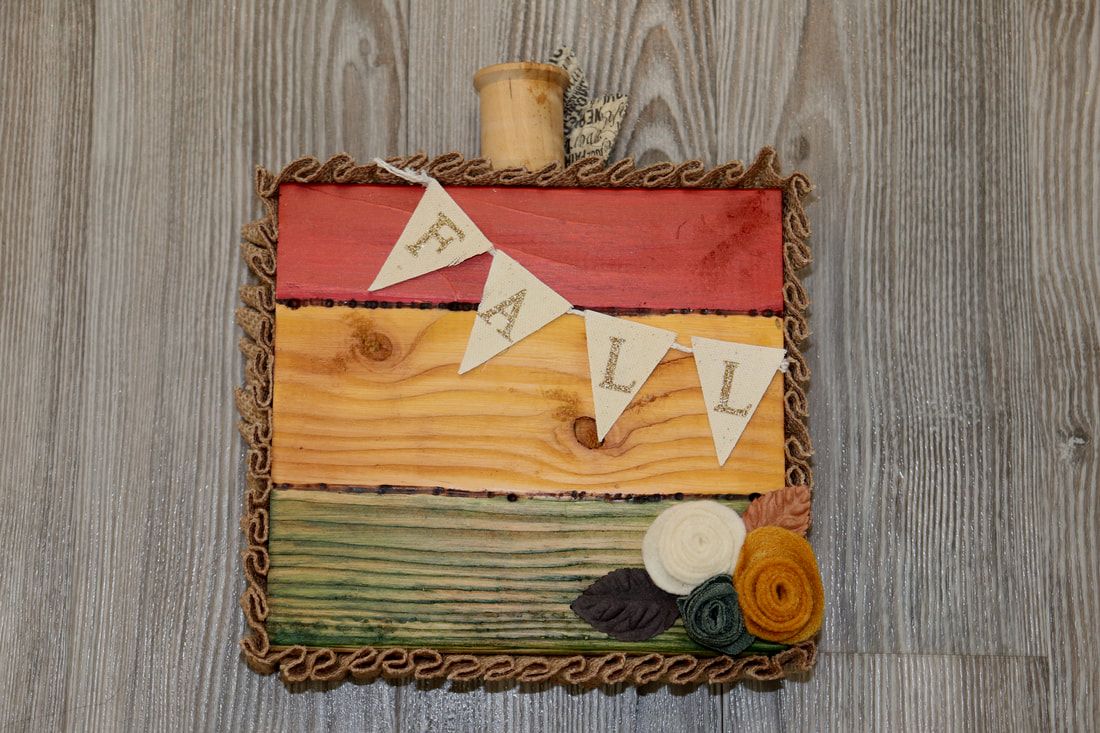
We quickly got started by going into Cricut Design Space and created this fun word Fall. We then sent it to be cut on our Cricut Explore Air 2. Using the Cricut Tools we weeded and placed the letters onto our Cotton/Poly mini banner pieces.

Our next steps are to use the Cricut EasyPress Mini! Cricut has made it so user friendly. Plug in, turn on, adjust temp, and press. It really is as simple as 1,2,3!
You will want to make sure that you check the Cricut EasyPress Heat Guide. First you click on Cricut EasyPress Mini, next your heat transfer material (we chose glitter because that is what we used), Choose your base material (we chose Cotton/Poly Blend), click apply. Another screen will come up with the instructions. For our Project these were our instructions. Pre-heat for 5 seconds Medium heat 25 seconds Constant movement Light pressure Warm peel *Using the EasyPress Mat was also recommended. Cricut even went as far as providing these steps: 1-Supplies 2-Preparation 3- Application 4-Care 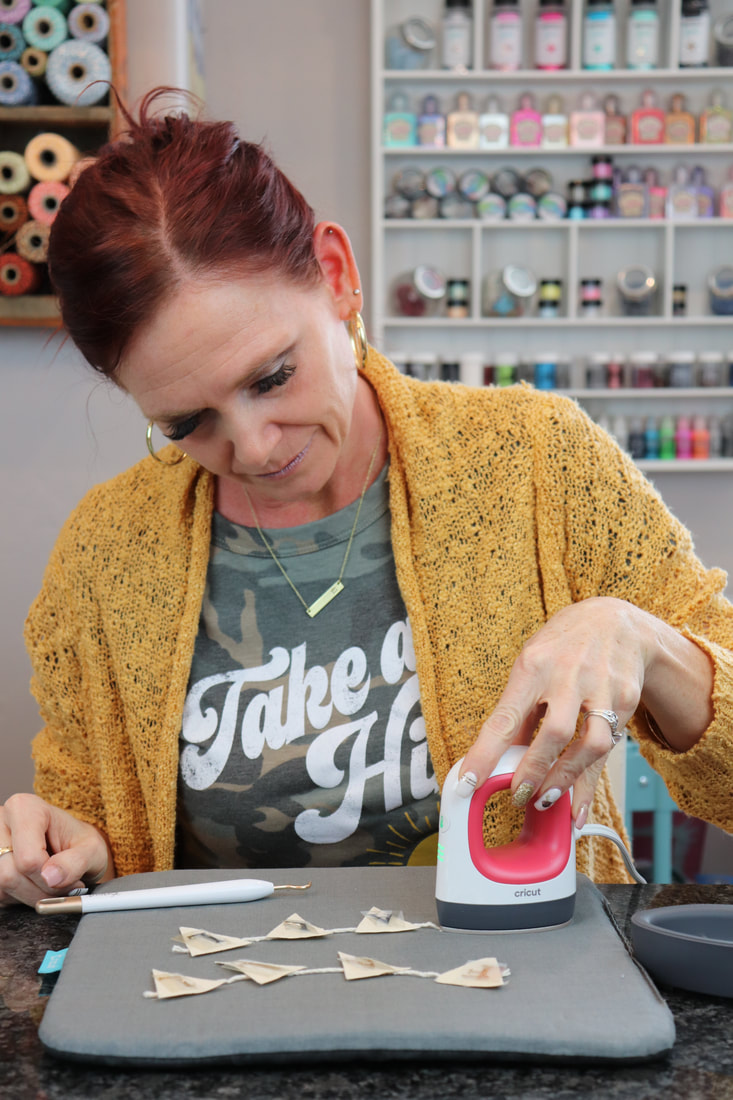
After we were done creating our cute little banner. We were busy making our DIY pumpkins. You can see how they were made below.
We love how our Pumpkins turned out! The Cricut EasyPress Mini made this small project a breeze. Our wheels are turning now with so many projects that we can now make using the Cricut EasyPress Mini.
This is a sponsored conversation written by me on behalf of Cricut. The opinions and text are all mine.
0 Comments
|

Midge & MadgeTwo Best Friends doing what they love and loving what they do. Learn more about us in the About Us tab above.  
Archives
October 2019
Categories
|

 RSS Feed
