As we walked up and down the aisles of our local craft store, throwing different items into our cart, (we all know that we don't need anything, but we "just have to have it") we came across something that changed our DIY lives! Yes, you heard us correctly "Changed our DIY lives". The NEW Cricut Premium Iron-On Designs are here friends, and boy are they cute! There are over 50 designs available, with more on the way! Now, we are sure that you are scratching your head and wondering, "what are they and how will they change my life"? Here is the answer! These Iron-On Designs make it easy. They are perfect for apparel, home decor, tote bags and more.

You will find that we could not just stop at one project! We had several different designs to choose from and our minds were spinning as fast as a hamster runs on his wheel! The great thing about all of these Premium Iron-On Designs is that you can apply them just the way they are, or you can take your Cricut project to the next level by customizing it and making it your own.
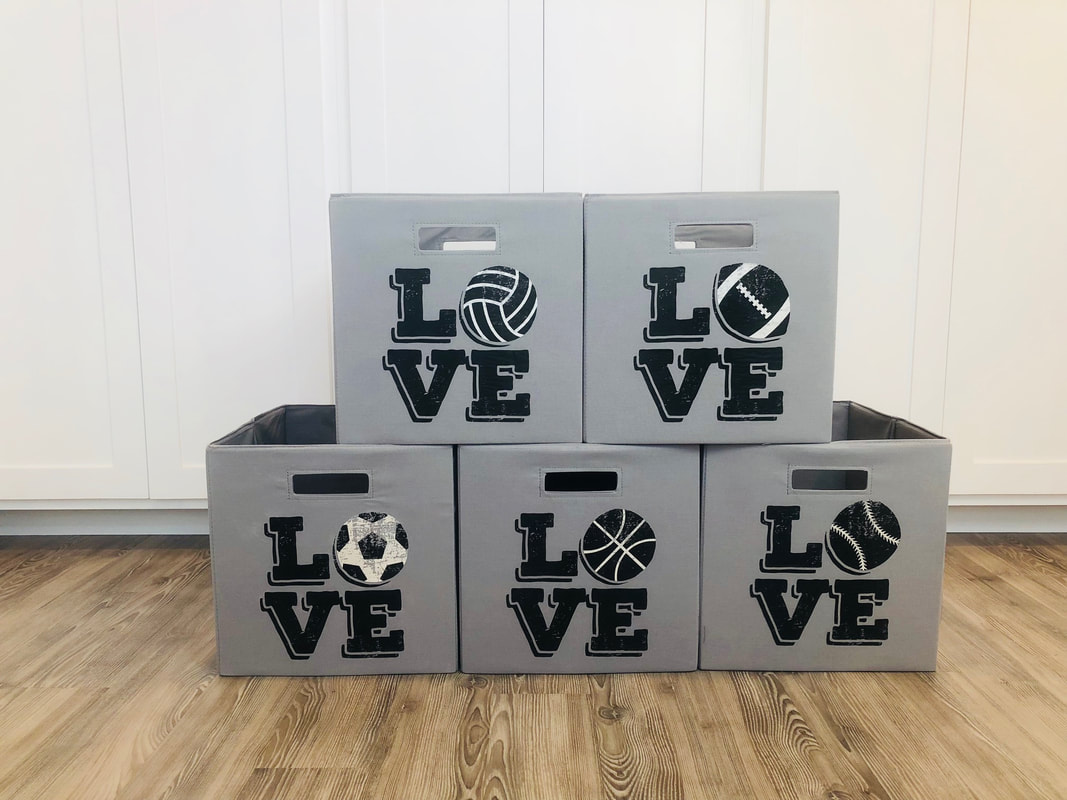
Our first projects we are going to share with you are some Sports Organizers using the Iron-On Designs Love Soccer, Love Basketball, Love Volleyball, Love Baseball, and Love Football. Below you will see all of the supplies that we used to create our fun projects. 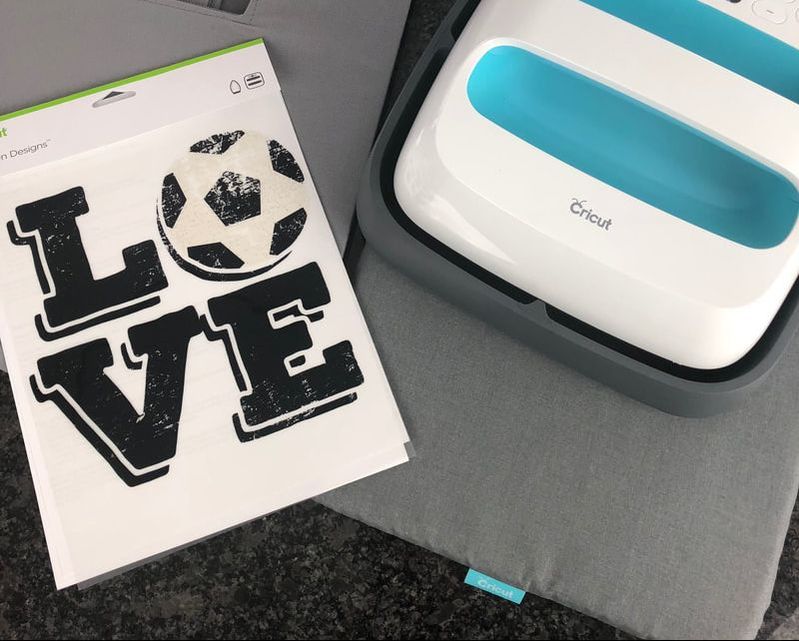
(Click on any of our Affiliate links below to find the supplies
*Cricut EasyPress *Cricut EasyPress Mat *Cricut Iron-On Designs Love, Basketball *Cricut Iron-On Designs Love, Football (available soon) *Cricut Iron-On Designs Love, Soccer *Cricut Iron-On Designs Love, Baseball *Cricut Iron-On Designs Love, Volleyball *Cricut Iron-On Designs Mermaid *Cricut Iron-On Designs Panda *Cricut Iron-On Designs Sloth Nap *Cricut Iron-On Designs Unicorn *Cricut Iron-On Designs Teacher Apple We are now going to walk you through a few quick easy steps so you can start creating your amazing DIY Cricut Projects. Step 1: Take your Cricut Iron-On Design out of the package and set aside. Step 2: Heat your EasyPress to 340 degrees Step 3: Pre Heat Cricut EasyPress Mat and project piece Step 4: Place your Iron-On Design Step 5: Press for 30 Seconds Step 6: Cold Peel You can find all of the EasyPress recommended settings page HERE *There are different instructions if you are using a towel in place of the EasyPress Mat. Shown Below we are Pre Heating our project. We Pre Heat for approx 5 seconds. 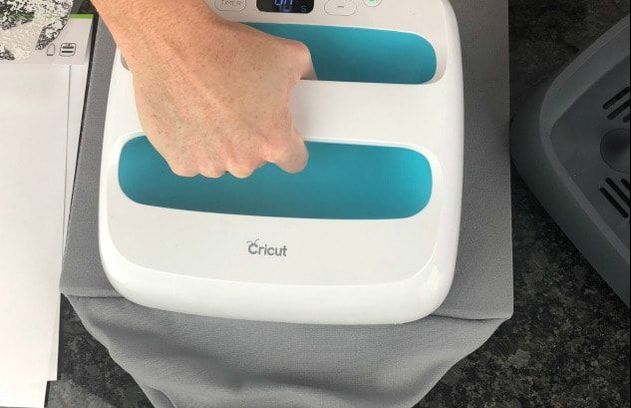
It's pressing time! EasyPress time that is. Using our Cricut EasyPress and EasyPress Mat, we laid our Cricut Iron-On Design onto our organizer box, and pressed.. Remember to check the EasyPress recommended settings page for different types of materials.
Directions for pressing Cricut Iron-On Designs: (Always heat your EasyPress Mat and the fabric slightly before adhering) Temperature Setting- 340* Time Setting-30 seconds on the front, 15 Seconds on the back (if the fabric allows. Our organizer boxes were a different type of fabric on the back so we skipped this step) COLD PEEL Care Instructions:* Allow 24 hours after application before washing. * Wash and tumble dry inside out. * Do not bleach. * If you need to iron, only iron on the backside of the garment. 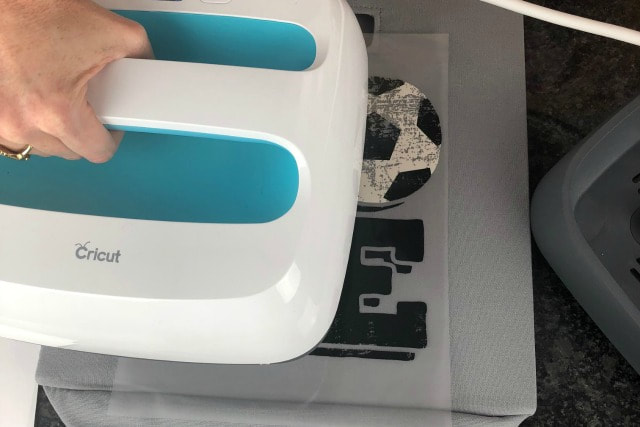
We are thrilled with how our Sports Organizers turned out! No more cleats, gloves, mitts, or balls on the ground! Fill these babies up and keep things organized! Psssst... can we share a secret? This fun organization idea would work fantastic with any of the Cricut Iron-On Designs! We see many more organization projects in our future!!!
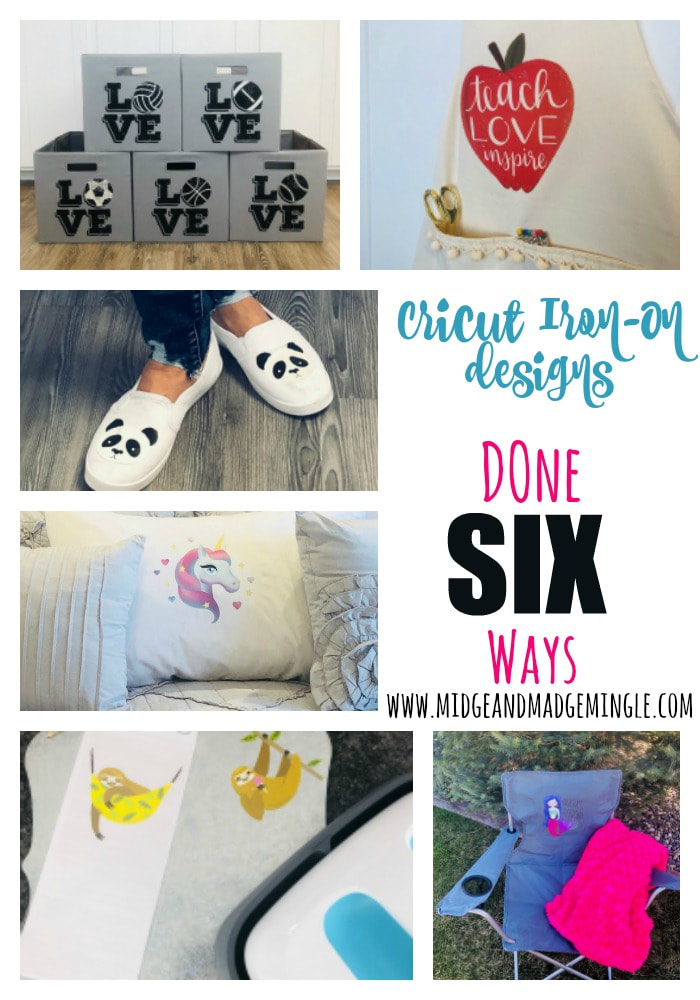
We are now going to share several other fabulous ideas we came up with using these amazing Iron-On Designs! Be sure to leave a comment and let us know which is your favorite!
Mermaid Chair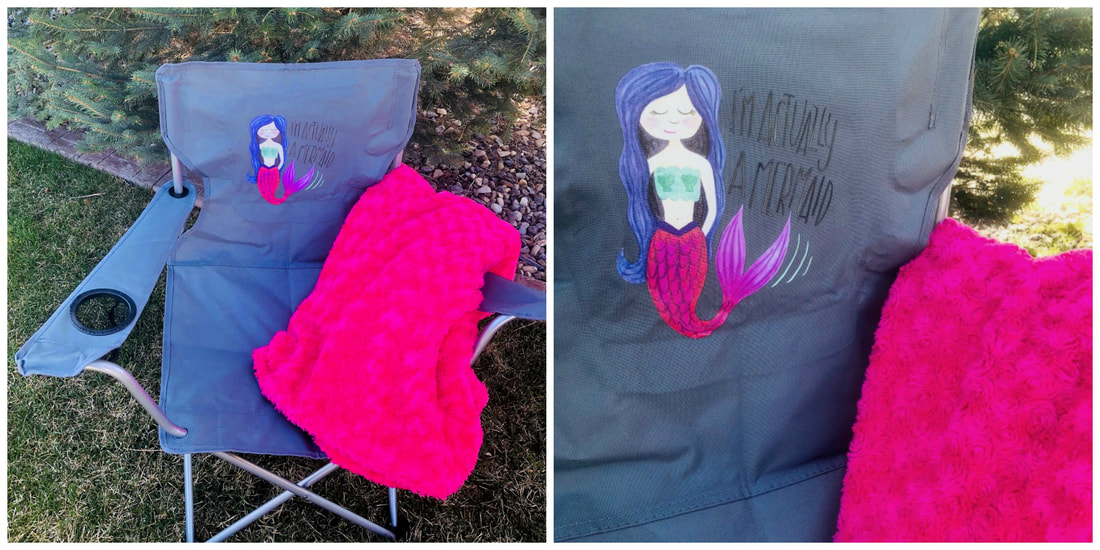
*Please note when making your own custom chair with your Cricut Iron-On Designs* Make sure that your chair is not plastic and that the material will work using the EasyPress or Iron.
Teacher Apron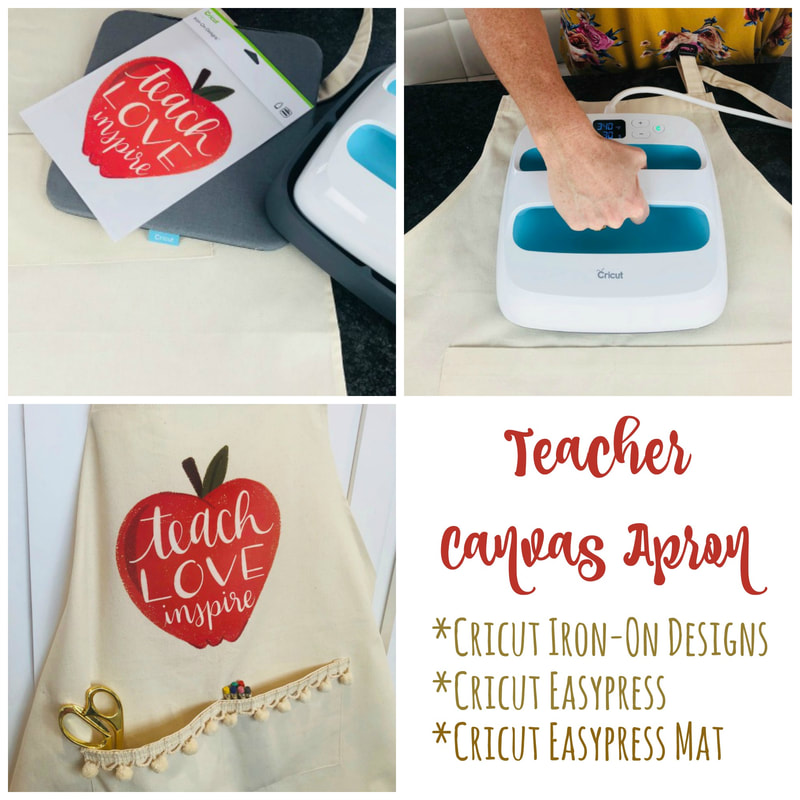
What a perfect gift to give to an amazing teacher in your life. Also this is another fun project that you can create using many of the Cricut Iron-on Designs that are available.
Sloth Metal Sign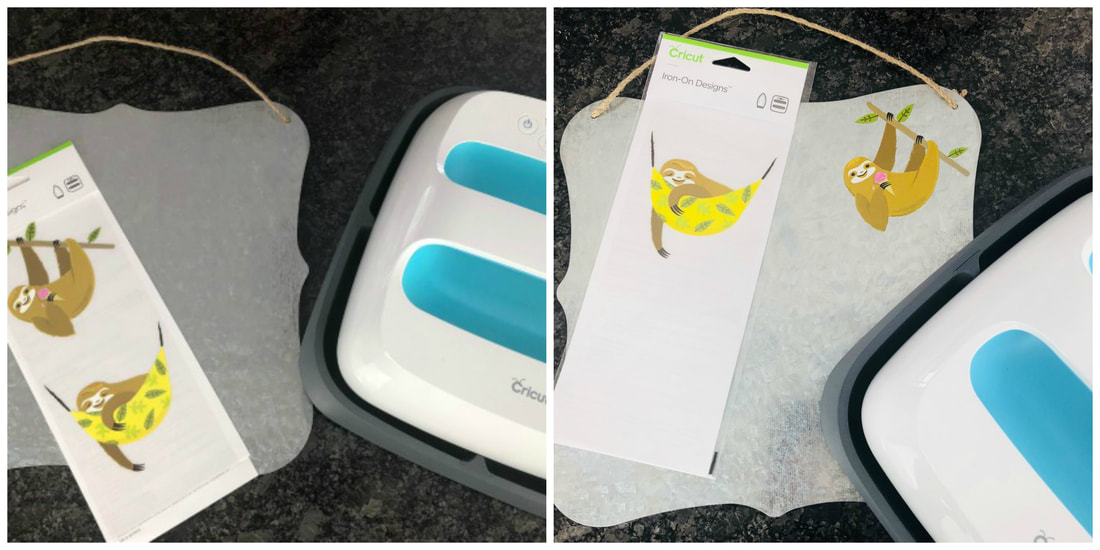
Remember when working with metal that the surface will become HOT so please be cautious. And allow to cool completely before handling.
Unicorn Pillowcase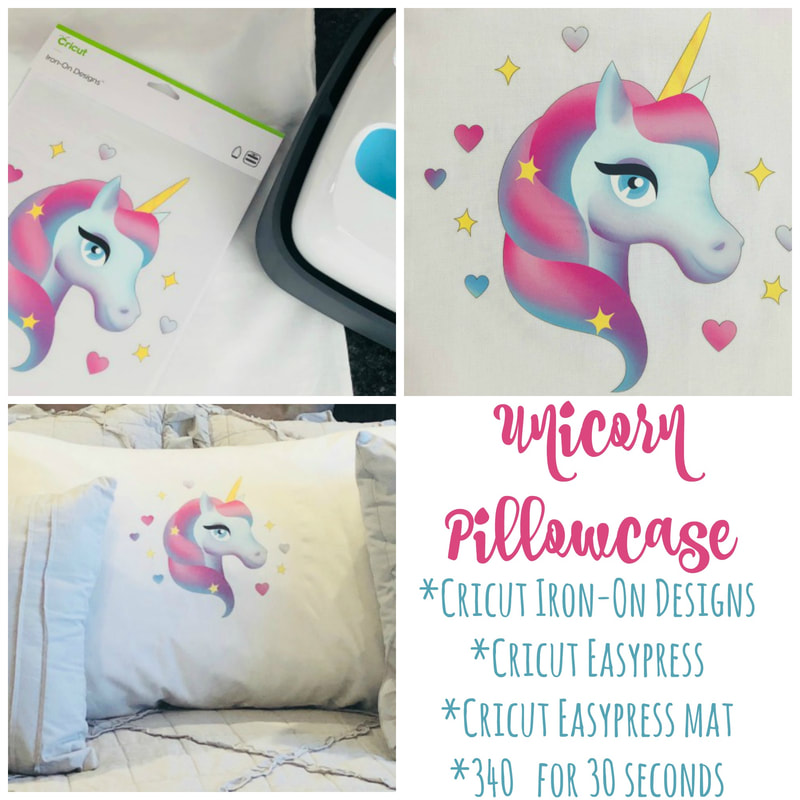
This one is for sure going to be a hit with our nieces. But imagine all of the possibilities with this project. We can think of at least 50 (Wink Wink).
Panda Shoes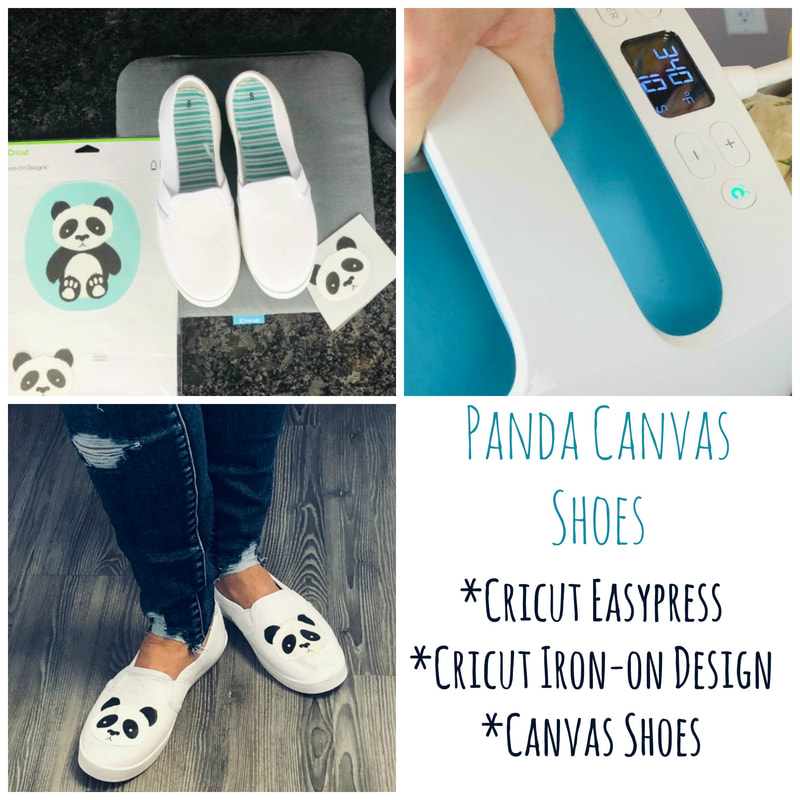
* We stuffed the shoes with oven mitts and covered the toe (where the rubber is so it wouldn't melt) and then followed the instructions to press.
Did you know that the Cricut Iron-On Designs come in two different sizes? There are Large and Small designs for you to create with. We are compensated for this post. However, the opinions, photos, and text are all our own. Remember...sharing is caring! This is a sponsored conversation written by me on behalf of Cricut. The opinions and text are all mine.
0 Comments
Leave a Reply. |

Midge & MadgeTwo Best Friends doing what they love and loving what they do. Learn more about us in the About Us tab above.  
Archives
October 2019
Categories
|
 RSS Feed
