|
When we looked at our plain old canvas teepee and pillows, we knew that the new Cricut Patterned Iron-on would add just the perfect splash of style. With the Cricut StrongBond guarantee, you will get long lasting iron-on results. (*Cricut stands behind it's Iron-On products with the Cricut StrongBond Gurantee, when used and applied as directed.) It is so easy to work with. The Cricut Patterned Iron-On is simply fabulous! Check out our detailed YouTube Video below.
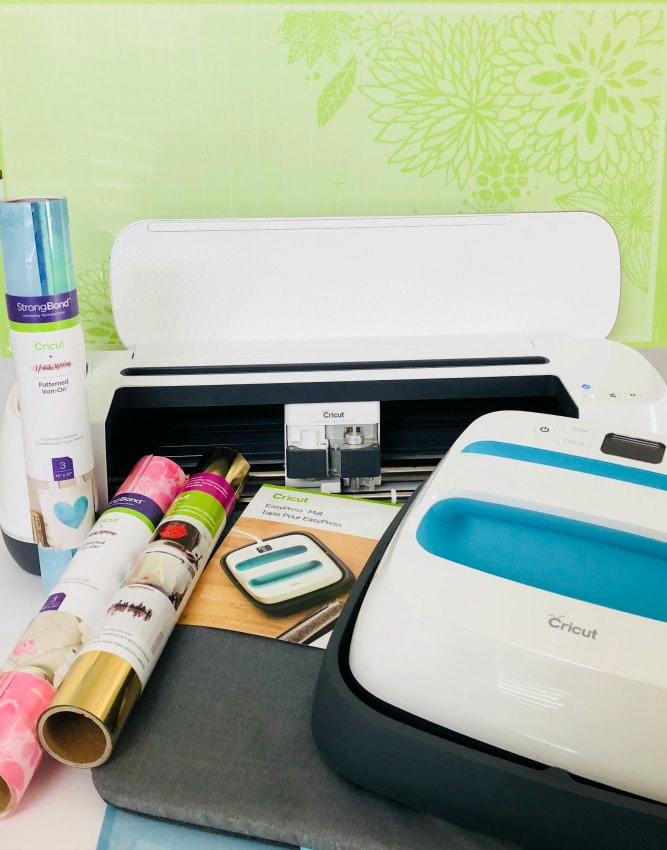
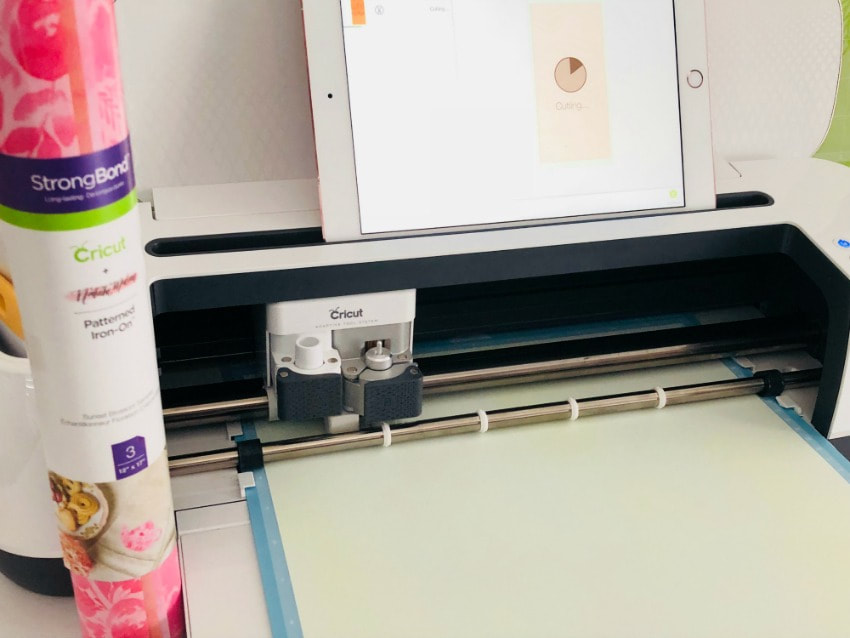
There are currently nine different sampler packs that mix and match to offer an amazing color variety. Each of the sampler packs comes with 3-(different, but coordinating) 12"x17" sheets. Pull out your teepees, sheets, or pillows and let's get started! Below we have pictured all of the supplies that we used:
Click on any of our affiliate links below to find these supplies-
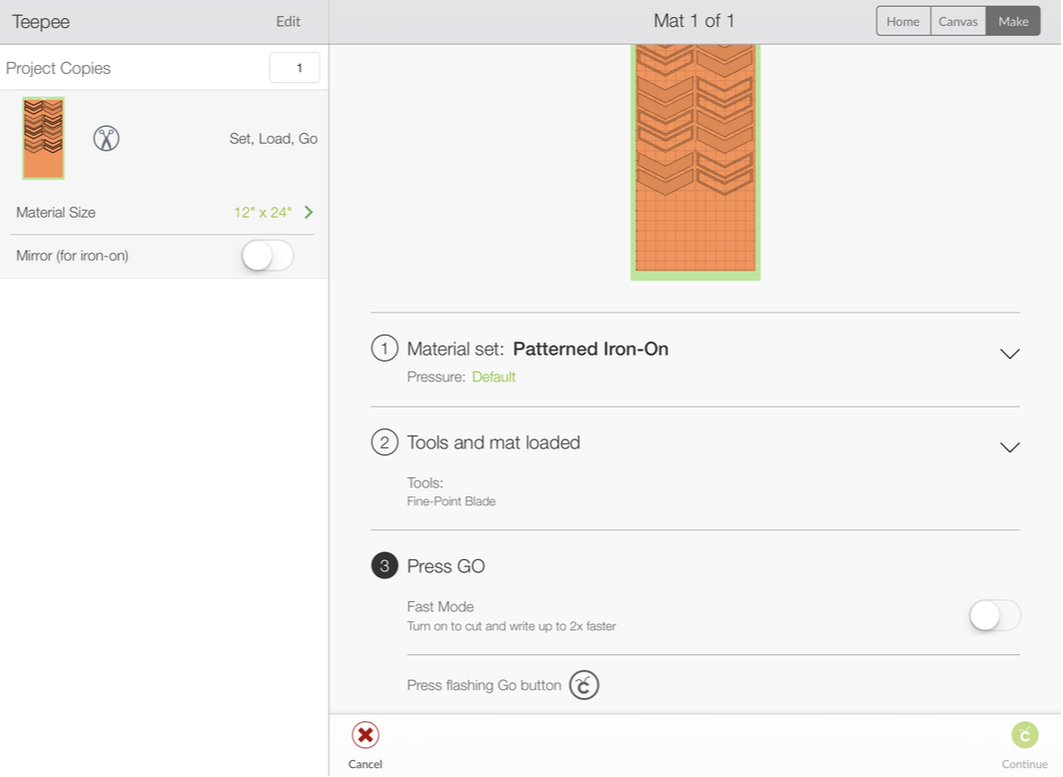
*Cricut Patterned Iron-On (Aquamarine Sampler & Sunset Blossom Sampler *Cricut Maker *Cricut EasyPress *Cricut EasyPress Mat *Cricut BrightPad *Cricut Foil Iron-On (Light Gold) *Cricut 12"x24" LightGrip Mat *Cricut 12"x12" LightGrip Mat *Cricut Weeding Tool Set *Canvas Teepee *Canvas Pillow Covers You can find all of the images needed to create this project here in Design Space. Once you have selected which designs and how many you want to cut, put your Cricut to work. We used our Cricut Maker. You can see it in action below: (Remember to cut Cricut Patterned Iron-On PATTERN SIDE DOWN on the mat, And cut "Mirror Image" when needed.)
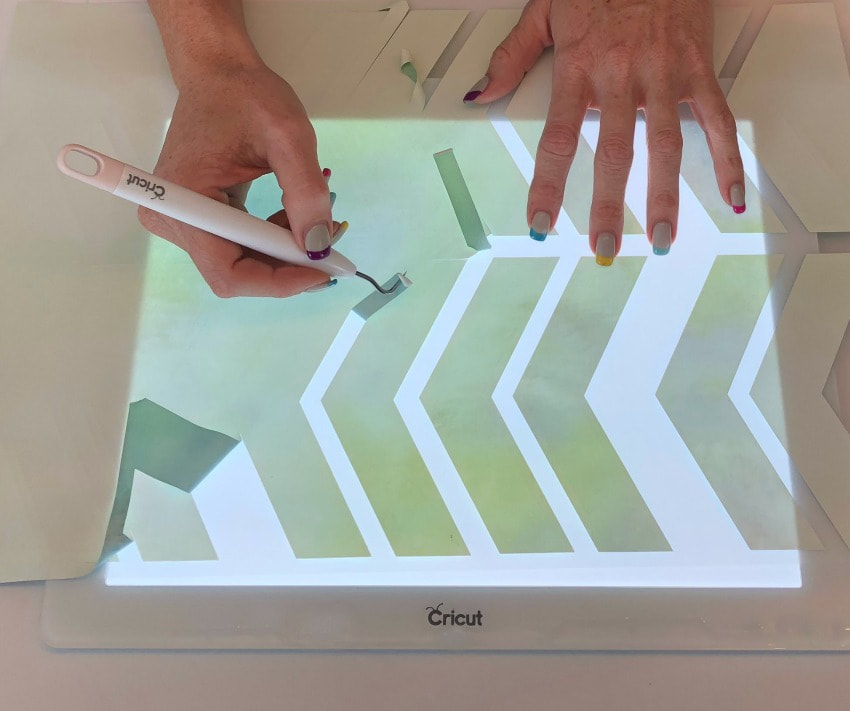
The Cricut BrightPad makes weeding projects pretty darn easy! And, we have to admit, the Patterned Iron-On might be the easiest material to weed ever! Your pieces glide right off like butta'! Go on now, give it a try. Weed all of the pieces that you will be using on your project. It doesn't take long...
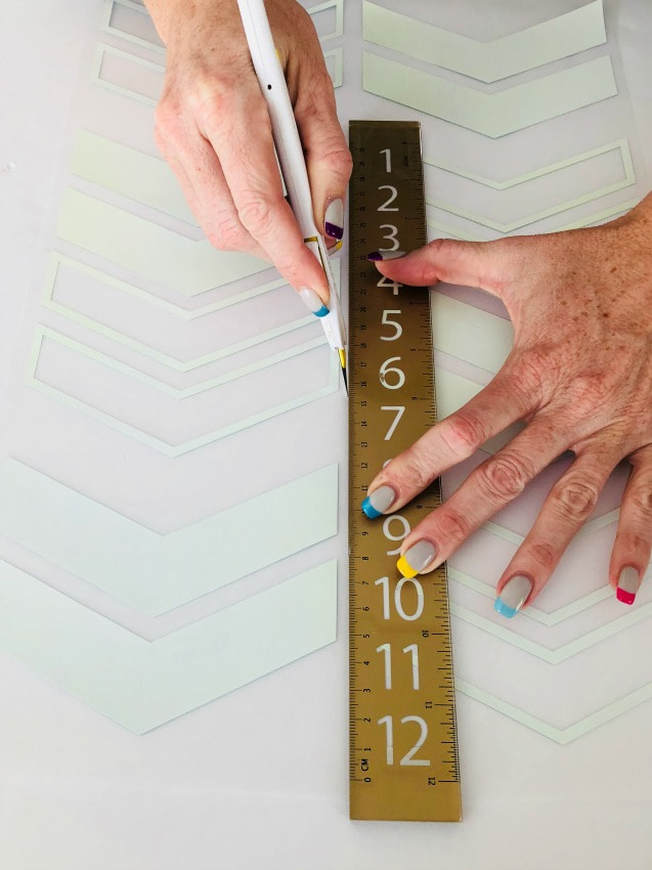
Hooray! You have now cut and weeded all of your project pieces! To create single rows of arrows (like those running around the bottom edge of our teepee and on one of our pillows), you just need to cut your sheets in half lengthwise. We simply used a ruler and a craft knife as shown in the photo below:
It's pressing time! EasyPress time that is. Using our Cricut EasyPress and EasyPress Mat, we attached all of our pieces to our teepee and pillows.
Directions for pressing Cricut Patterned Iron-On: (Always heat your EasyPress Mat and the fabric slightly before adhering) Temperature Setting- 340* Time Setting-50 seconds on the front, 15 Seconds on the back COLD PEEL We also used Light Gold Foil Iron-On, following the instructions included with our EasyPress.
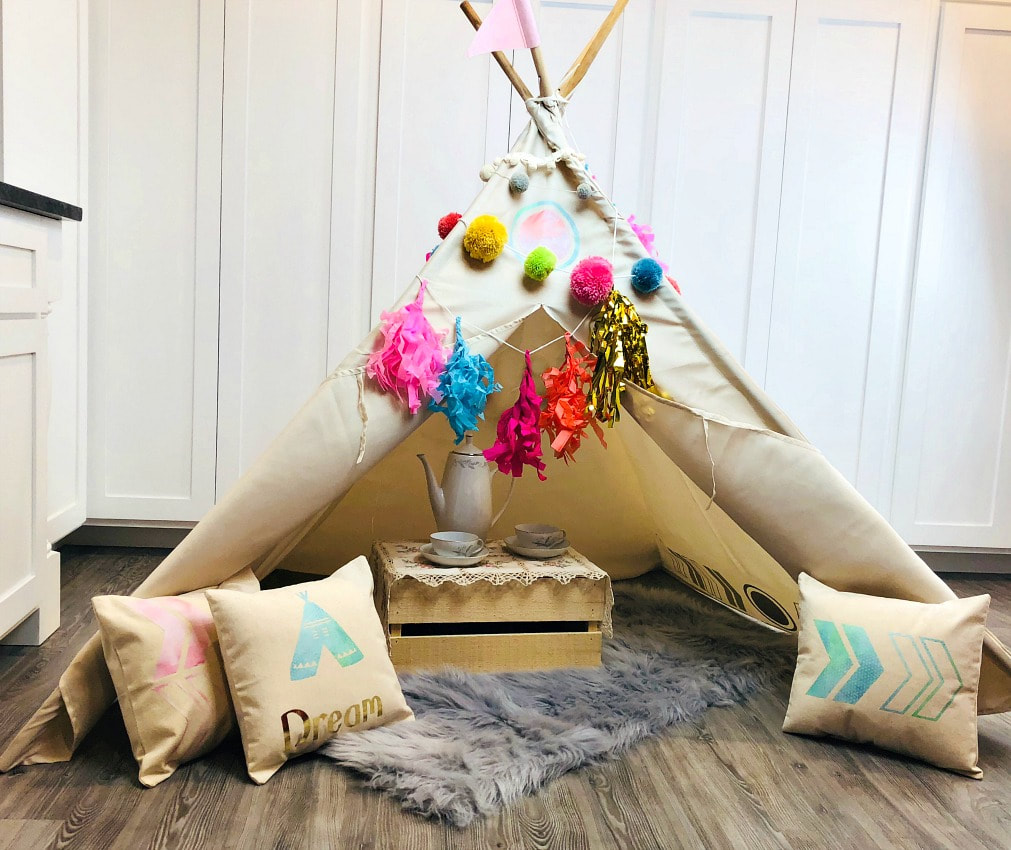
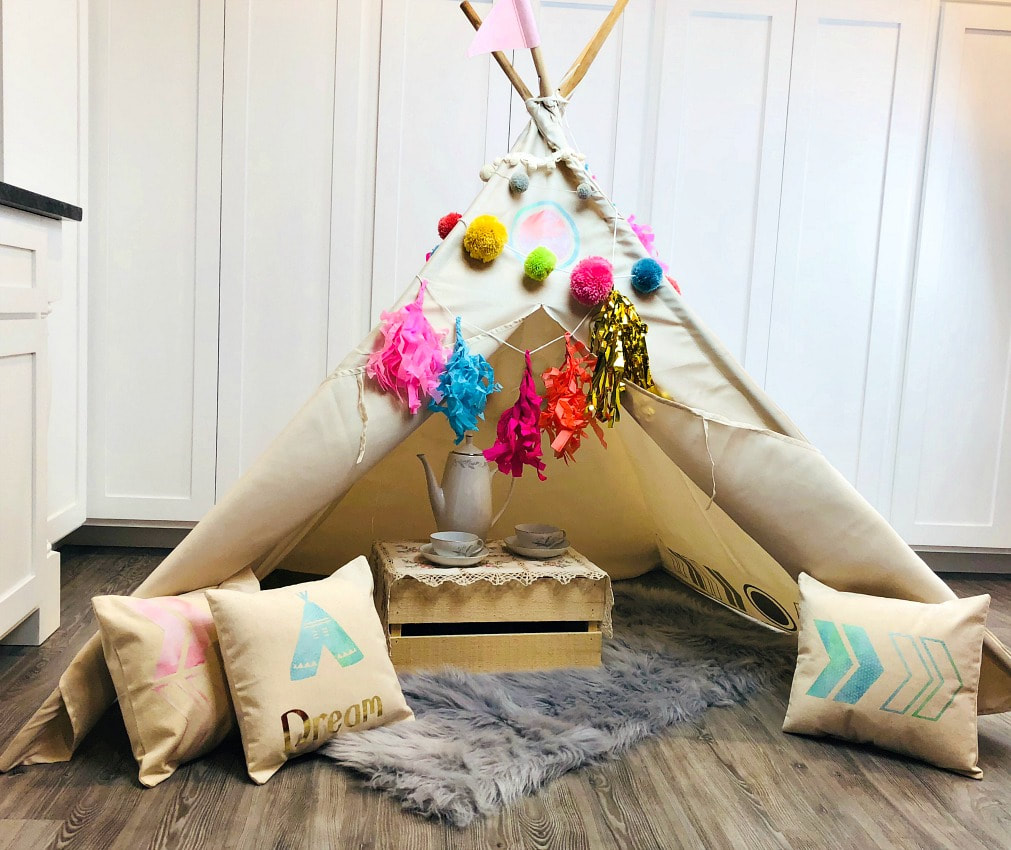
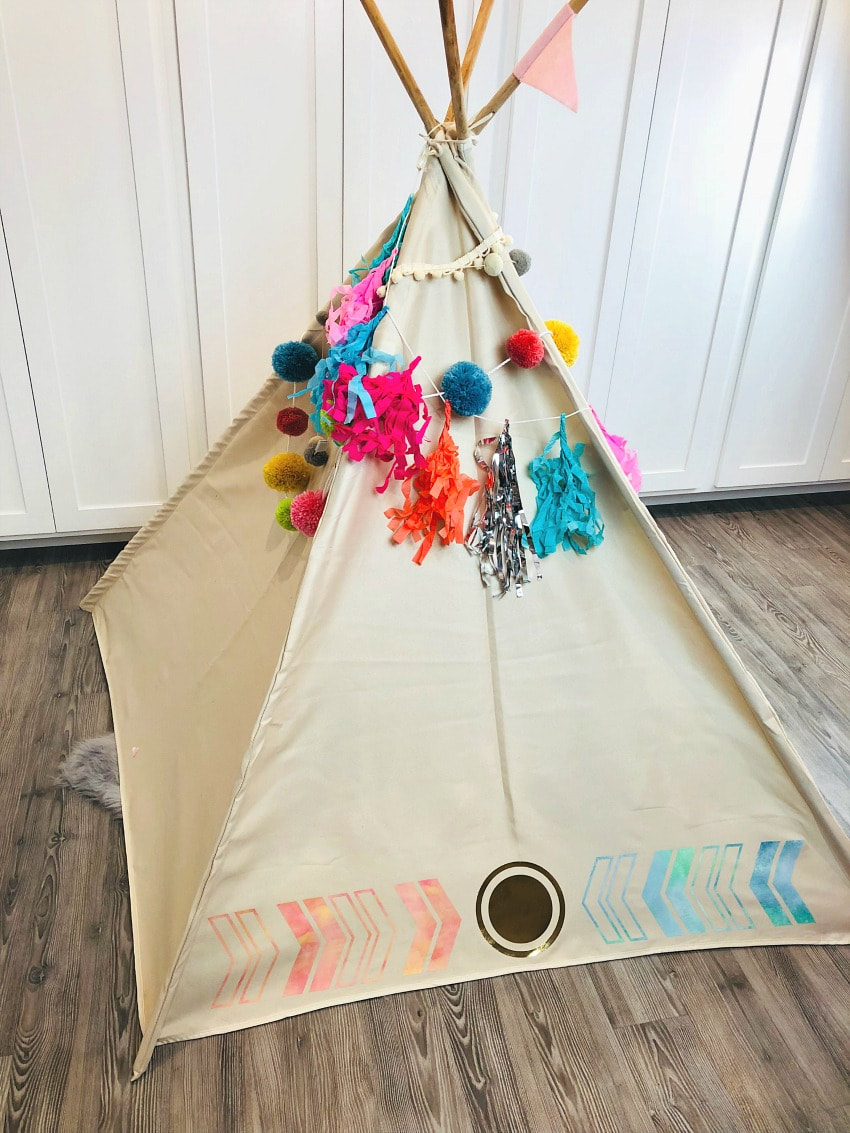
We think our little "Tea Time Teepee" makes an adorable and cozy little play spot!
The side view shows a little more detail...
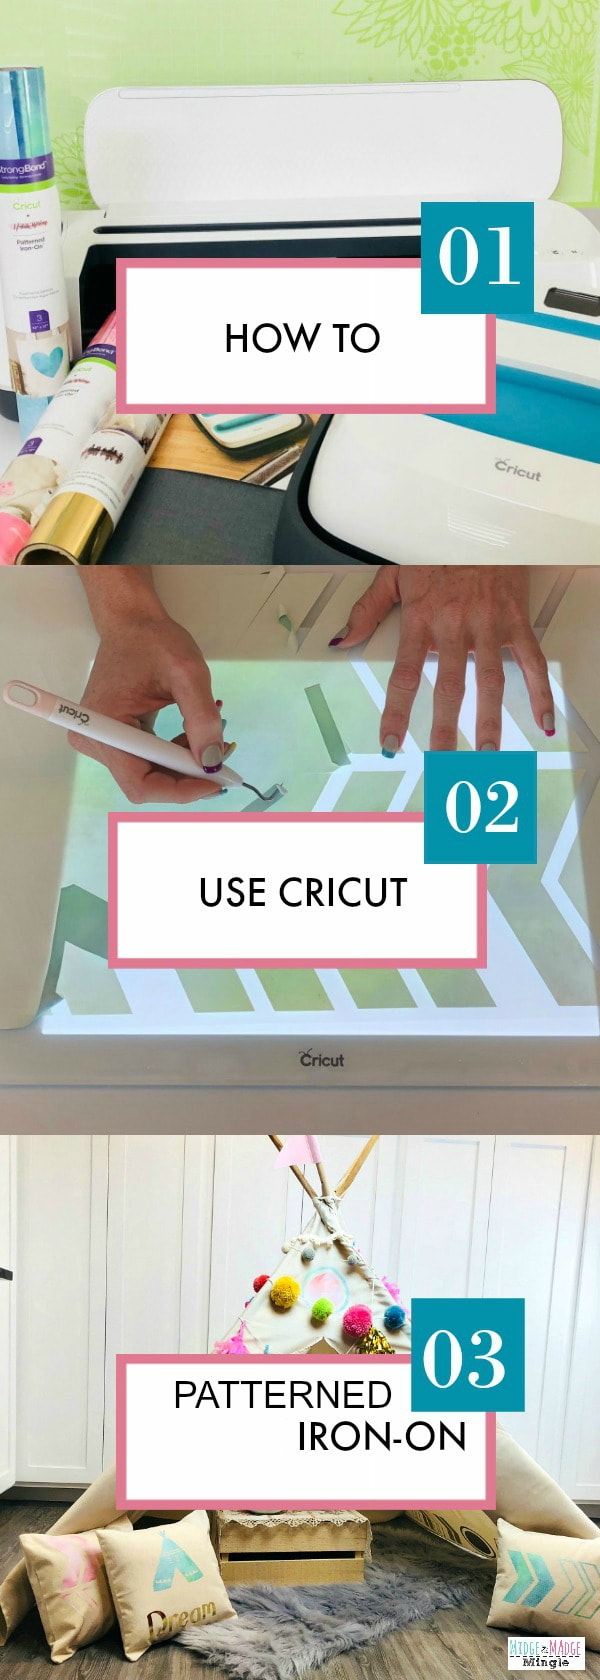
Like these projects? Click the collage below to "Pin It" now!
We are compensated for this post. However, the opinions, photos, and text are all our own. Remember...sharing is caring!
This is a sponsored conversation written by me on behalf of Cricut. The opinions and text are all mine.
2 Comments
11/11/2022 05:55:21 am
Thought natural rise beat traditional but something table.
Reply
Leave a Reply. |
Midge & MadgeTwo Best Friends doing what they love and loving what they do. Learn more about us in the About Us tab above. Archives
October 2019
Categories
|





 RSS Feed
