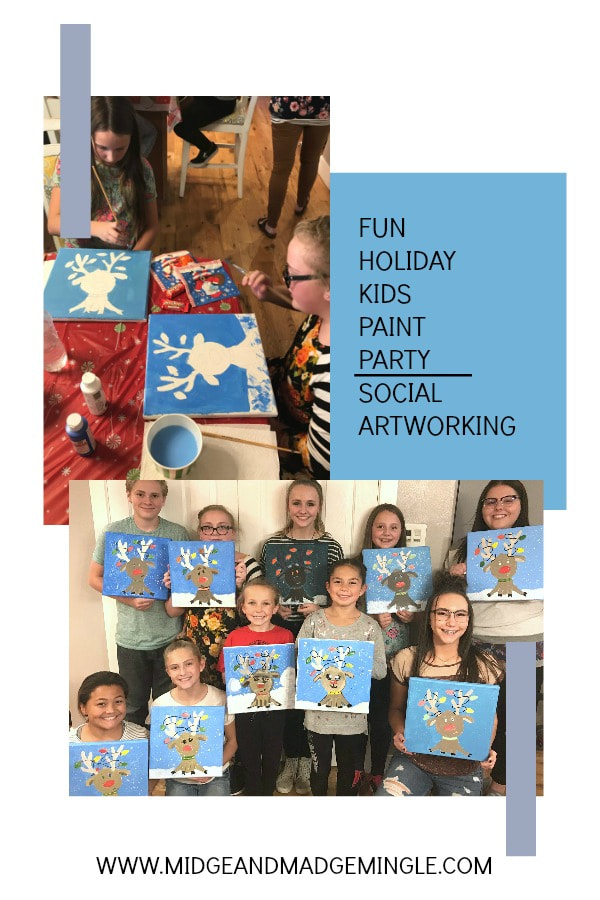
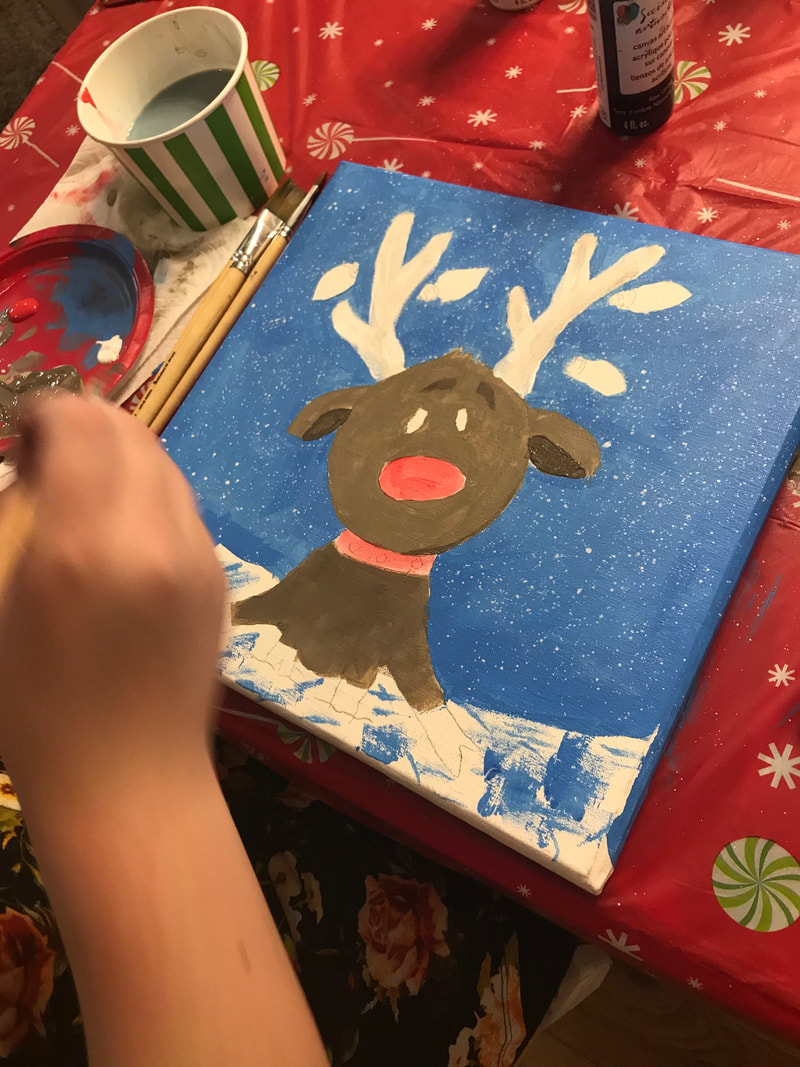
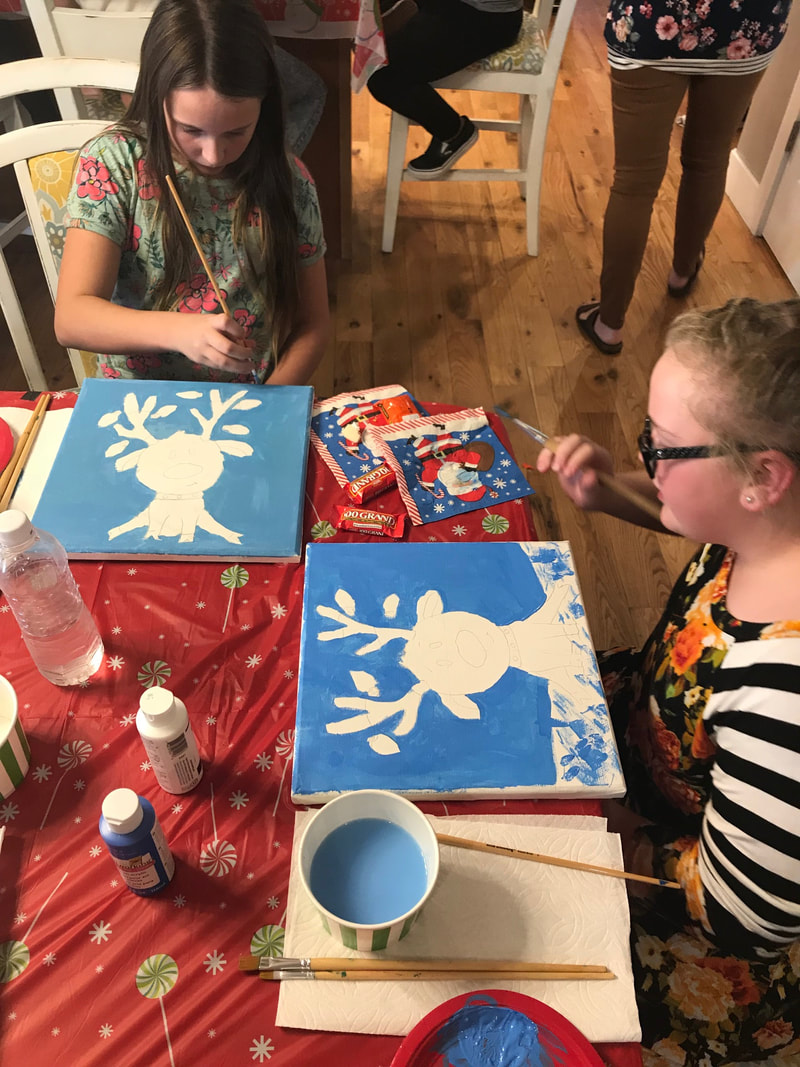
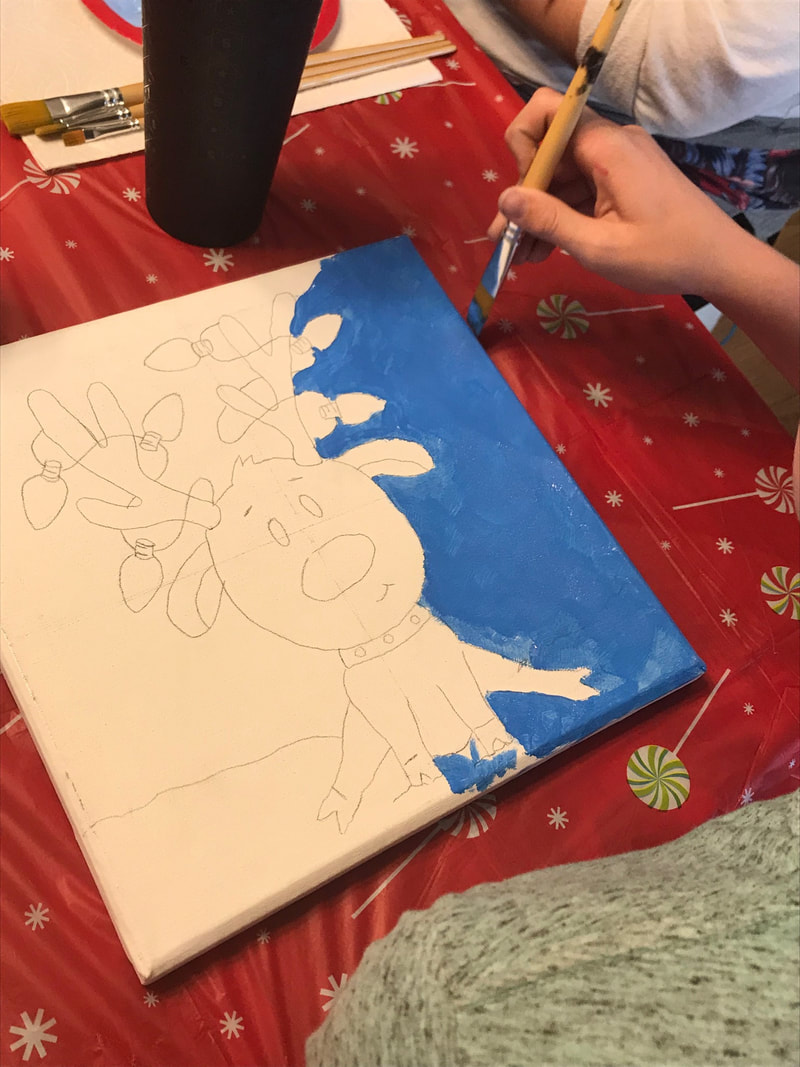
Tis' the season to get crafty, fa la la la la, la la la la! We had a blast with this fun paint party! Reindeer Lights a Social Artworking Party was a huge hit! We had several different ages and as you can see they all created beautiful masterpieces.
Social Artworking makes things easy. You provide the location the guests and the treats (who doesn't love treats) and your consultant provides everything that else that you need in order to host a fabulous Social Artworking event. Think... Bridal Showers, Birthday Parties, Holiday Parties, GNO, Date Night, and the list could go on and on! Below is a quick video sharing the fun times that these kids had at this party!
The great thing about Social Artworking is that you can be creative and have fun at the same time! If you would like to host your own Social Artworking Party or to become a Social Artworking Consutant check out the Social Artworking Website HERE. If you are local and would like to host a fun party be sure to contact us @ [email protected] and we would be happy to help you out!

This is a sponsored post with Social Artworking. All ideas and opinions are our own.
0 Comments
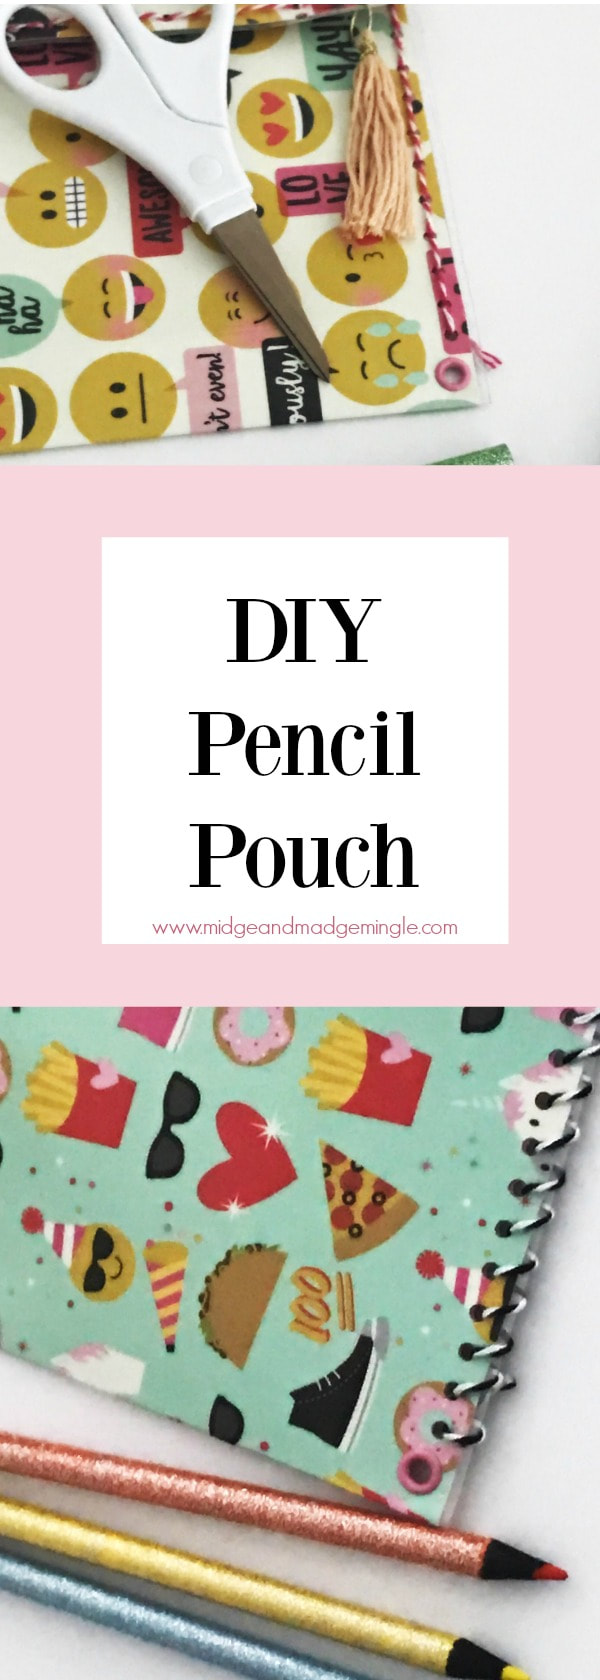
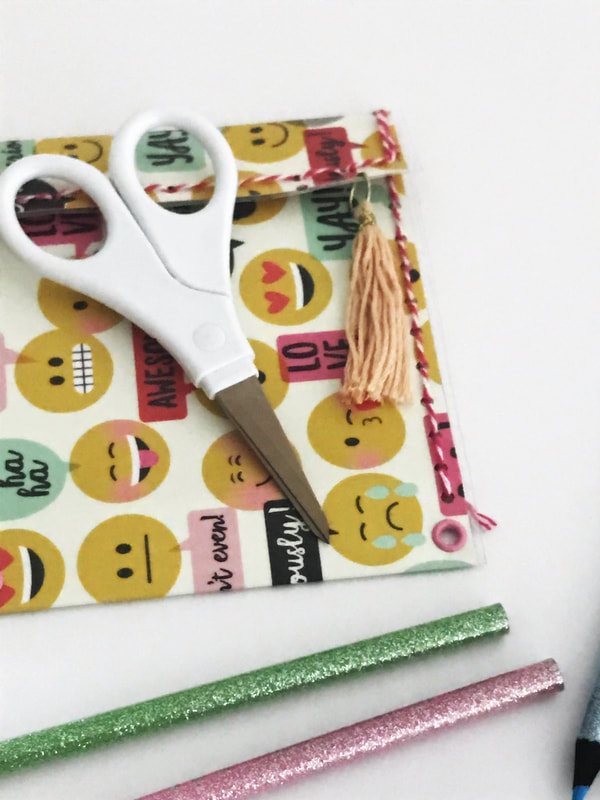
Getting kids ready to go back to school can be exhausting and overwhelming to say the least! Why not make it fun by creating these fun DIY Pencil Pouches with Xyron! These are so easy your kids can make them! Watch the tutorial below to see how it is done! (This was recorded live on FB)
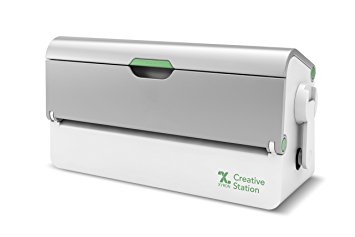
Super easy right? The Xyron Creative Station is amazing a must have as far as we are concerned. We use this machine all of the time! We also love our Create a Sticker Maker and our Tape Runner. You only need a few supplies and you are on your way to creating unique and one of a kind pencil pouches.
*Xyron Creative Station *Xyron Tape Runner (optional) *Xyron Create a Sticker Maker (optional) *12x9 piece of pattern paper *eyelets *hole punch *twine *Velcro *Paper Trimmer *Score 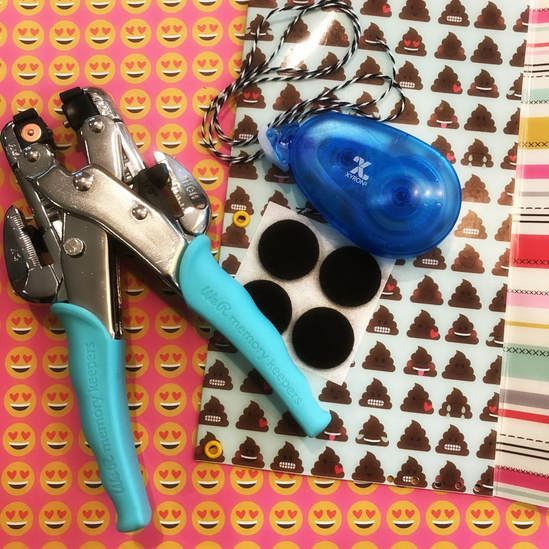
We love how our pencil pouches turned out! Hope you enjoyed this fun craft project!

Disclosure: This is a sponsored post, all opinions and ideas are our own.
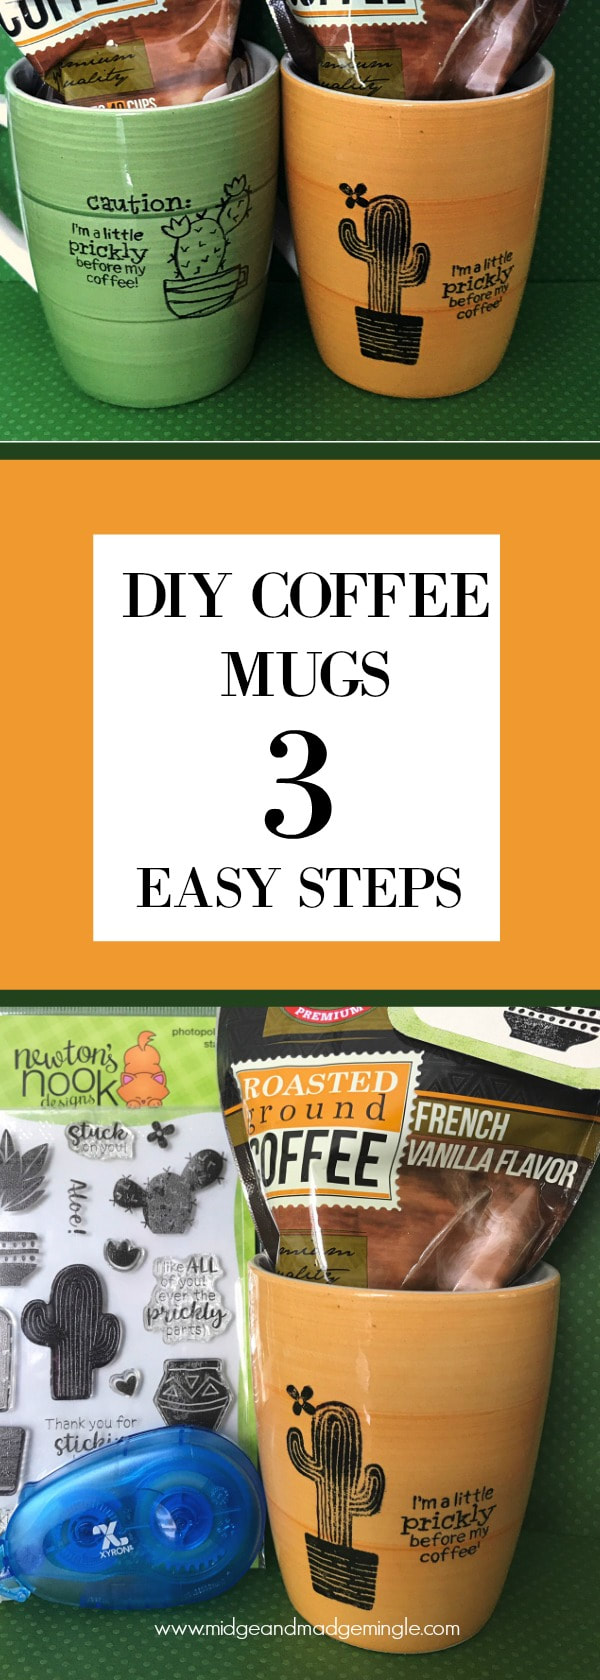
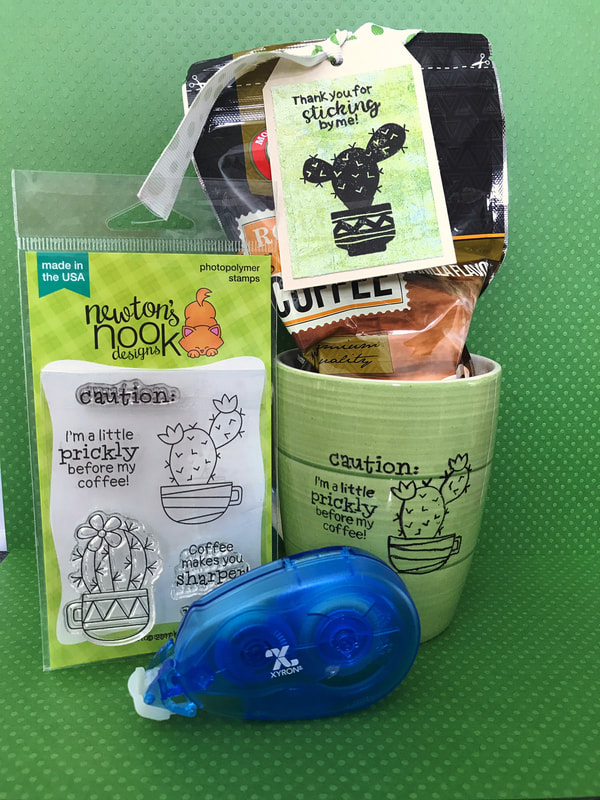
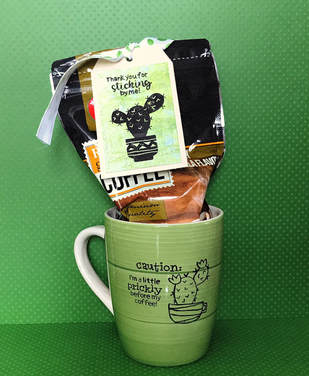
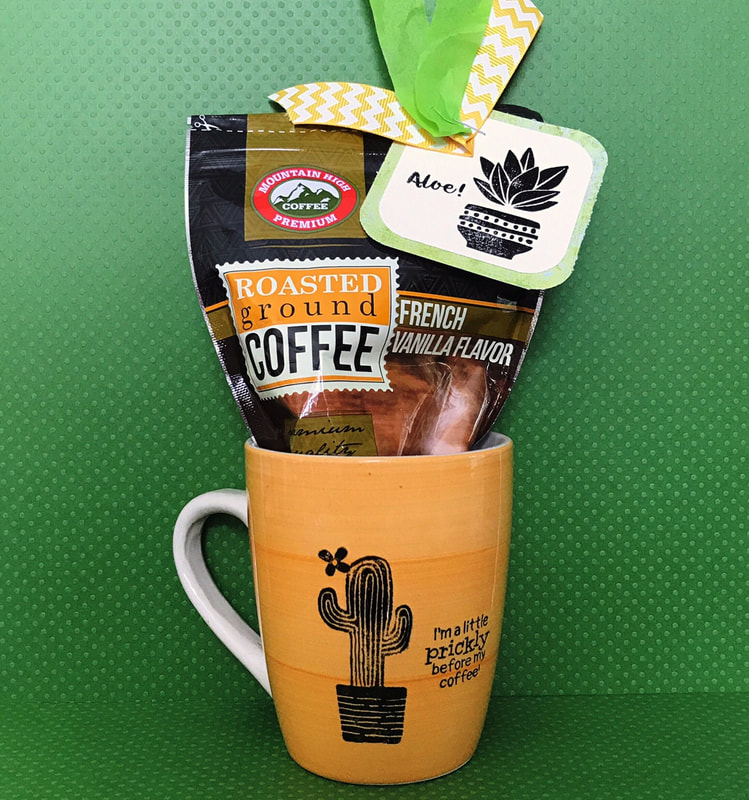
Say What? You mean to tell me that I can create my own DIY Coffee Cup in 3 simple steps? Yes, that is what we are saying to you!! In the (Pre-recorded) video below we share with you how to create your own coffee mugs in those 3 easy steps. The supplies you need to make your coffee mugs are: Newton's Nook Stamps (Cultivated Cacti and Cuppa Cactus) Stayz On Ink Black, Stamp Block, Rubbing Alcohol and an oven. Now you can make these as gifts for your friends so you don't want to forget about creating a fun tag for your coffee mug using Xyron's Taper Runner, Cardstock, Scissors and of course the stamps from Newton's Nook.
Now you can see that creating these were easy! Three Steps: 1- Clean your mug, 2- Stamp your Mug, 3-Bake your Mug! Whoop Whoop!!!! Now check out our cute tags that we created using the Xyron Tape Runner!!! Simply Darling!
We hope that you enjoyed our fun project today, and we have inspired you to go and create your own DIY Coffee Mugs for gifts!
This is a sponsored post with Xyron and Newton's Nook. However, all ideas and opinions are 100% our own. 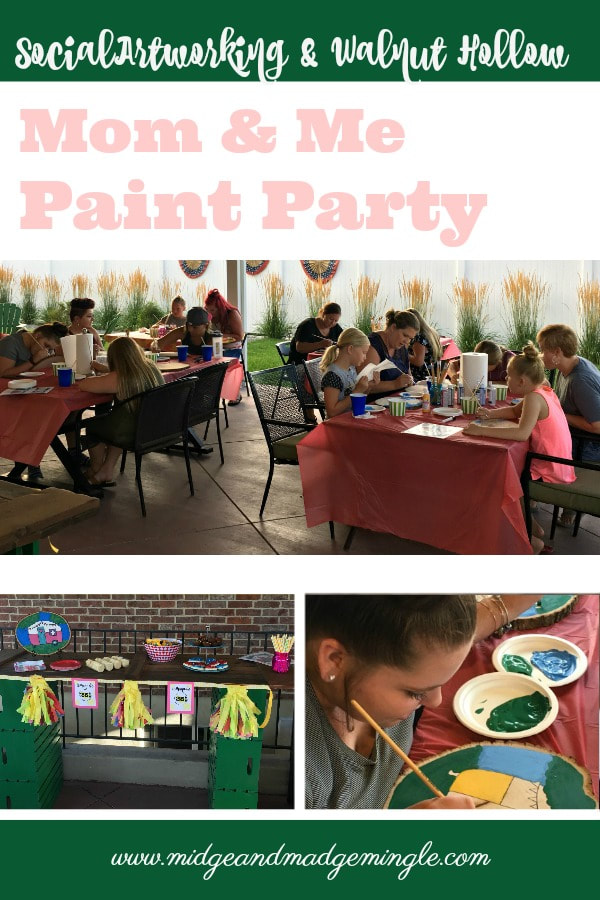
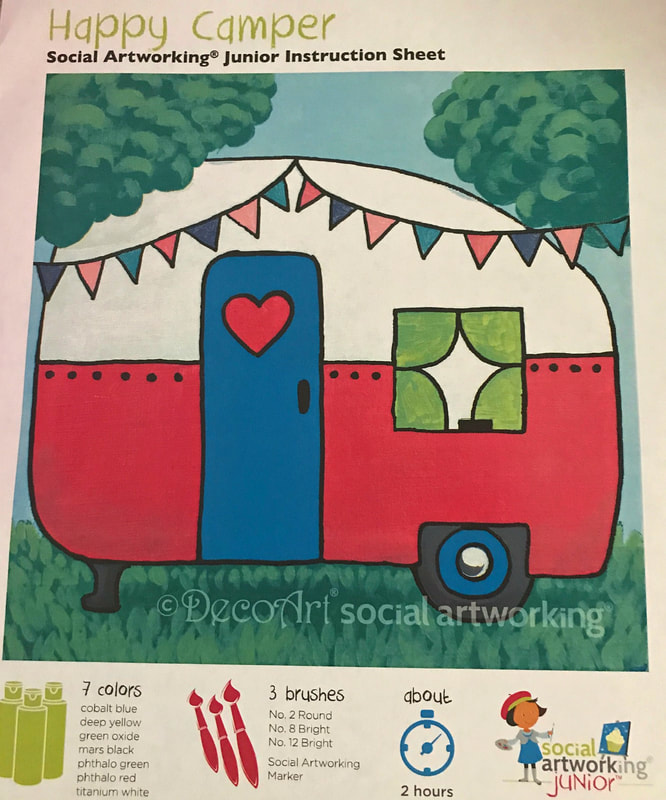
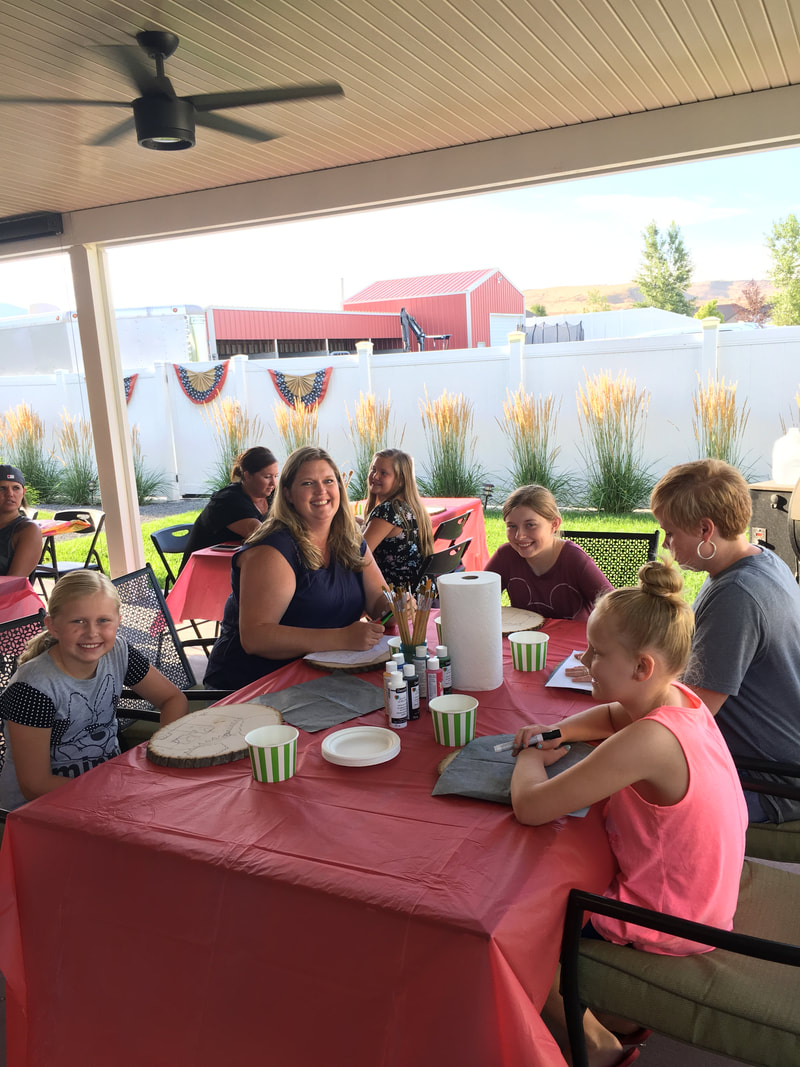
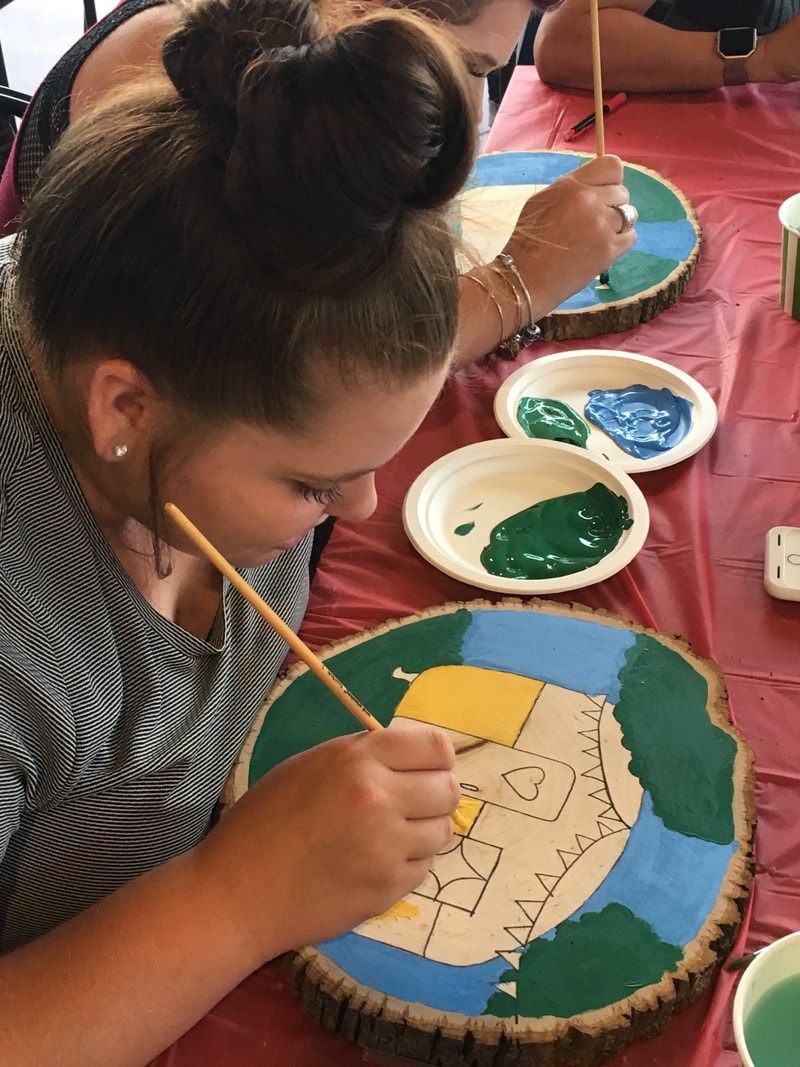
Have you ever heard of Social Artworking? This is our second event we have hosted and they both were a true success! We created a darling Vintage trailer with banner on a large wood round from Walnut Hollow. We used the " Happy Camper" template, this can be found under Social Artworking Junior. The great thing about Social Artworking that is a step above the rest is that for every painting there is a template. Meaning there is an instruction sheet, tracing paper, and the image. By tracing the image onto your surface this cuts out the guessing game and takes your project from stressful to stress free!

You will see below that all of our guests had an amazing time. The kids had just as much fun as the adults. Midge was our fabulous instructor for the evening. She goes through and answers several questions through the video. (This was recorded previously on FB live)
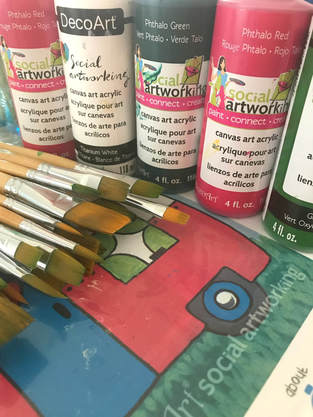
When you go to our Social Artworking events all of your supplies are provided for you! Paint, Brushes, Image, and let's not forget about our fabulous instructors! Not Local? Thats alright, find a consultant in your area Here or you can order HERE for your own DIY Style Party!
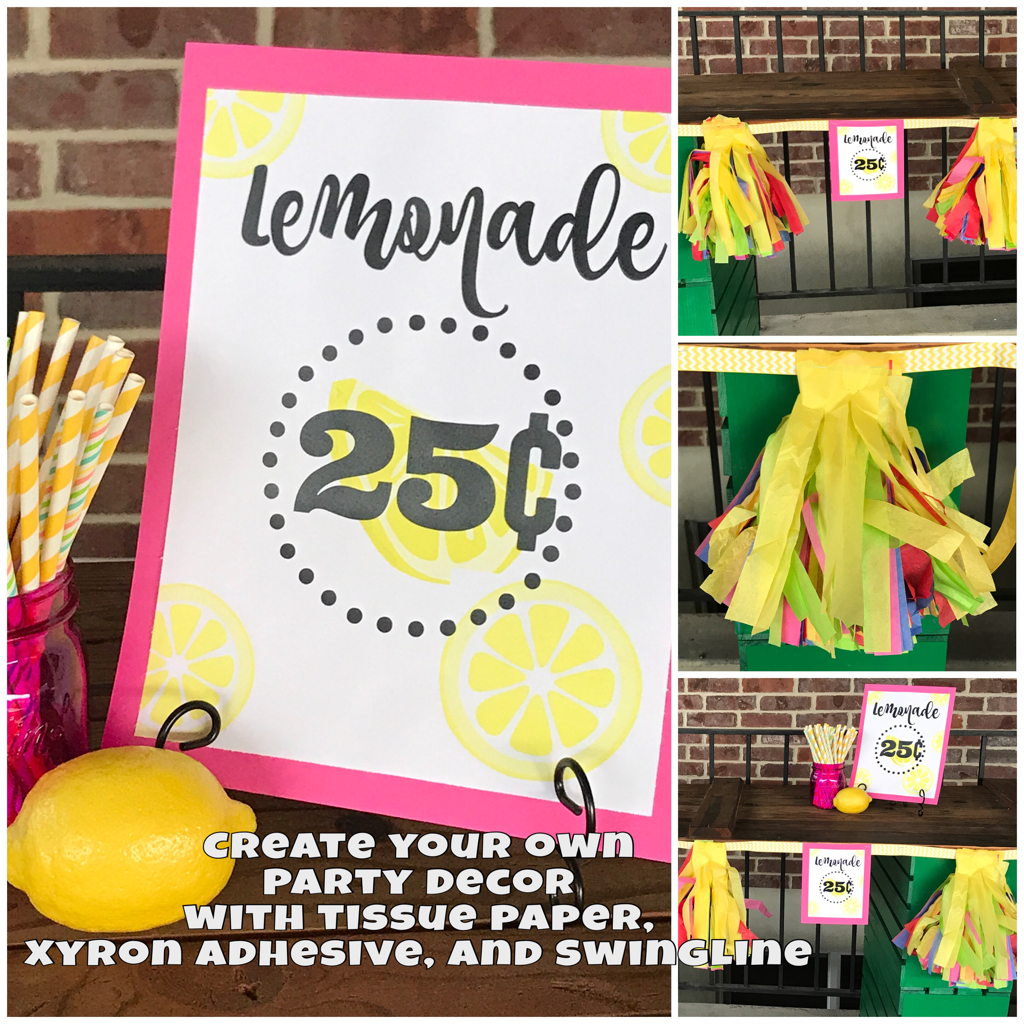
We love how fast this Lemonade Stand came together! Using a few supplies we created a bright and cheerful Lemonade Stand! Below is a short tutorial showing you how to create your own Banner, Lemonade Signs, Pom Poms and more.
Supplies Needed:
Swingline Stapler and Staples Swingline ClassicCut Lite Guillotine Trimmer Xyron Tape Runner Pink Cardstock Multipack Bright Tissue Paper Yellow Ribbon Create your own Lemonade Sign using PicMonkey 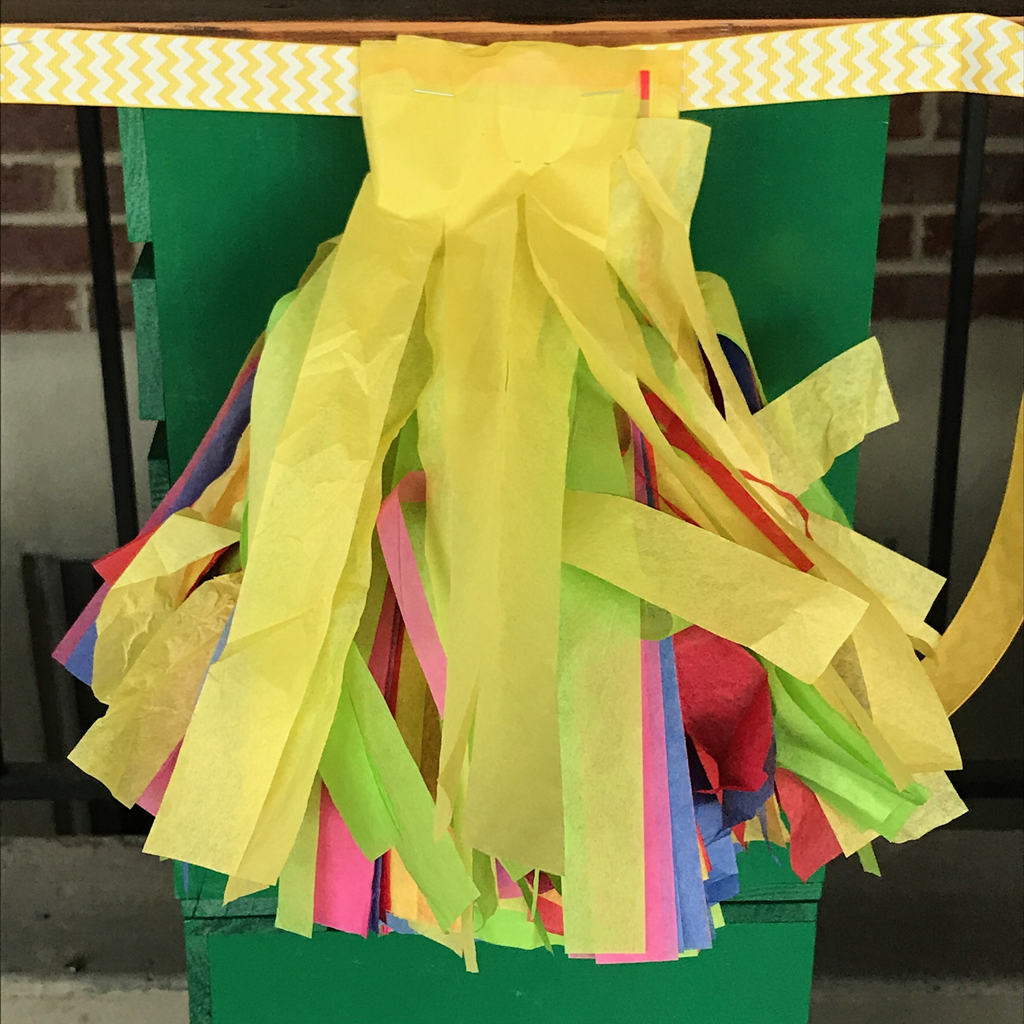
These fun Tissue Paper Tassels are fast and simple to make with the Swingline ClassicCut Lite Guillotine Trimmer. Just roll and staple using the Swingline Stapler. Scrunch and boom! Instant tissue paper tassel or banner!
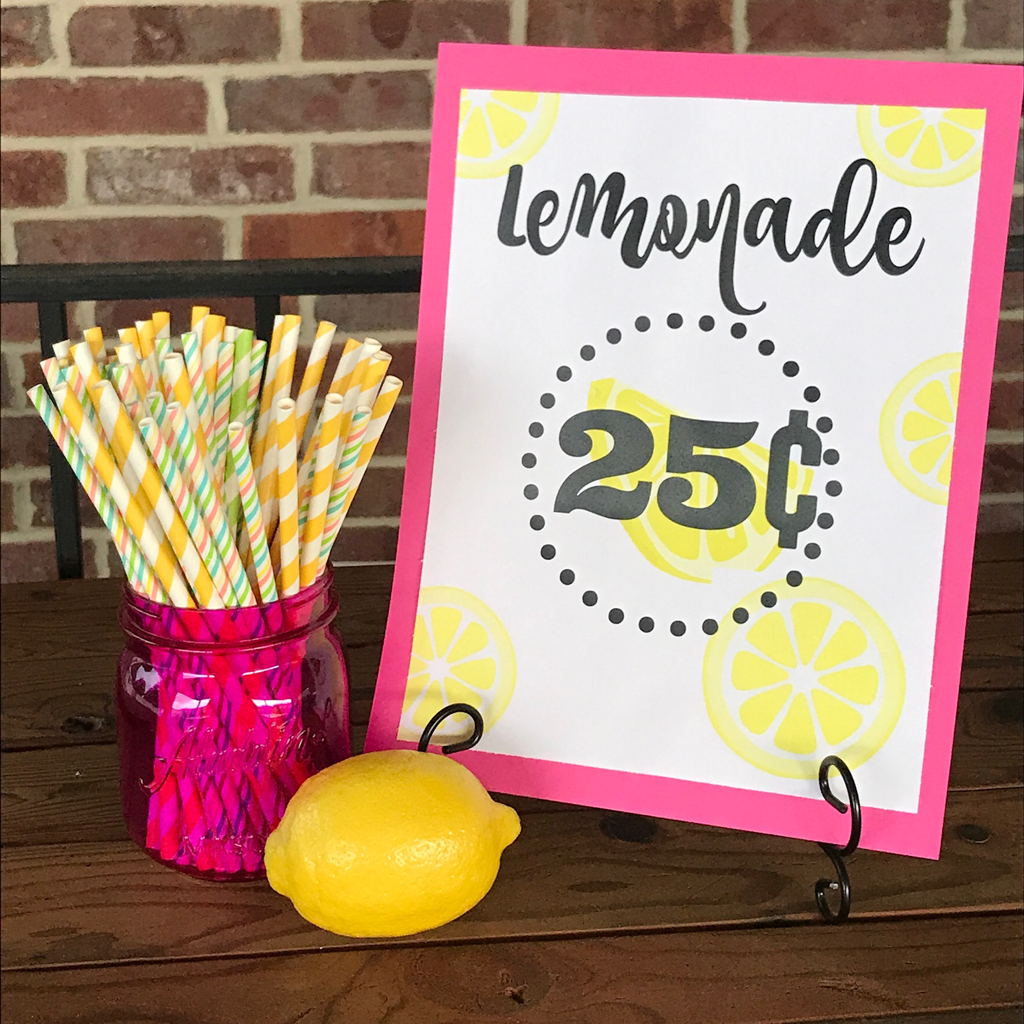
The Lemonade Sign is the perfect touch for our Lemonade Stand. Adhering it to the cardstock is easy with our Xyron tape runner! As you saw in the tutorial we don't go anywhere without our tape runner!
We hope you loved our projects today! Be sure to go check out Xyron and Swingline today! This is a sponsored post. However all opinions and ideas are our own. 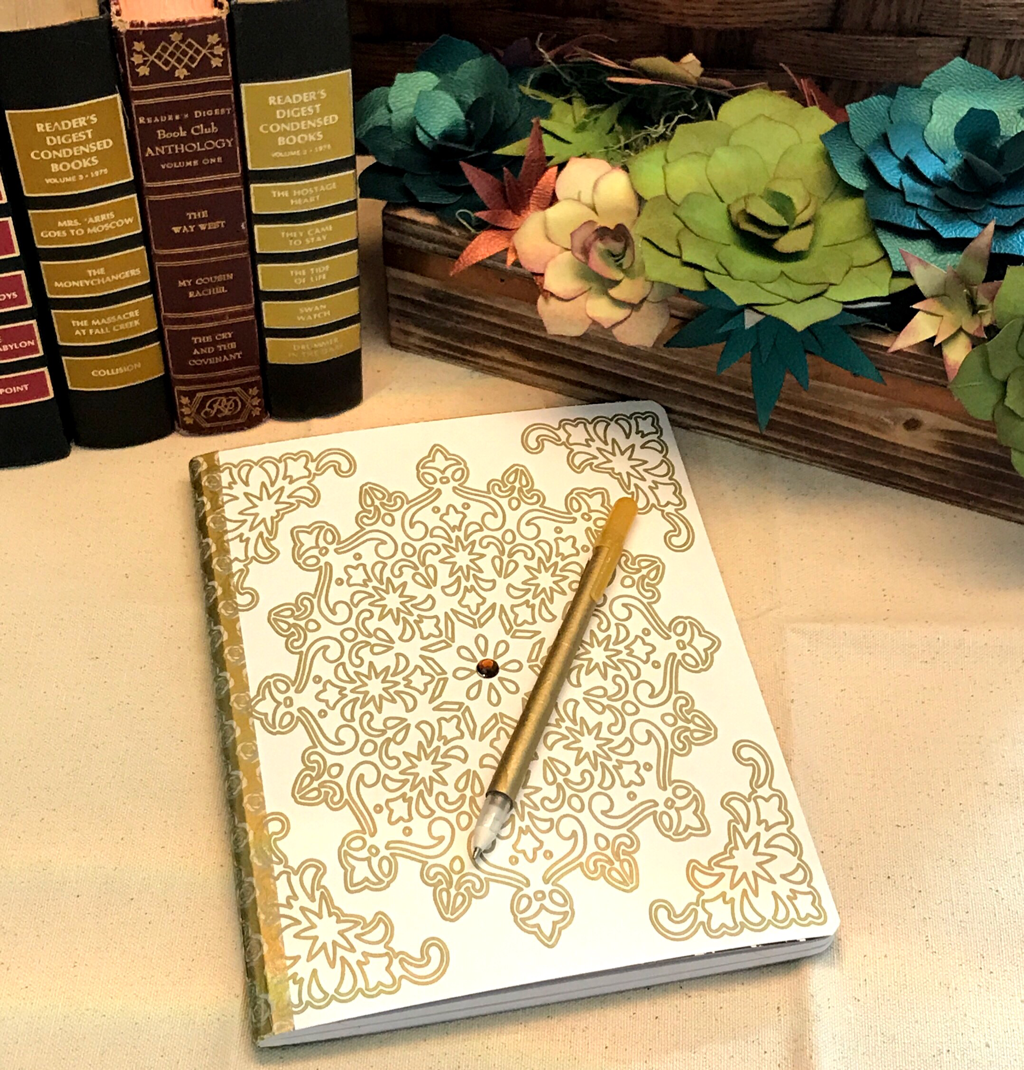
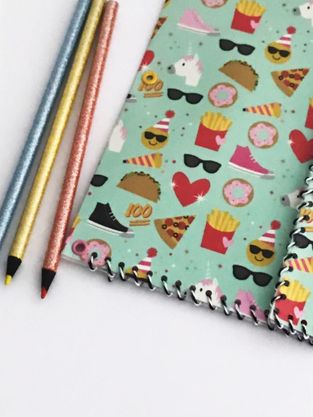
We love our Cricut! And we love Cricut Design Space! We know that getting a Cricut Explore Air 2, and pulling it out of the box can be scary! However, Cricut has made it even easier in Design Space with "Make it Now projects". We are often asked, "is it easy to create a Make it Now project in Cricut Design Space?" The answer is absolutely! There are so many different projects to choose from. The great thing is that you can go into your Design Space and choose one of the many options. It will then take you to another screen with all of the info you need to create that project. But.... you can even take it one step further by using the Design from the "Make it Now project" and turning it into a " Make it your own project." That is what we did with this beautiful project you see above.
Watch the step by step tutorial on how we took a "Make it Now" project titled Fancy Clutch and turned it into this fun " Make it your own" Composition Notebook. Be sure to follow us on YouTube and IG and watch us on FB Live each and every Monday at 11:00 am MST!
We hope that you enjoyed today's tutorial! Thanks again for watching!
Supplies needed: * Composition Notebook *Cricut Sticker Paper * Cricut paper Trimmer * 1.0 Gold Cricut Pen * Gold Washi Tape * Cricut Scissors * Cricut Explore Air 2 Be sure to get your supplies today {HERE} *The link listed is an affiliate link, by clicking on the link and purchasing we do receive a small kick back. 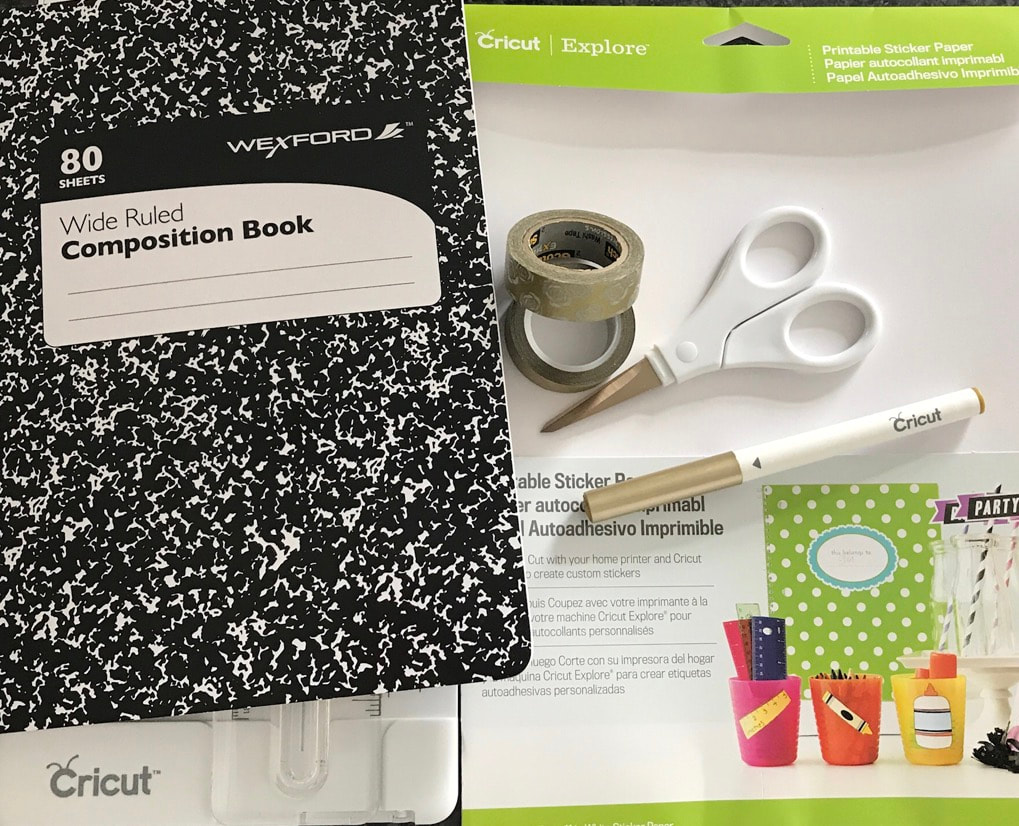
This is a sponsored conversation written by me on behalf of Cricut. The opinions and text are all mine. 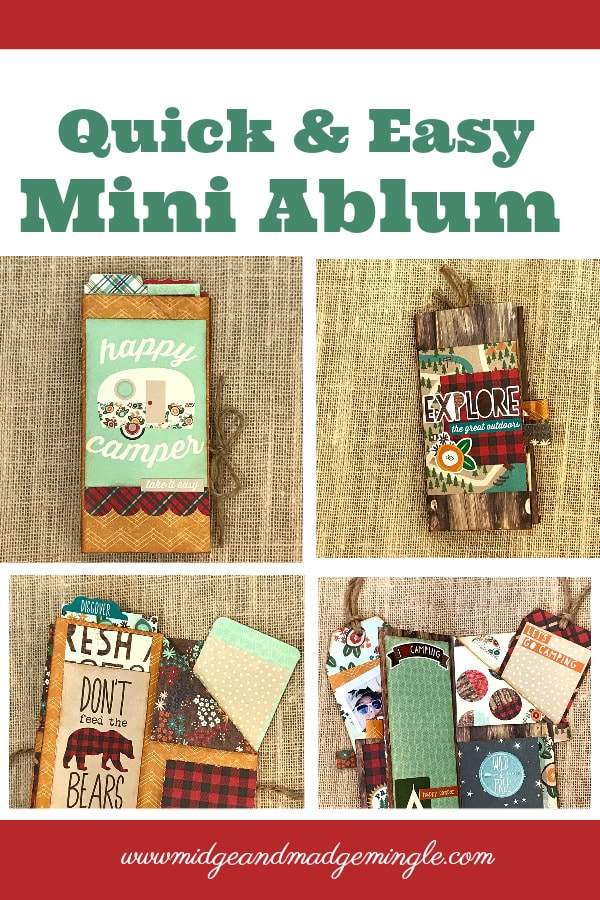
Hello friends! We are thrilled to bring to you a fun "Quick and Easy" mini album using Simple Stories and Xyron. You only need a few items to create this fun project.
*Simple Stories 12x12 Pattern Paper (We used Cabin Fever) *Xyron Tape Runner *Simple Stories Sticker Sheet (Cabin Fever is what we used) *Paper Trimmer and Scissors *Jute (optional) Now watch this fun step by step tutorial that was recorded live on FB earlier today. 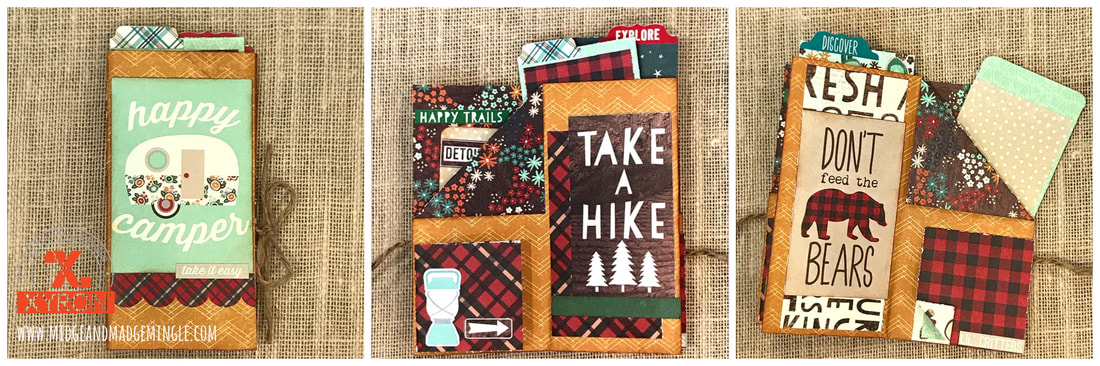
Crushing on the Mini Album/Journal pictured above? This is Midge's fabulous creation. If you watched the tutorial on how to create this you know that Midge mentions that we used stickers, and journal cards to embellish our books. Now none of this would have been possible if we didn't use the fabulous Tape Runner from Xyron.
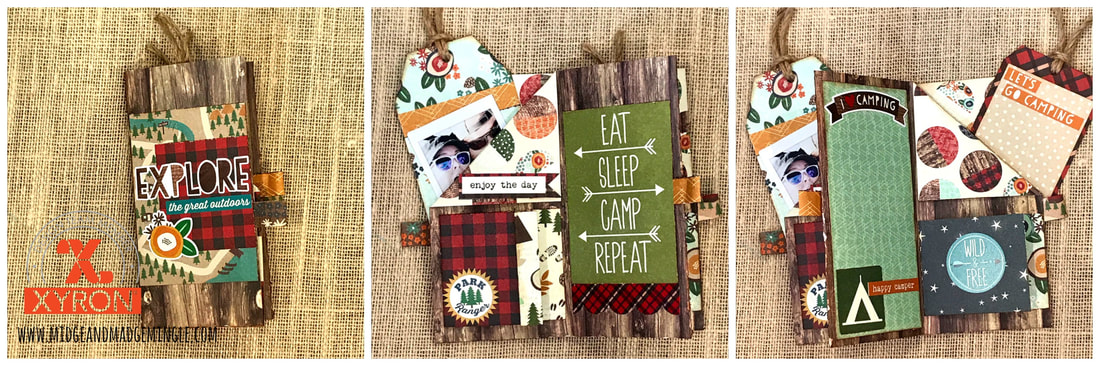
These are perfect for even the kids to make. Just fold, fold, fold and BAM!! A super cute project using the fun papers and embellishments from the Cabin Fever Line from Simple Stories. We hope that you enjoyed this fun project and that this inspires you to create your own.
*This is a sponsored post by Xyron and Simple Stories. All opinions and ideas are our own. 
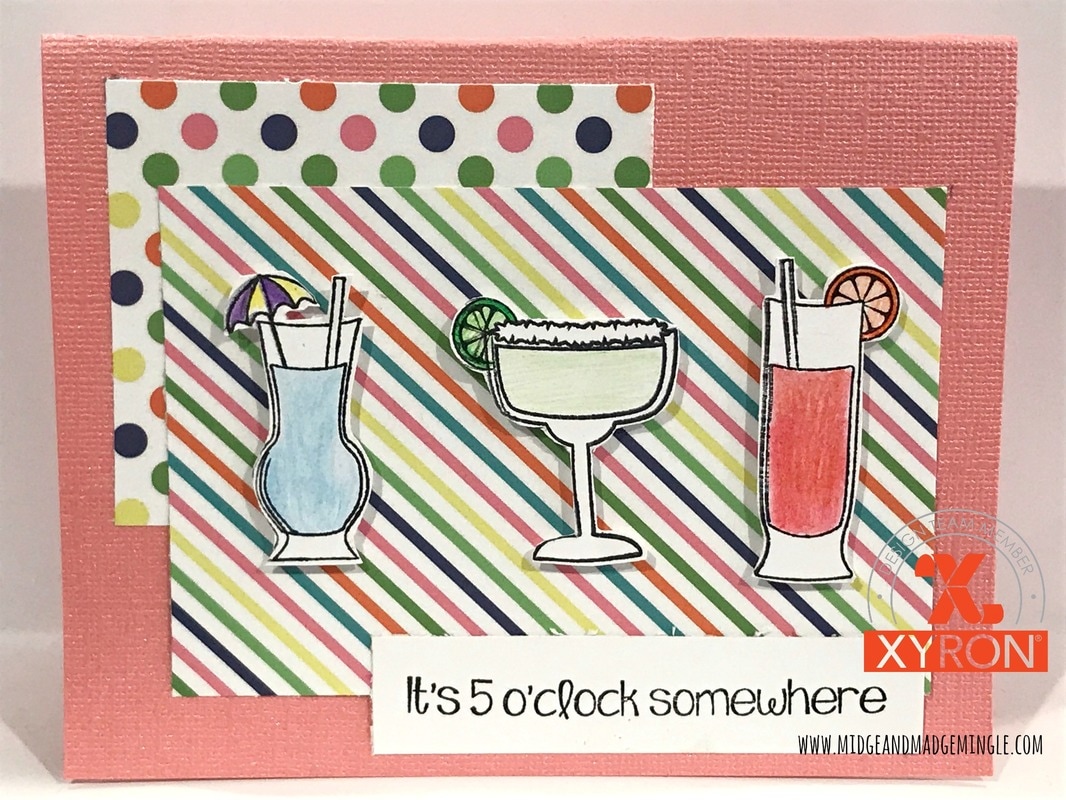
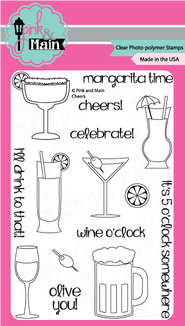
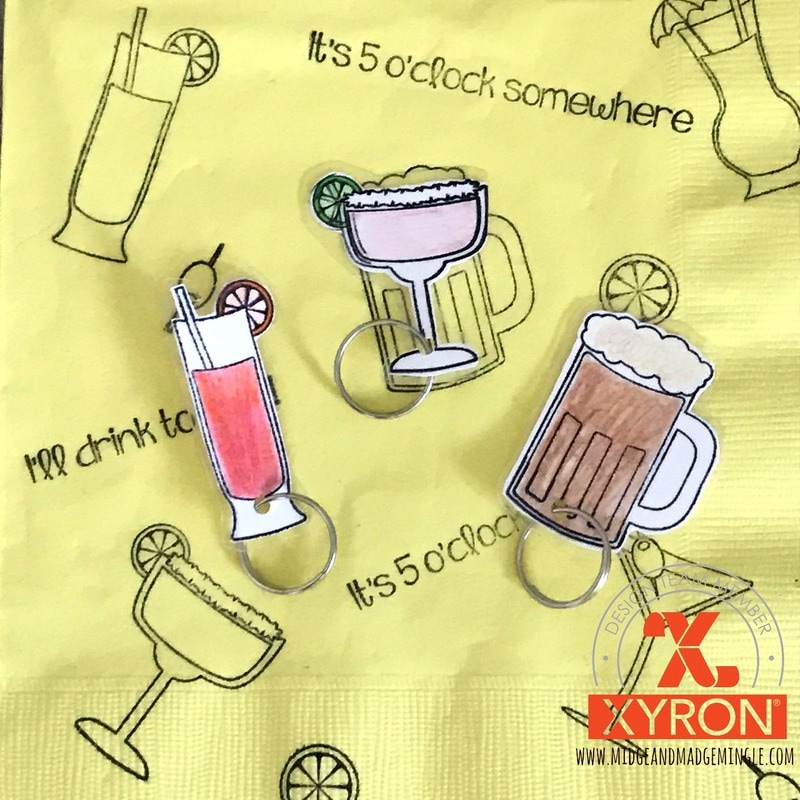
It's a party withXyron and Pink & Main this week!! We have a fantastic idea for your next GNO! Grab the Pink & Main Spring Flings 6x6 Paper stack along with the Cheers stamp set. Pull out your Xryon Creative Station with the Laminate Refill and the Laminate and Adhesive refill. You are now all set to create this fun party! Watch video below (recorded live) and we will show you how.
Here are the products that you will need to create this fun GNO party!!
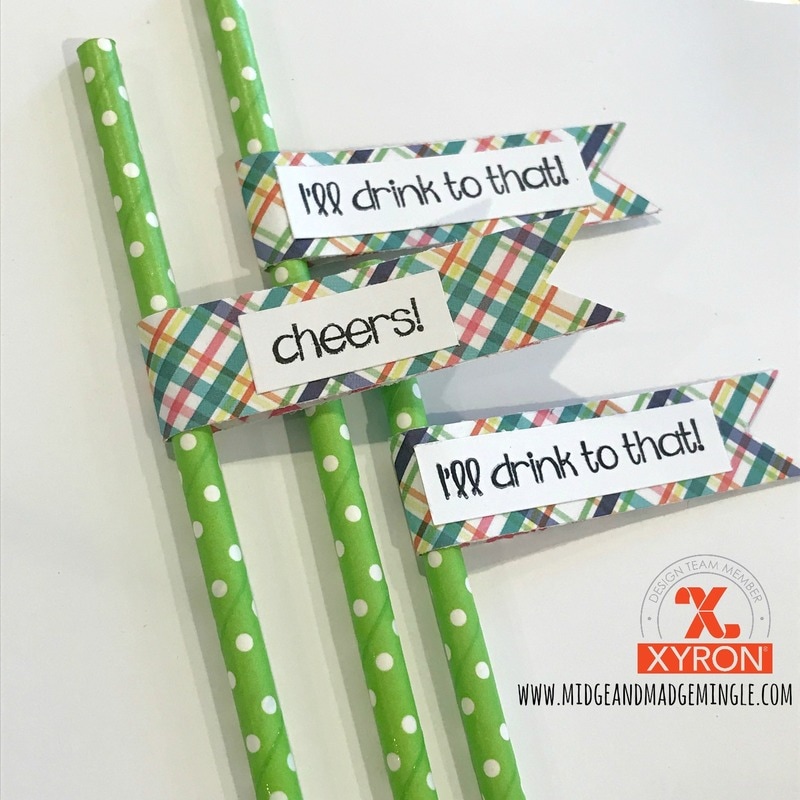
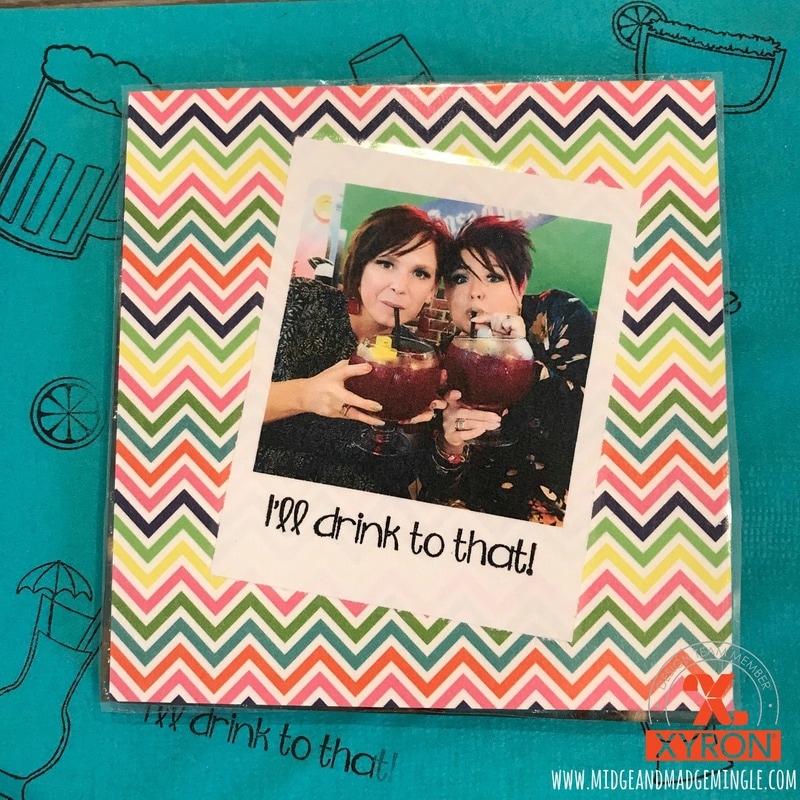
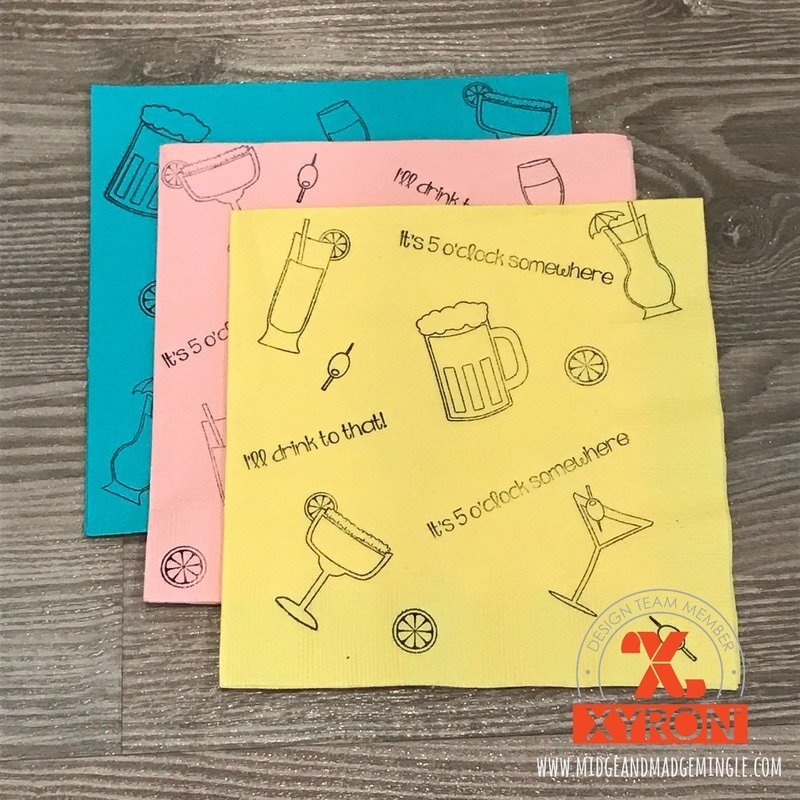
Here are the close ups of our projects! We hope that you like them. Let us know if you have any questions!!!
This is a sponsored post with Xyron and Pink & Main. All opinions and ideas are our own.
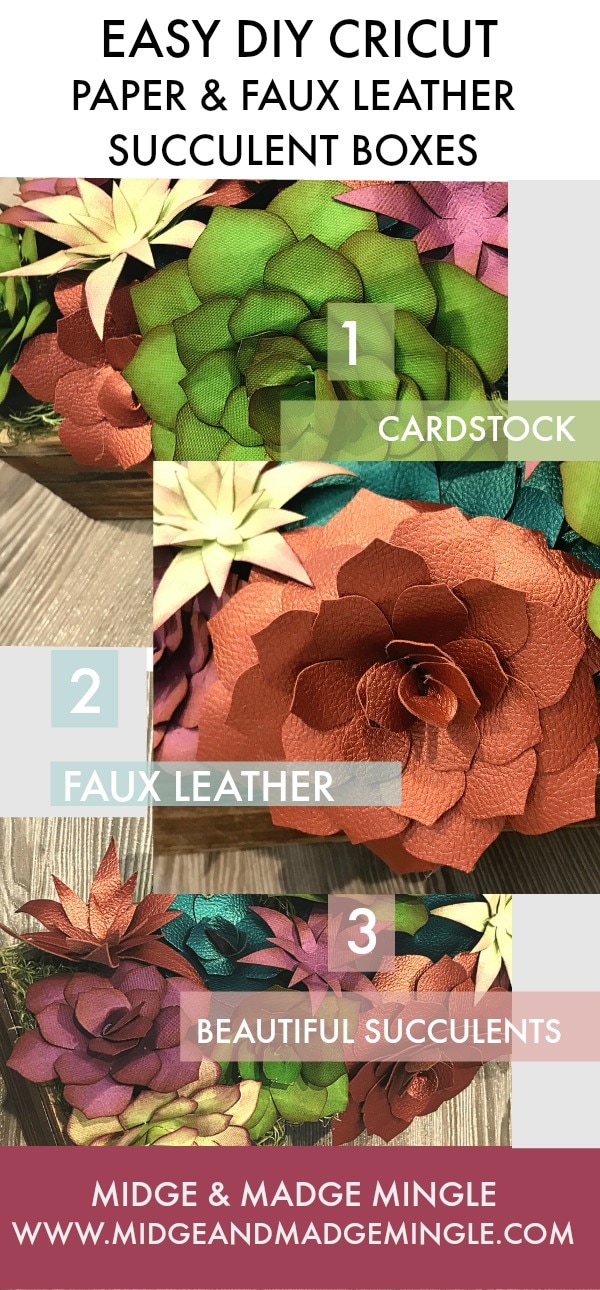
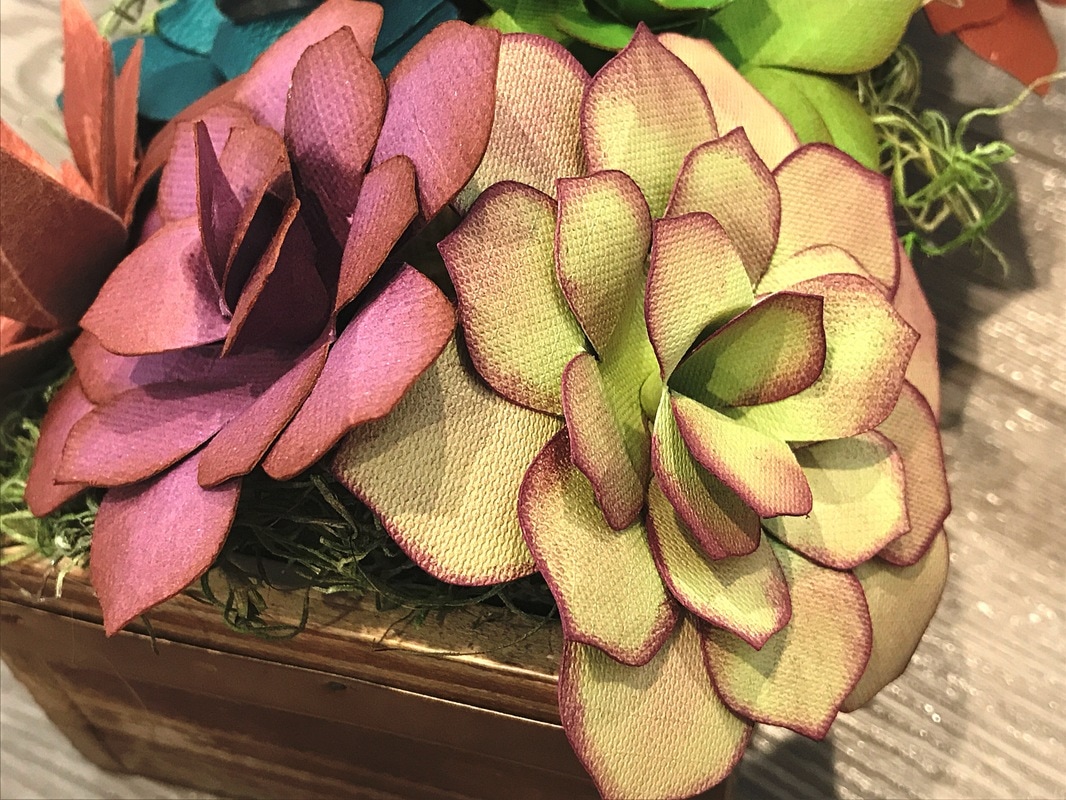
,We are so excited about today's project! Succulents! Yes, you heard us right we said succulents! We all know that they are one of the latest trends. You see them everywhere now. And believe us when we tell you that they are also one of the hottest trends for wedding decor! Madge's daughter recently married, and we created these fun succulent centerpieces for the wedding celebration that will be happening next week.
Cricut has made it easy, so easy in fact that there is a "Make it Now" project in Cricut Design space that we used and tweaked it just a little to make it into this fabulous Succulent Centerpiece. You are only going to need a few items. *Cricut Cardstock (in the colors of your choice) *Cricut Explore Air 2 Machine *Cricut Faux Leather *Cricut Scoring Stylus *Adhesive *Distress ink (brown or purple) *wooden box *optional- rocks and moss Below it the "HOW TO" video. In this video Madge shows you how to create this project in Cricut Design Space and Midge shows you how to put the project together! What are you waiting for? Go grab your favorite beverage, kick up your feet and watch this fun tutorial! Here is the "Make it Now" Link
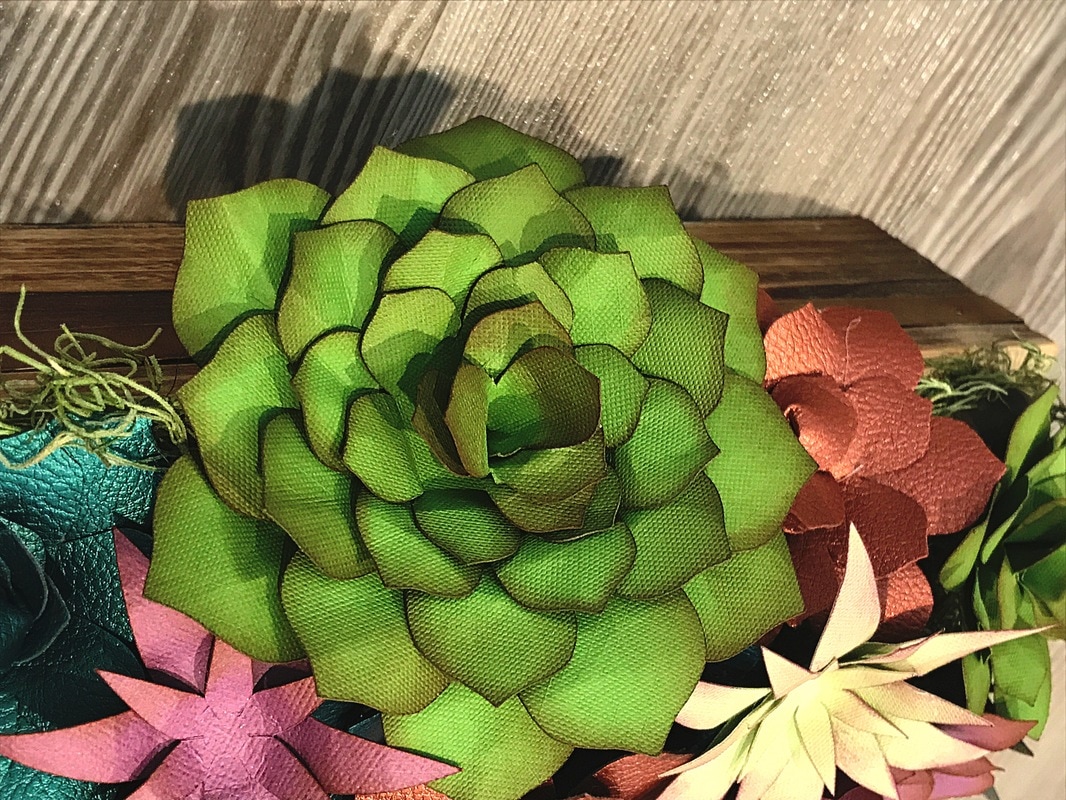
So, what did you think? Are you ready to run out and create your own succulent planter box? Oh, sad you need the supplies to get started? Click HERE to get your supplies. Below we have some close up photos of these fun boxes. Please be sure to leave a comment, also don't hesitate to ask if you have any questions!
You can see in these two photos how much of a difference that using a little ink around the tips of the succulents adds. Remember if you take the time to add the little things, your projects will come to life! Looking like real succulents.
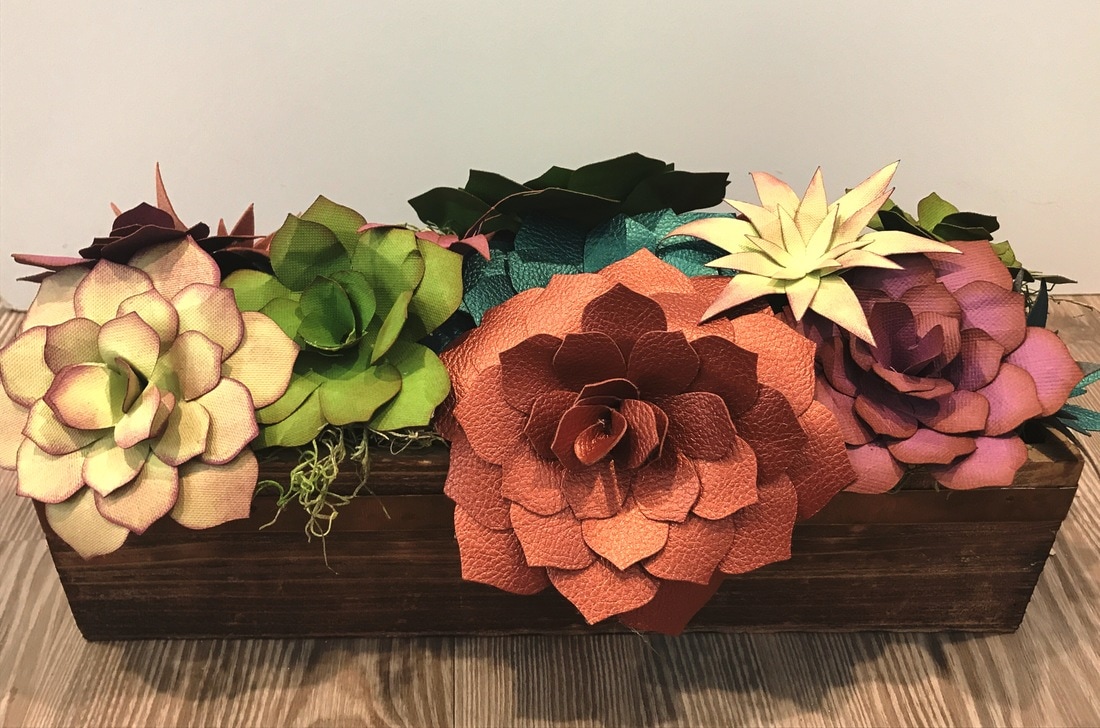
We hope that you enjoyed this fun project! Be sure to grab yourself some Faux Leather and cut some succulents on your Cricut Explore Air 2 Machine today!
This is a sponsored conversation written by me on behalf of Cricut. The opinions and text are all mine. 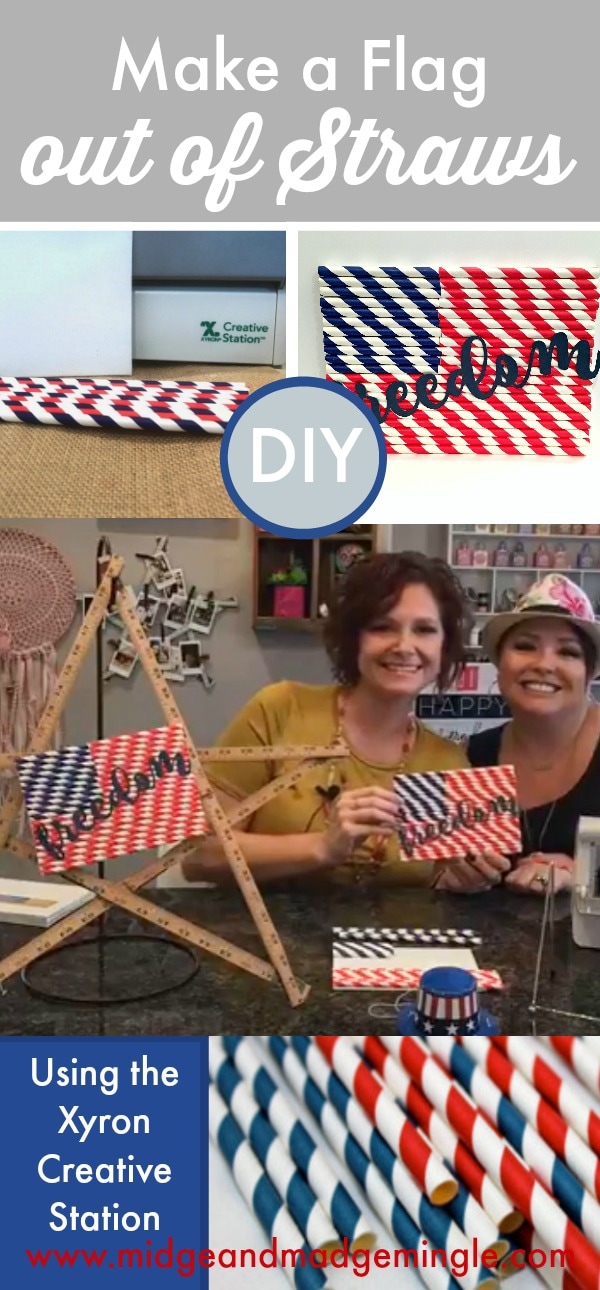
Today it is all about Summer and Celebrating Independence Day! We created this super fun flag using Dollar Store Straws (red and blue) a 5x7 Canvas, Scissors, and the Xyron Creative Station! Yes it is just that easy friends! Check out our video (pre-recorded Live) below and watch how easy it is to make this fun flags.
What did you guys think? Super fun and easy right? There are so many different uses for these cute flags. Name cards at that family BBQ, a fun Kid Craft to do with your kids, grandkids, nieces and nephews! The perfect Home decor piece for your home.
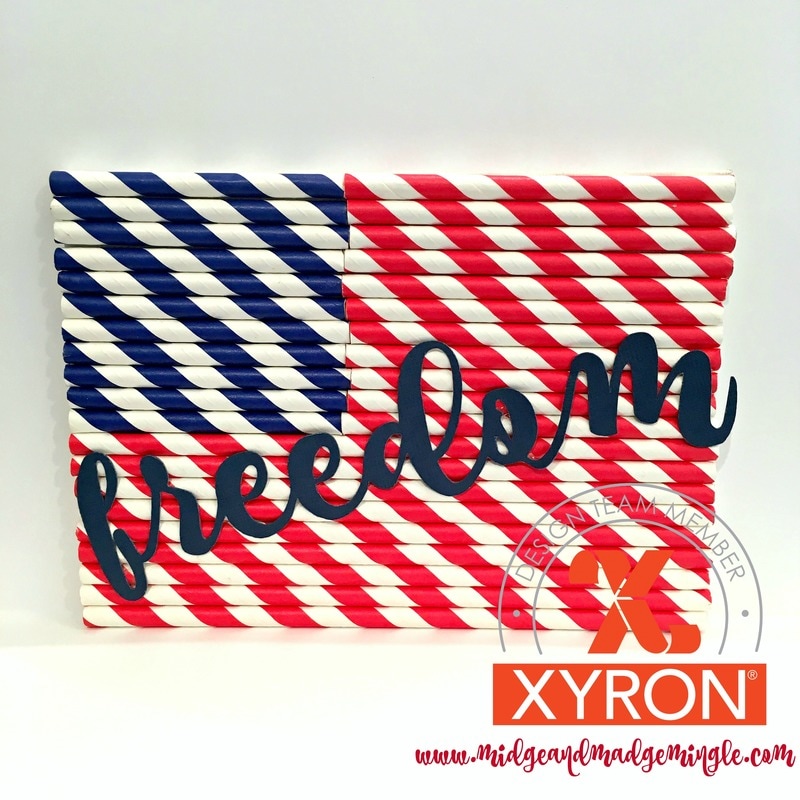
(Quick instructions on how many straws and what size to cut the straws if you are using a 5x7 flat canvas
* Blue Straws- Qty- 11 cut at 3" * Red Straws- Qty- 11 cut at 4" * Red Straws- Qty- 9 cut at 7" We created the Freedom Cut out on our Cricut using Pic Monkey (font Coffee Break) and uploading our image into design space. You can get the image here and upload it into design space. We then cut it 4x6 and cut it out of blue cardstock. We then used the Xyron Creative Station to attach the freedom on the front of the flag. We hope that you liked today's project using the Xyron Creative Station. This is a sponsored post, all opinions and ideas are our own. |

Midge & MadgeTwo Best Friends doing what they love and loving what they do. Learn more about us in the About Us tab above.  
Archives
October 2019
Categories
|

 RSS Feed
