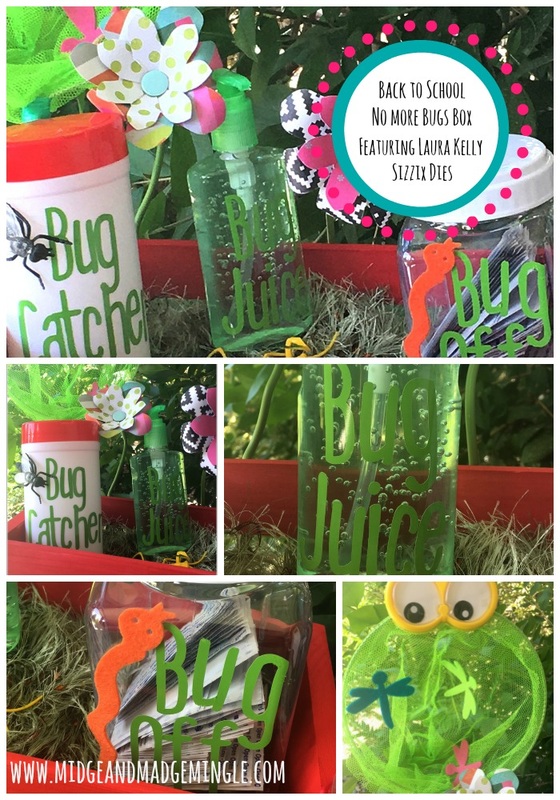
 Back to School, Back to School. Everyone loves going Back to School! It is that time of the year again, where we as parents pull out our pocketbooks and go through the list of things our kids need to be ready! But, let's get real are we ever READY? Ok, these two moms are READY but for a whole different reason then being READY! Do you catch my drift? {snicker snicker} From finding the perfect new backpack, to getting a fresh hair doo there is always so much to do! And let's not forget about the list of "items" that the Teachers are in need of! They are always in need of Tissues, Hand Sanitizer, Wet Wipes, and other things that are important to have in a classroom. So when Laura Kelly and Sizzix sent us the Pet Shop Die set I knew exactly what I wanted to make! Thank you to Sizzix and Laura Kelly! We love these dies! We all know that germs are everywhere, why not make a fun "No More Bugs Box" for every classroom? What is it you ask? Let me show you!!! 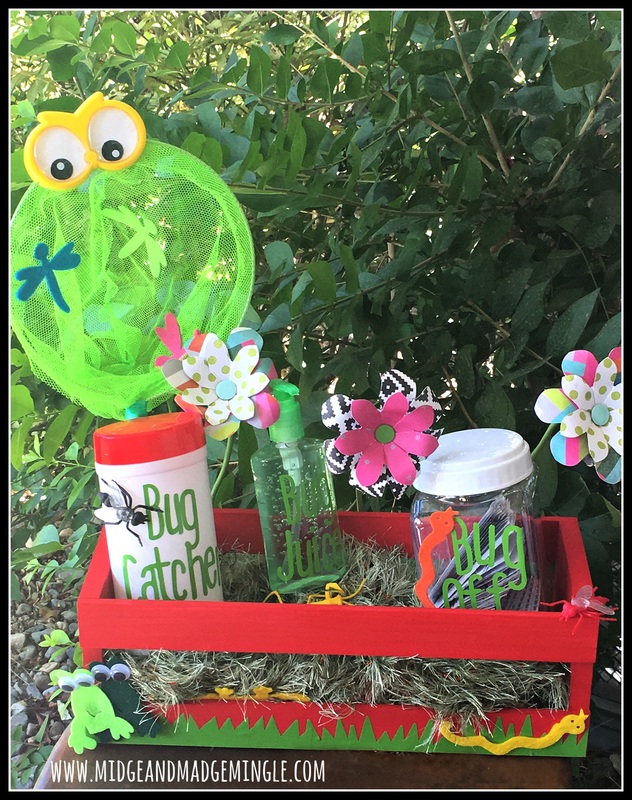 This box is filled with the essential supplies one may need to keep the "bugs" from spreading in the classroom. Using the fun Dragonfly, Worm, and Frog dies it brought this fun box to life! How to Create your own "No More Bugs Box" I bought at Michaels, and painted it with DecoArt Acrylic Paint. Went to the Dollar Store and purchased a bottle of Hand Sanitizer, Wet Wipes, Bandaids, and a plastic container. Along with some plastic bugs and bug catcher. I raced home and got busy! 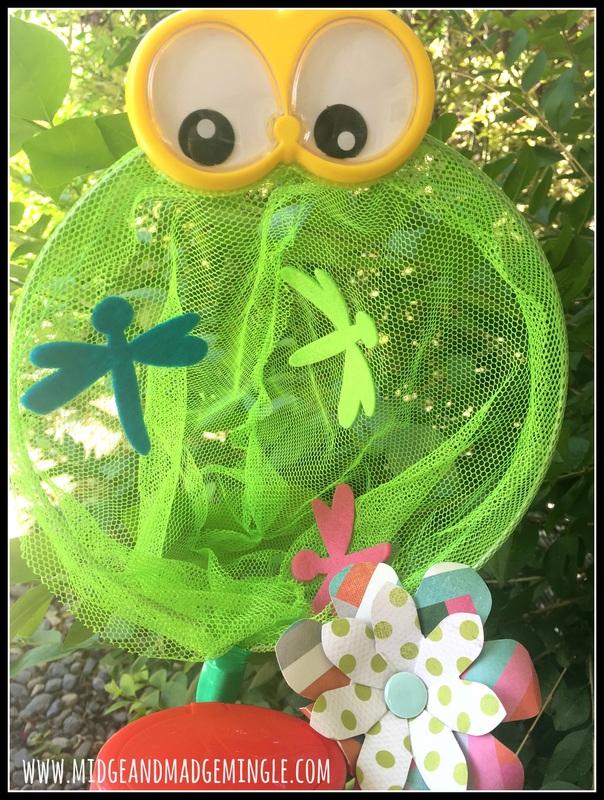 I cut several different colors of Dragonflies out of Kunin Felt and used Beacon 3-in-1 adhesive to adhere them to the net. I added a pair of fun google eyes to the top of the net to give it a fun pop! 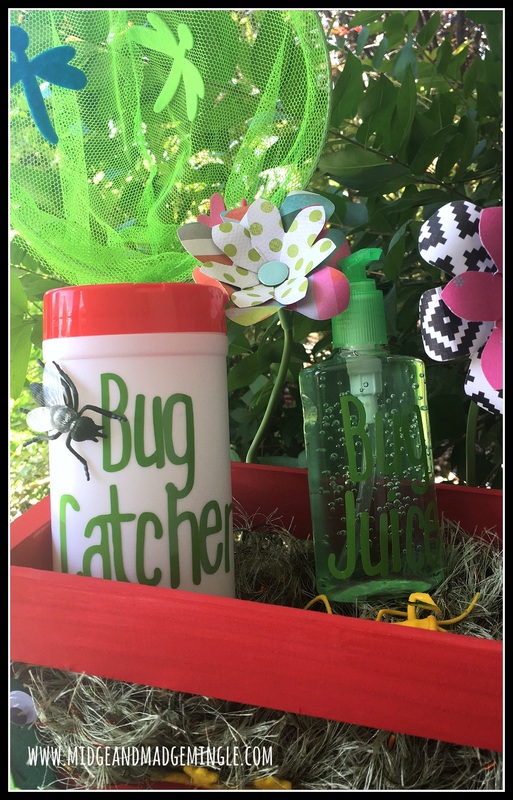 I took the label off of the Wet Wipes and made my own label using my Cricut Explore Air and green vinyl. Renaming the Wet Wipes to "Bug Catcher" Great for a teacher that needs the kids to wipe their hands! I added the plastic Fly using the Beacon 3-in-1 adhesive again. (This post includes an affiliate link for the Cricut.) 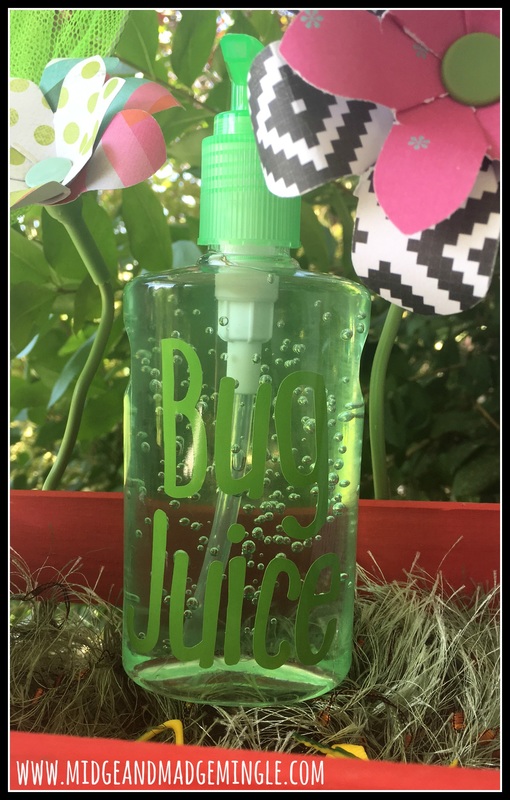 Next I used some Goo Be Gone and removed the front and back label from the bottle of Hand Sanitizer. Then I cut the word "Bug Juice" out of green vinyl (again using my Cricut Explore Air). Who doesn't need hand sanitizer in the classroom? This just makes it fun by saying go use the "Bug Juice" and get those hands clean! 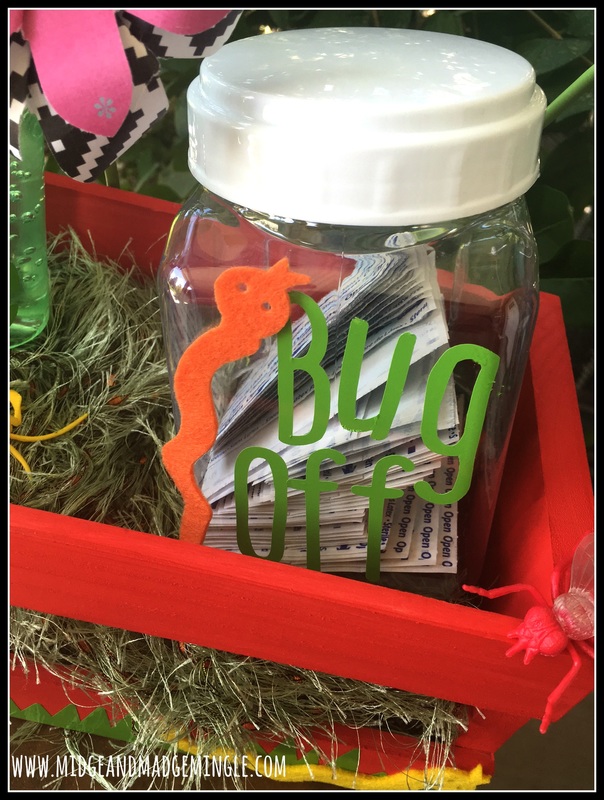 Now let's talk Bandaids!!!! Teacher or not, Bandaids are essential for keeping the bugs off of our cuts and wounds! That is why I named this jar the "Bug Off" Jar. I filled it with bandaids, cut the vinyl to say "Bug Off" topped it off with a worm I cut from the Kunin Felt using the worm die adhering with the Beacon 3-in-1 adhesive  Giving the box the final touches by adding the green yarn for grass, and some paper flowers. This Bug Box is filled with fun, so much fun in fact all kids are going to want to get rid of bugs with a smile! I guess what I am trying to say is why not make something fun like this to give your kids teacher using some of the supplies that may be on their supply list. I personally am going to take this to my Aunt Jennifer who is a Pre-School teacher so she can have a Bug Free School this year! Here is the Pet Shop Die Set 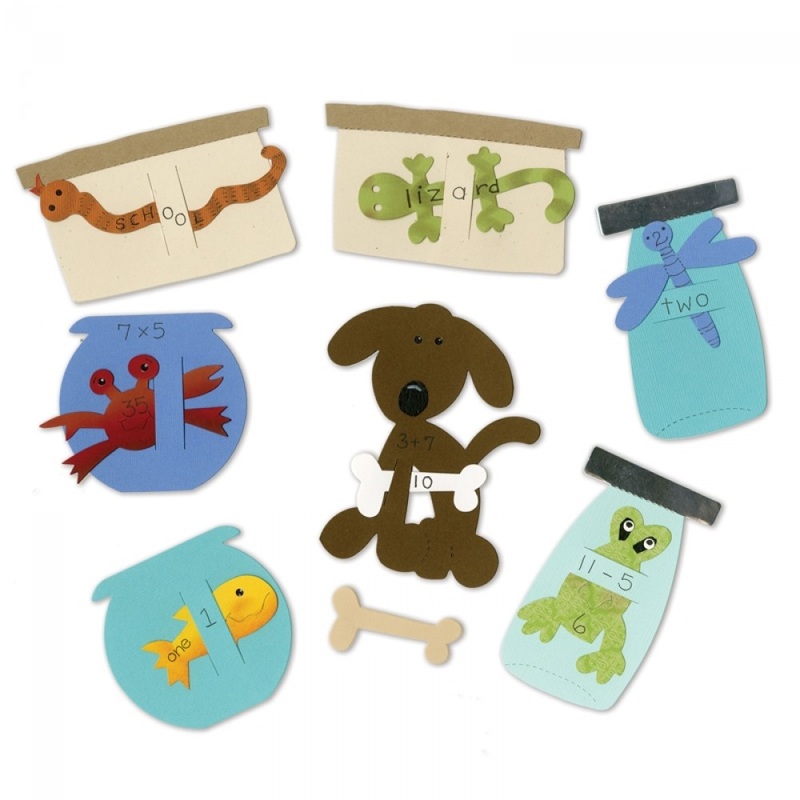 I hope that you loved todays post! Have a great day!
Loves- Madge
4 Comments
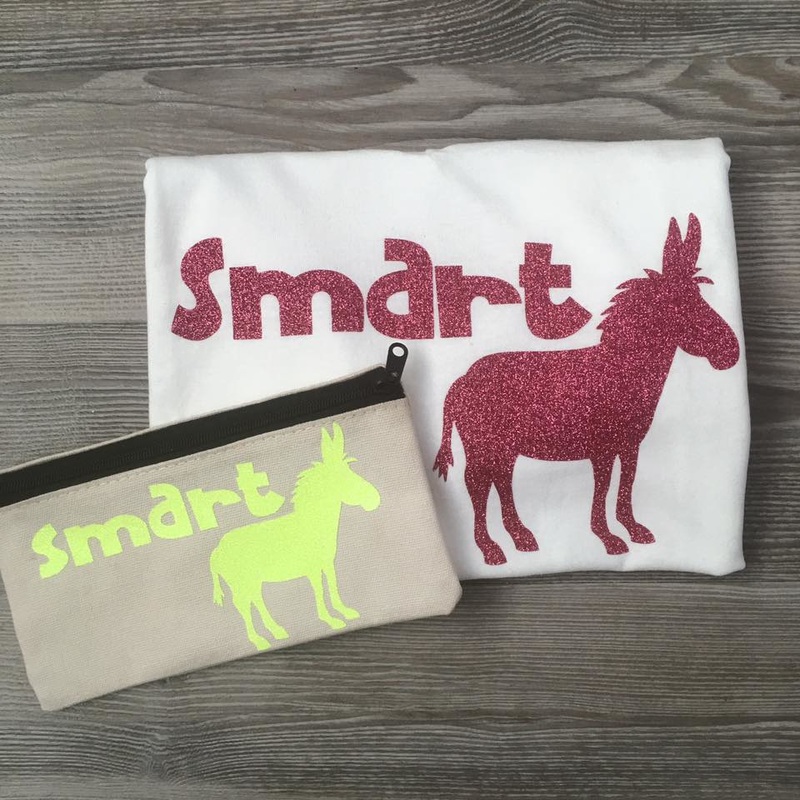 We don't know about you, but we love our Cricut Explore Air! There are so many fun things that you can do with one machine! Plus the fun doesn't stop at paper crafting! You can cut Vinyl, Fabric, Fabric Iron on material, Glitter Paper, Canvas, Felt, Metallic Paper, and the list goes on and on and on! Be sure to check out our latest mingle below to see the fun T-Shirt and the Canvas Pouch we created using the glitter iron on. Be sure to join us every Monday for a fun Mingle! Whoop Whoop!!
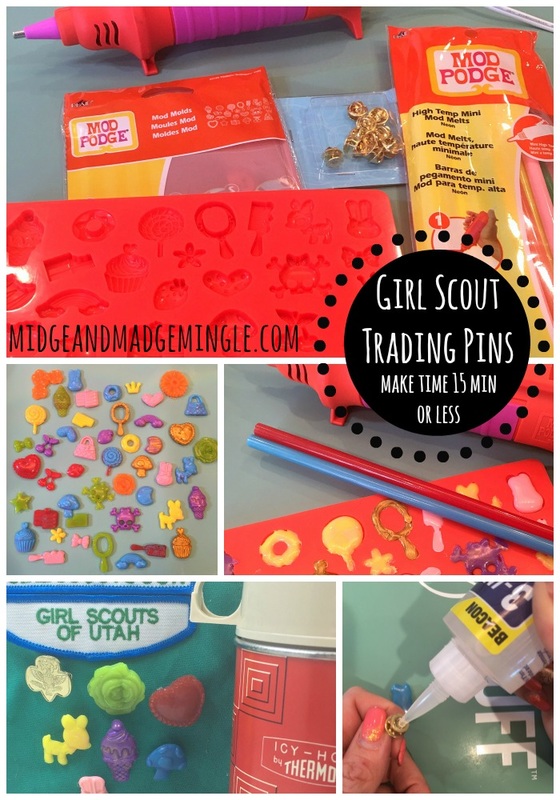
Calling all Girl Scouts! Who is getting ready for camp? Need Trading Pins, but don't know where to start? Check out our fun 15 min or less project!!! All you need is a Mod Melter, High Temp Mini Mod Melts, Mod Molds, Beacon 3-in-1 Adhesive and pin blanks. We found all of our supplies at Michaels. Plaid Beacon Adhesives
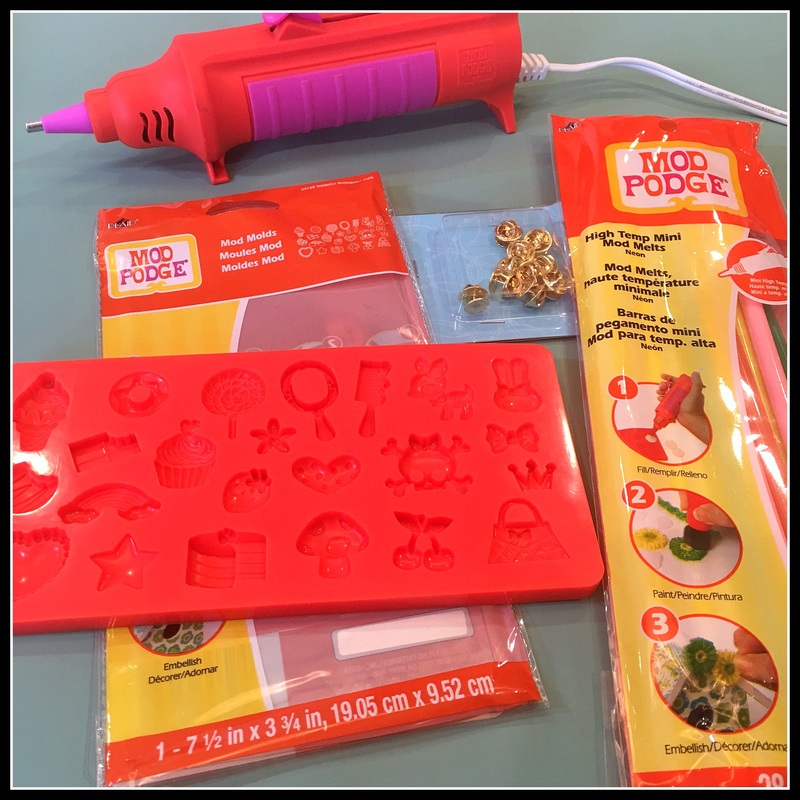
We said it before friends, but we will say it again! You can create from start to finish your Trading Pins in 15 min or less. To get started gather all of your supplies. Take your Mod Melter and plug it in, turn on the switch (Caution this gets hot!) next take out your Mold and your Mod Melts. Place the Mod Melt into the Mod Melter and get started.
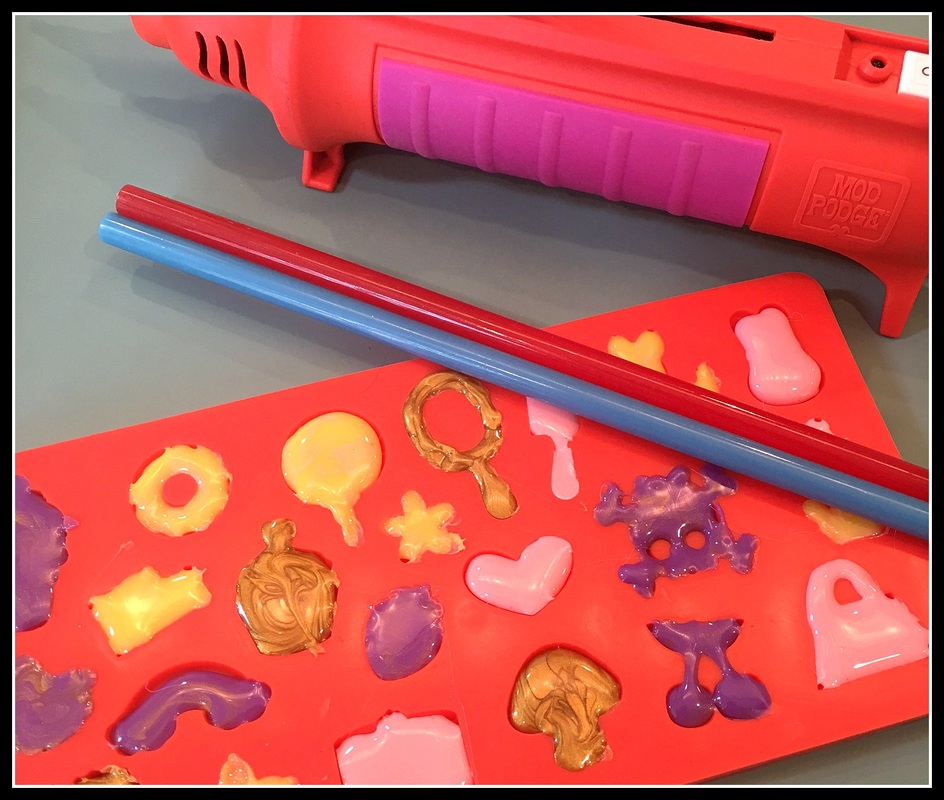
Fill each mold with the Mod Melter Sticks and allow ten minutes to dry. It is ok that they are not perfect on the back, you can trim off excess melt with scissors.
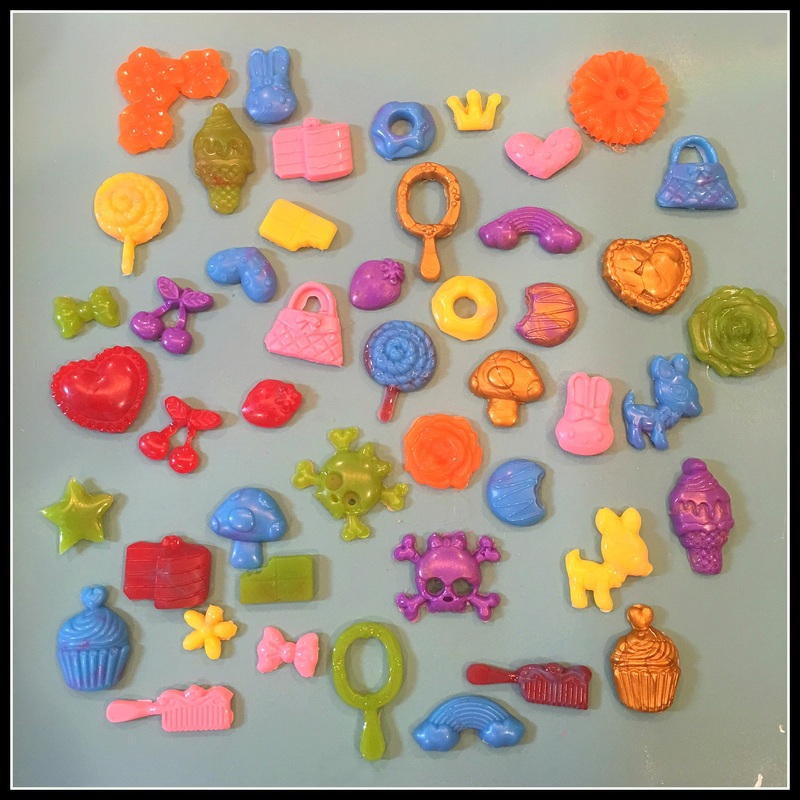
After you have allowed them to dry, tip over your melt and pop out each little piece. (They come out super easy) Trim off any excess Melt with your scissors like we stated above. Next get our your 3-in-1 Beacon Adhesive and your Pin blanks.
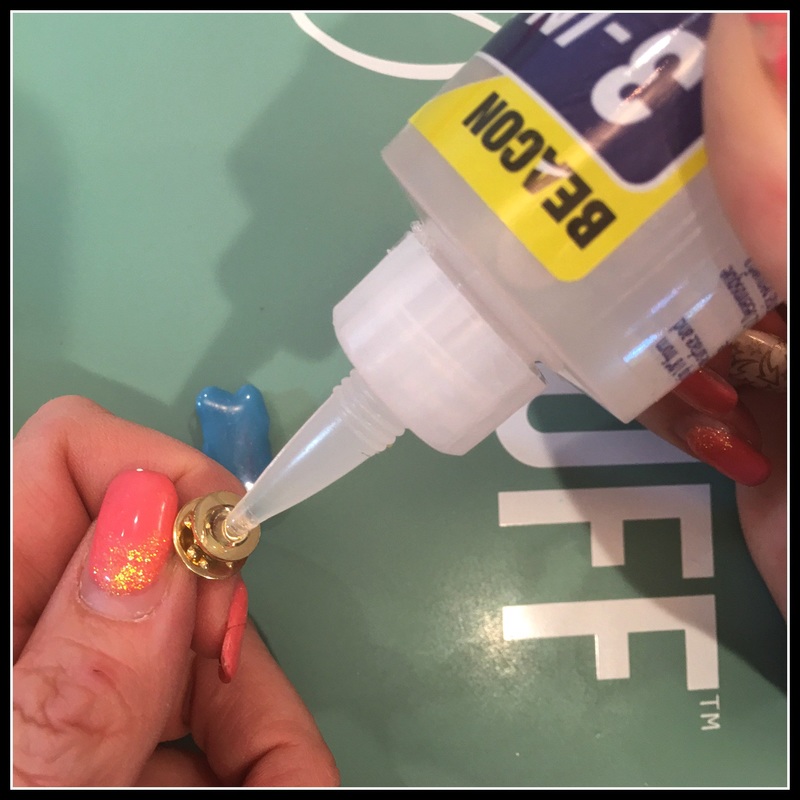
Place a small amount of glue onto the back of the pin blank and adhere to the Mod Melt. Allow a couple of minutes of drying time.
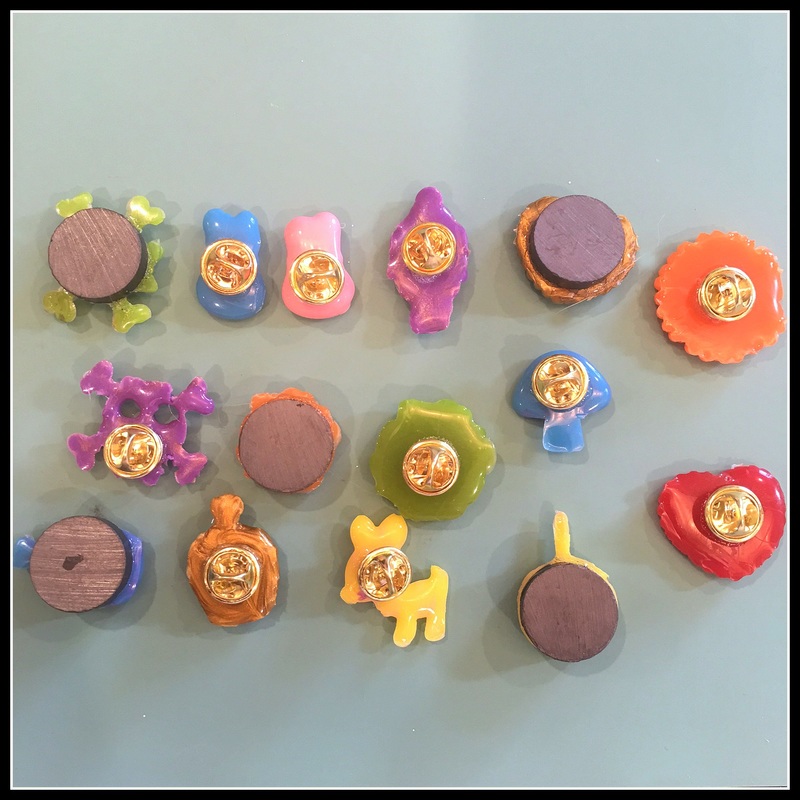
We also added a few magnets to the back of some in case your aren't wanting to trade pins. Aren't you just loving how these turned out??

Here are a few of the pins that we created today! Have fun at camp! Whoop Whoop!!
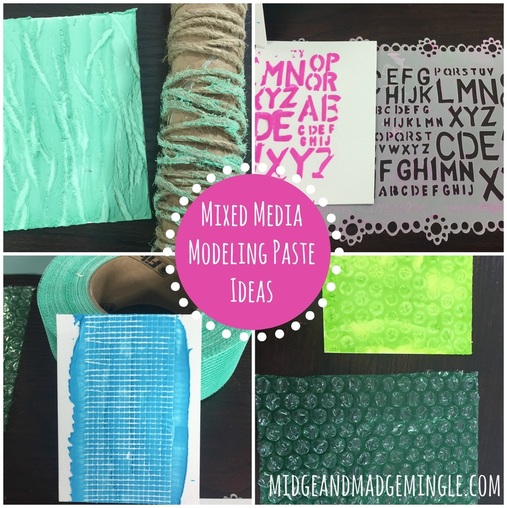
Have you been afraid to dabble in Mixed Media? Well put your big kid pants on! Midge and Madge are bringing you a series of Mixed Media tips and tricks. Starting with this episode on modeling paste. Be sure to watch the episode HERE to see what all of the hype is about!!!
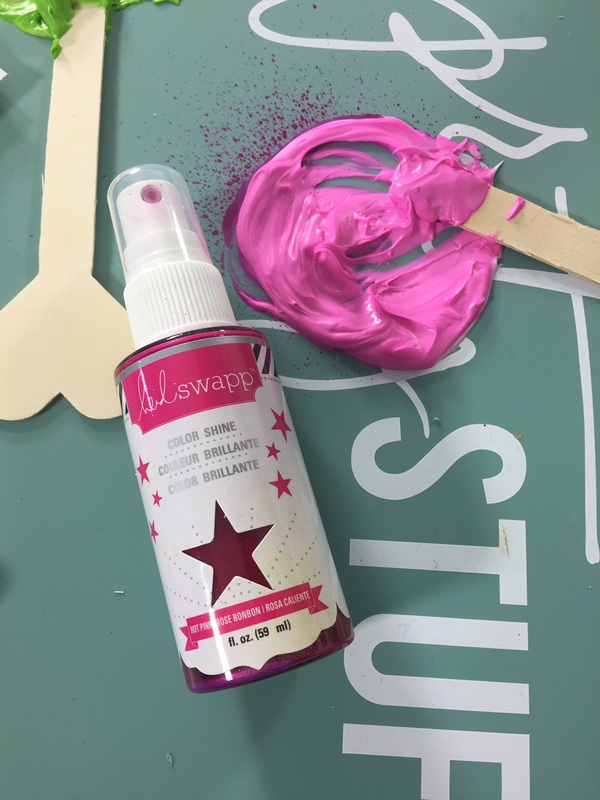
P.S. Are you ready to get your hands dirty and start playing with Modeling Paste??? Be sure to leave your comments below to be entered to win a fabulous prize!!! Also remember to follow us on Instagram @midgeandmadgedmingle Whoop Whoop!!!
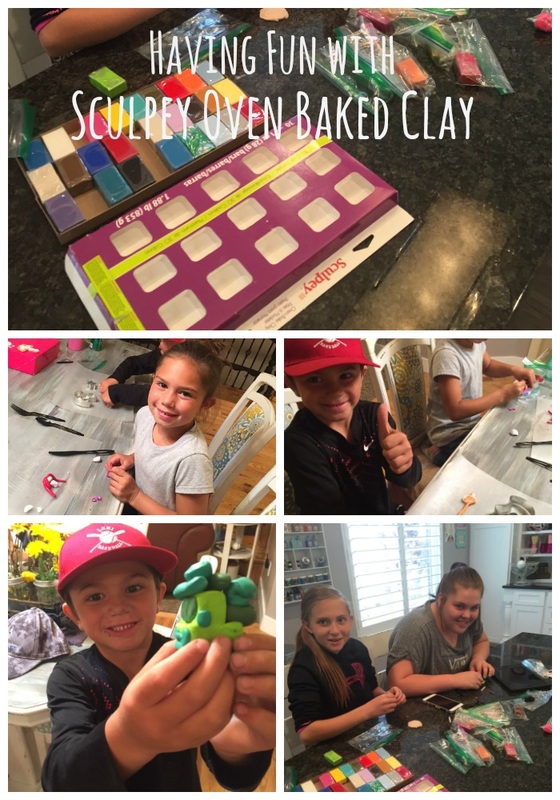 When Madge has her nieces and nephews over they always want to craft. This go round we opened up the Sculpey Oven Bake Clay and let them get to work. It is so fun to see how creative these kids are. You can actually see their little minds spinning while they are creating. 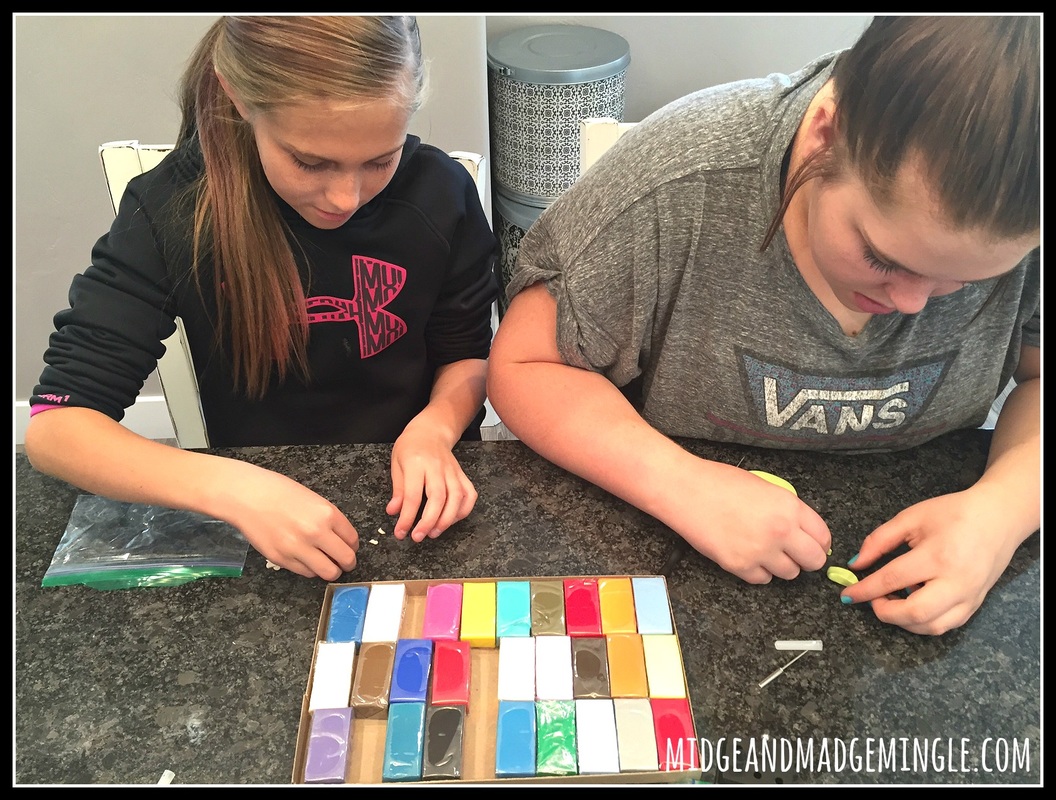 As you can see there are so many colors to choose from. The possibilities are endless with this awesome clay, plus you get to keep your creations forever once you bake them in the oven. Watch just how easy it is to create with Sculpey Oven Bake Clay. Madge's niece Rythymm shares with us what she made and how she made it. Now didn't you just love what Rythymm made? This mermaid is so cut and fun, she is so proud of it. I am not sure if you could tell by her expressions on her face but she loves this mermaid and can't wait to create again! 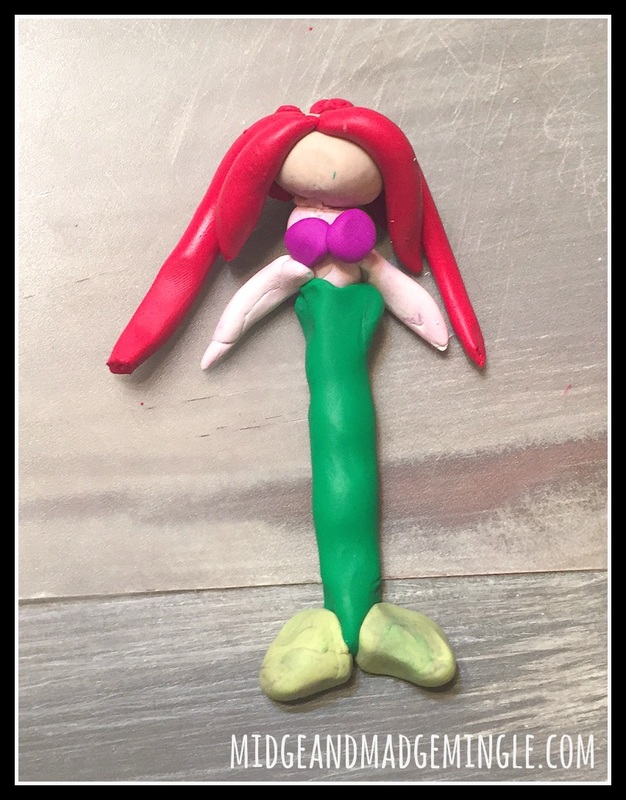 I told you that my nieces AND nephews love to create with Sculpey Oven Bake Clay! Check out this little 5 year old, his name is Kulia and he made a truck! Just look at the twinkle in his eye, you can see that he is on cloud 9 and so very proud to show off his awesome truck! 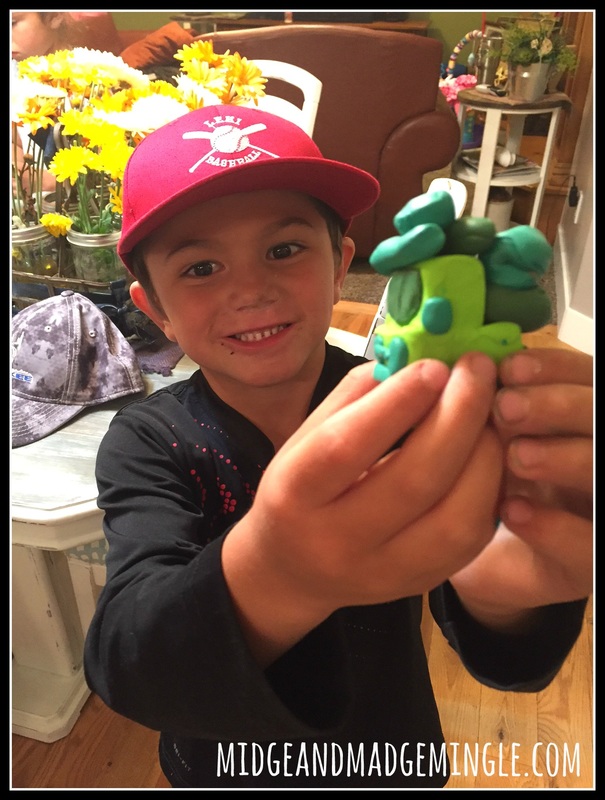 This is a super fun craft! Anyone can do it. Young, Old, Girl, Boy! If you have yet to try Sculpey Oven Baked Clay then you need to get some today! We love playing and making anything and everything from Mermaids to Trucks, to Sushi Bowls to Mushrooms! You dream it, and you can create it! What are you waiting for get your Sculpey today!!!
***Disclosure: This is part of a compensated campaign. All ideas, experiences and opinions are our own. 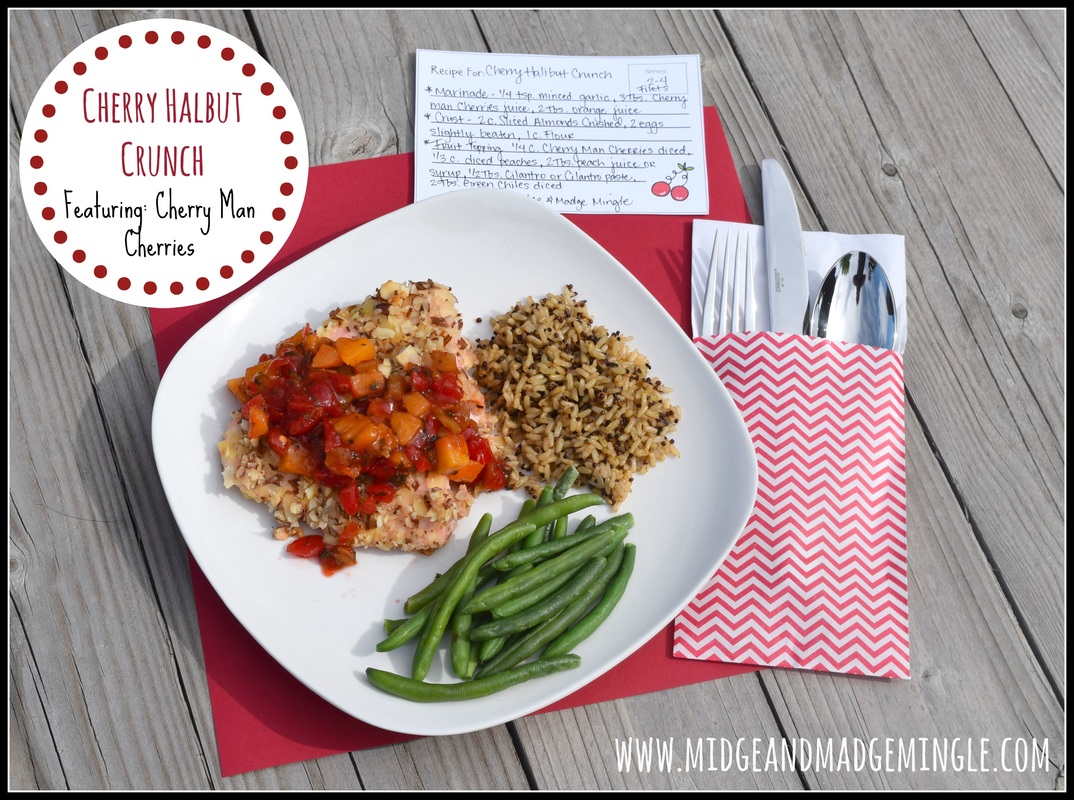
If you like fish, you are going to L-O-V-E this recipe. The topping on this fish is the perfect balance of sweet and spicy. And, the coating of sliced almonds adds a delicious crunch. This dish will surely please even the pickiest of eaters. (My kids even ate it!)
Don't be deceived by the pink color of the fish. That occurs after placing the fish in the yummy juice based marinade. A quick dip in egg, flour, and lastly almonds, and you are ready to bake. Then the magic happens! The Cherry Man Cherries blend perfectly with the green chile peppers and other ingredients of this simple yet mouth watering topping.
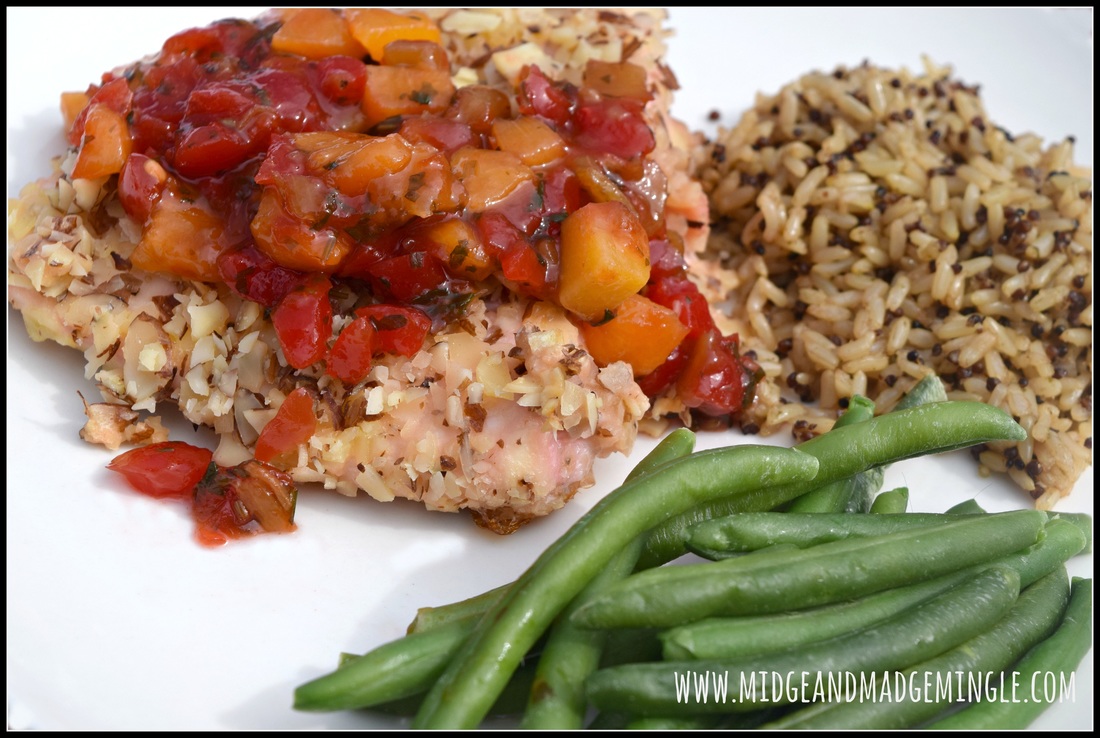
We don't want to toot our own horn But...oh my stars! Not only does this fish taste DIVINE, it just looks so darn pretty! We suggest pairing it with rice and your favorite veggie. And, this flavorful fish looks waaaaay harder to make than it actually is! Trust us, if we can do it, so can you!
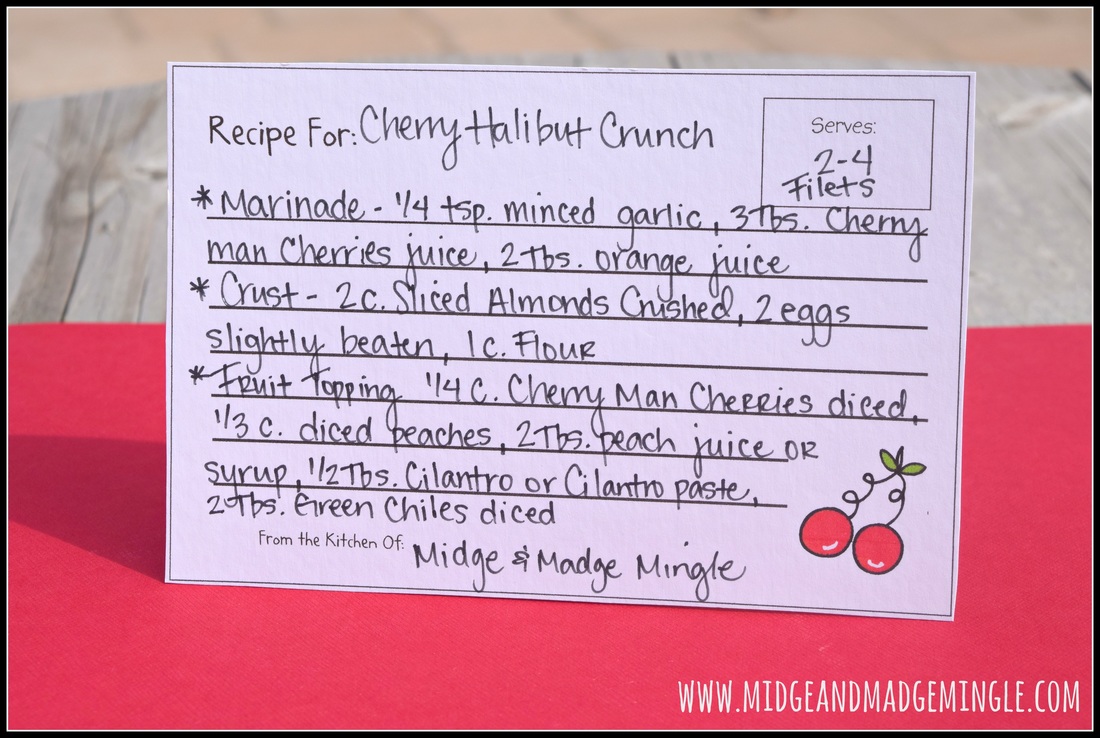
We would be crazy not to mention our adorable recipe cards! Our sweet friend Laura Kelly designed them. Check out her amazing online shop. She has tons of cute printables and kits.
Last but certainly not least, we want to thank Cherry Man for providing all of the delicious maraschino cherries that we use in our recipes. We just LOVE them.
We hope you and your family enjoy this recipe as much as we do. 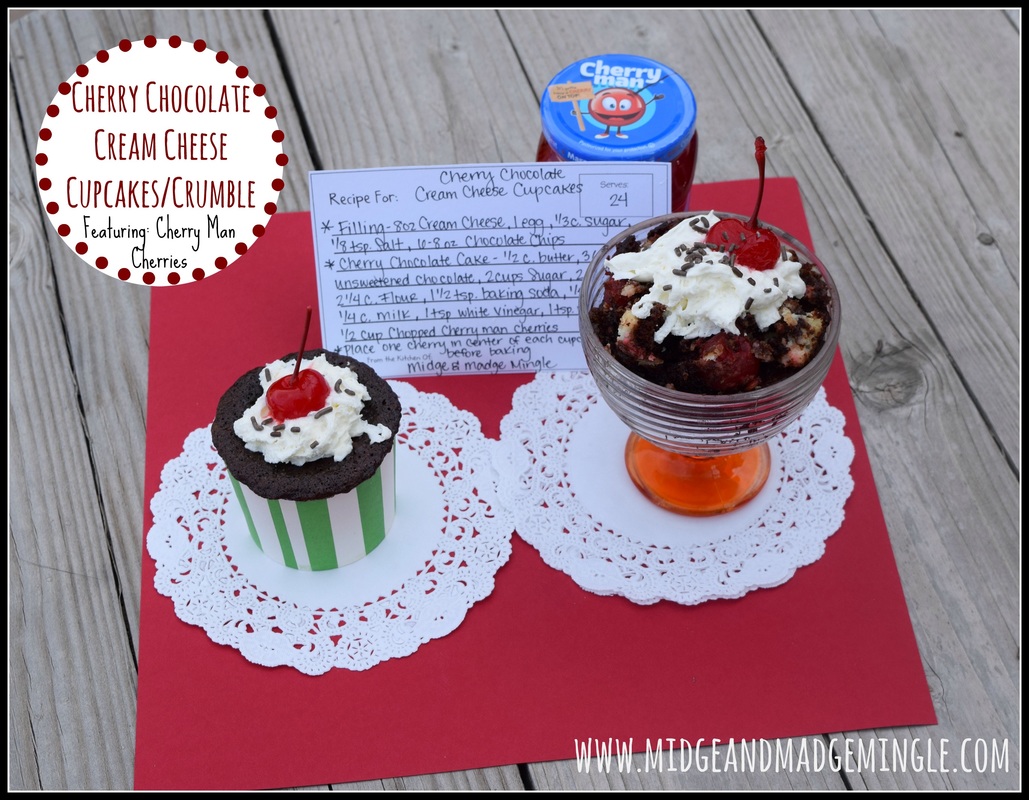
Can you say "scrum-diddly-umptious"?!! We can! It only takes one bite of these delicious treats and you will be hooked. The name may be a tongue twister, but this recipe is a people pleaser. You can't go wrong with these yummy bundles.
This recipe is chock-full of the tastiest ingredients (the name says it all). MMM MMM! But don't be fooled by the amount of components, these are really simple to whip up! *TIME SAVING TIP* If you are really in a hurry, you could use a boxed Chocolate Devils Food Cake, mix as directed And add the 1/2C chopped cherries to batter. Then make filling and bake as listed in our recipe. And we can't forget our perfect recipe cards designed byLaura Kelly! Check out her fun online shop!
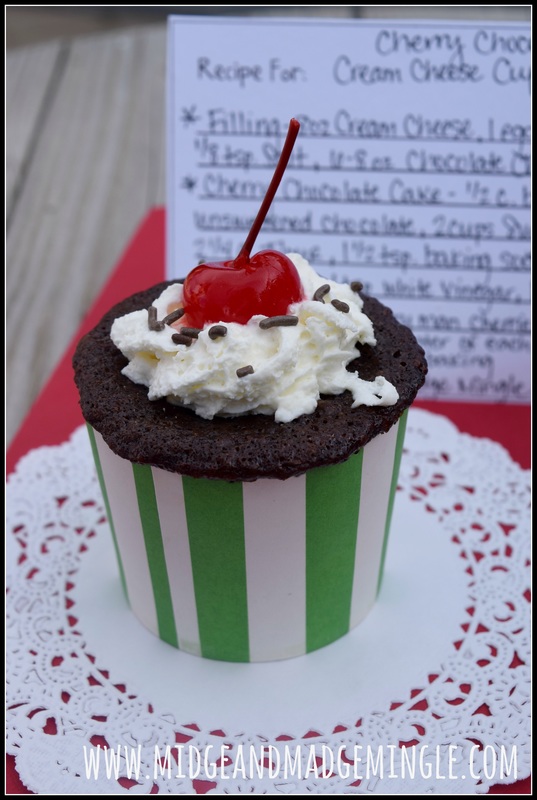
Clearly we Love Cherry Man Cherries! There are cherries in the cake batter. You put a whole cherry on the center of cupcake before baking. Last, everything is better with a cherry on top! (whipped cream and sprinkles too!)
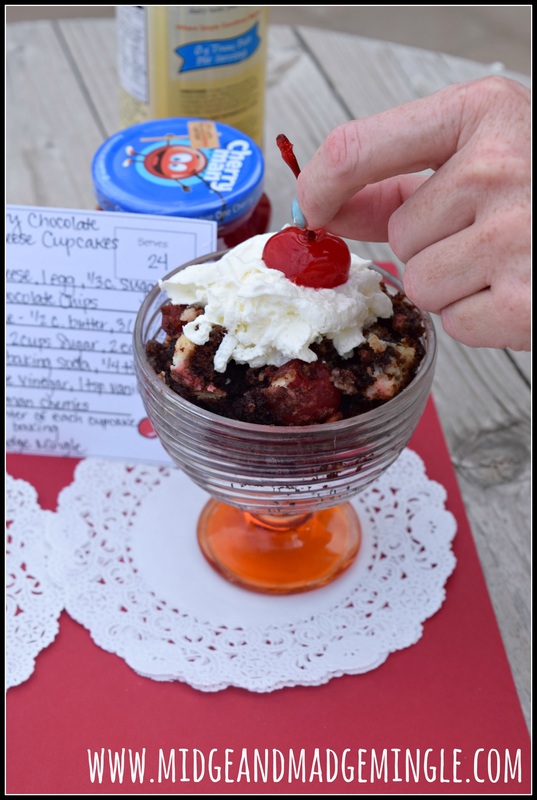
This is our favorite version, the Crumble! Midge broke a cupcake in half while taking the wrapper off. Of course you would never waste dessert so she threw it in a bowl. HAPPY ACCIDENT we say. It looked pretty good crumbled up. So we purposely broke another in the bowl. Put some topping on and ate it with a spoon. Pure Awesomeness. (You could even try this version on a bigger scale--Trifle style :)
We hope you will run out and try this recipe today! If you have a great Cherry recipe, we'd love you to share it with us! 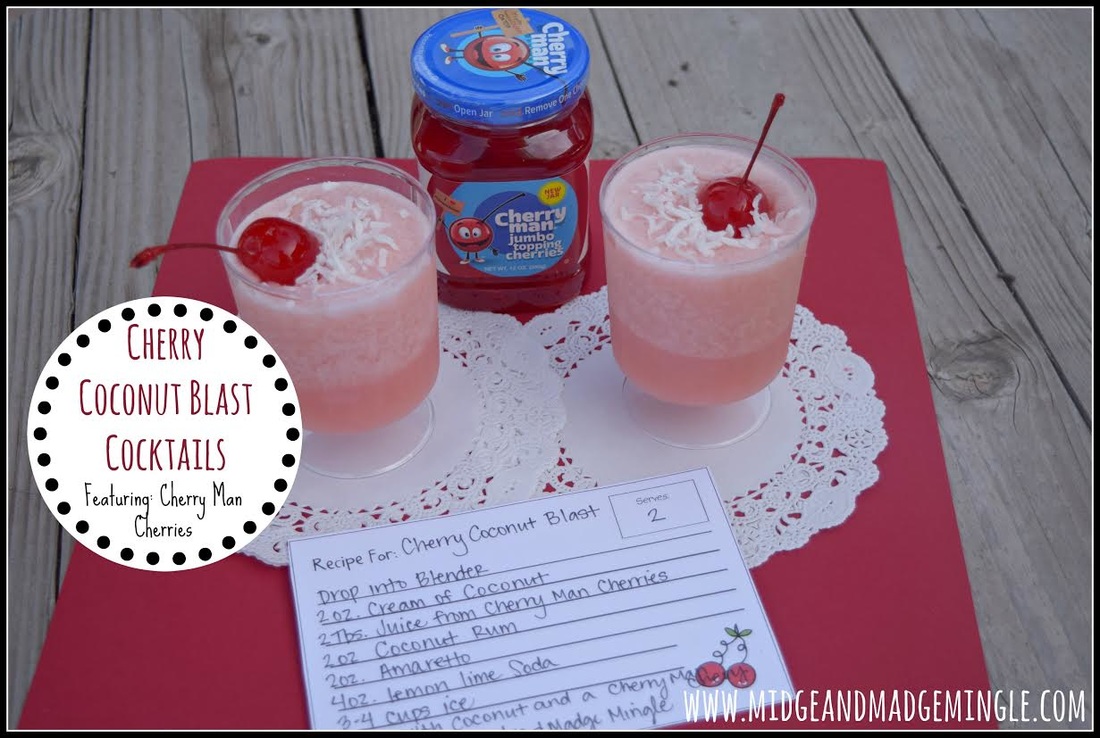
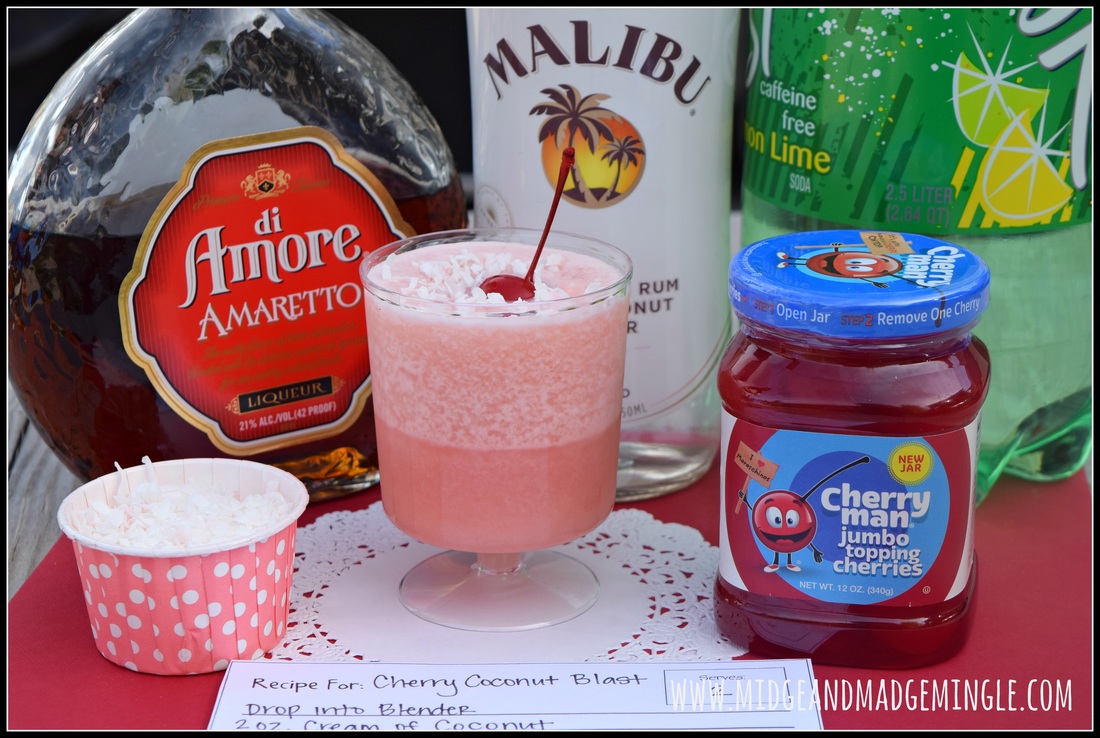
Island Vacation in a glass!
Need to get away, or just take a quick break? Want to feel like you've been carried away to a tropical paradise? These creamy cool concoctions are just what the doctor ordered! Just mix up one (or four) of these delicious cocktails, find your favorite lounger, kick your feet up, and sip away! YU-U-UM! Click through the pics below and snag this recipe. You can easily change this recipe from Cocktail to "Mocktail"! Simply replace the coconut rum with 2oz more lemon lime soda and replace amaretto with 1oz more cherry juice (or syrup).
And we absolutely can't forget to mention our adorable recipe cards designed by Laura Kelly! She has tons of fun printables and craft kits. Shop all of Laura's creations here!
For more scrumptious Cherry Man Cherry recipes check out our "Cherries" Board on Pinterest!
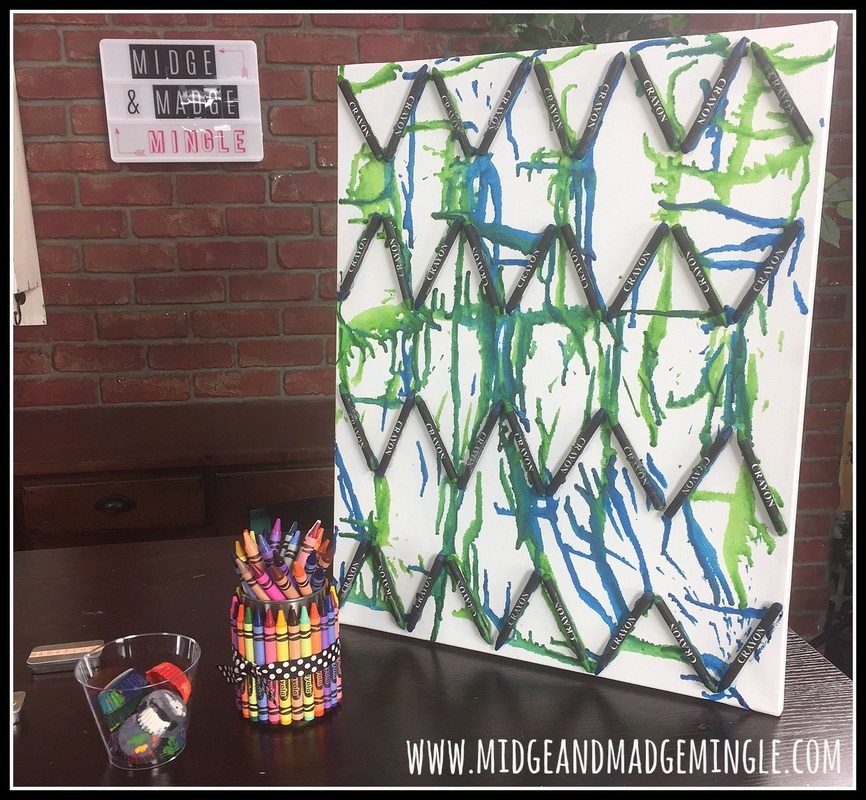
Getting Crazy with Crayons! Are your kids bored? It is summer, grab your box of crayons (broken crayons work awesome too) and get crazy! We have some fabulous ideas using crayons! Check out this awesome Canvas! Help your child hot glue the crayons onto the canvas, then using a blow dryer or heat gun melt the crayons and create your piece of art. (Be sure to cover your surface with newspaper, tablecloth or plastic before starting). Also pictured below is a cute tin wrapped with crayons and crayons inside to keep your crayons looking nice and adding great organization to your childs art station. Now for the broken crayons: Midge took her broken crayons and created Custom Crayons using cupcake liners and her oven. For details be sure to watch the Mingle!!!
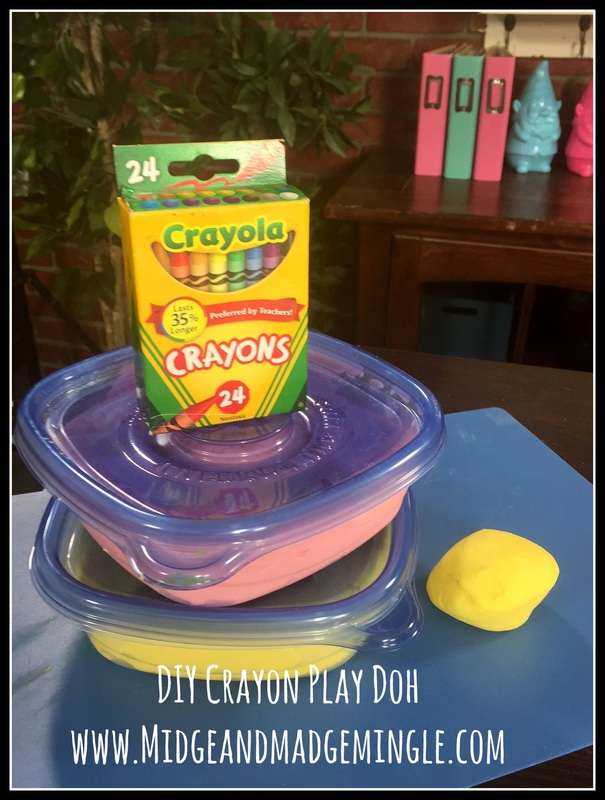
Who loves Play Doh? There is nothing better than making your own crayon play doh! Madge found this awesome recipe on Pinterest and tried it, and guess what? It worked! Whoop Whoop! Get out a cutting board, knife, and a few other ingredients and make the crayon Play Doh! (Be sure to check out the Recipe that Madge found on their Pinterest Page HERE).
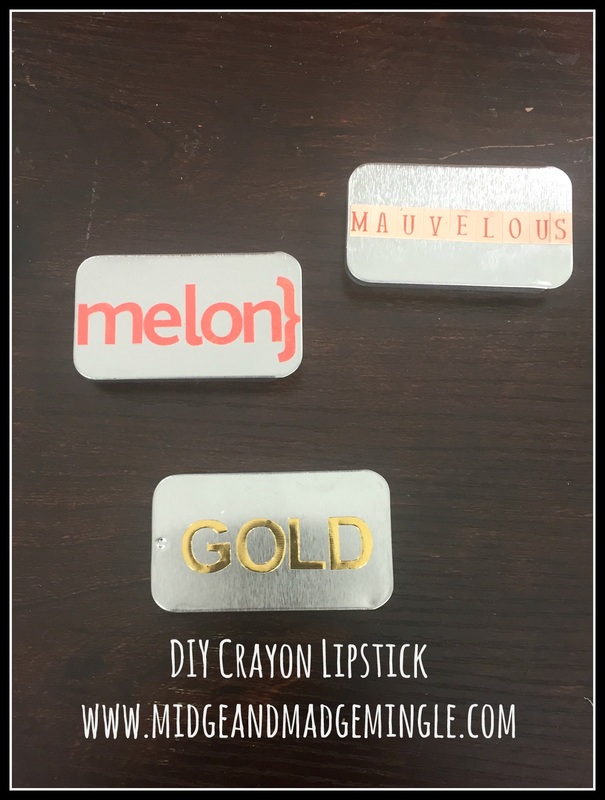
Do you love lipstick? Making your own is easy and fun! With help from a teenager or an adult you too can have your own custom colored lipstick using crayons! Midge's daughter Avrie loves lipstick and couldn't wait to try it!! Together they created these three colors! Putting them in these tins (be honest who had chapstick in tins like these?) Midge found this fun tutorial on YouTube by Madis Radd to watch the tutorial click HERE
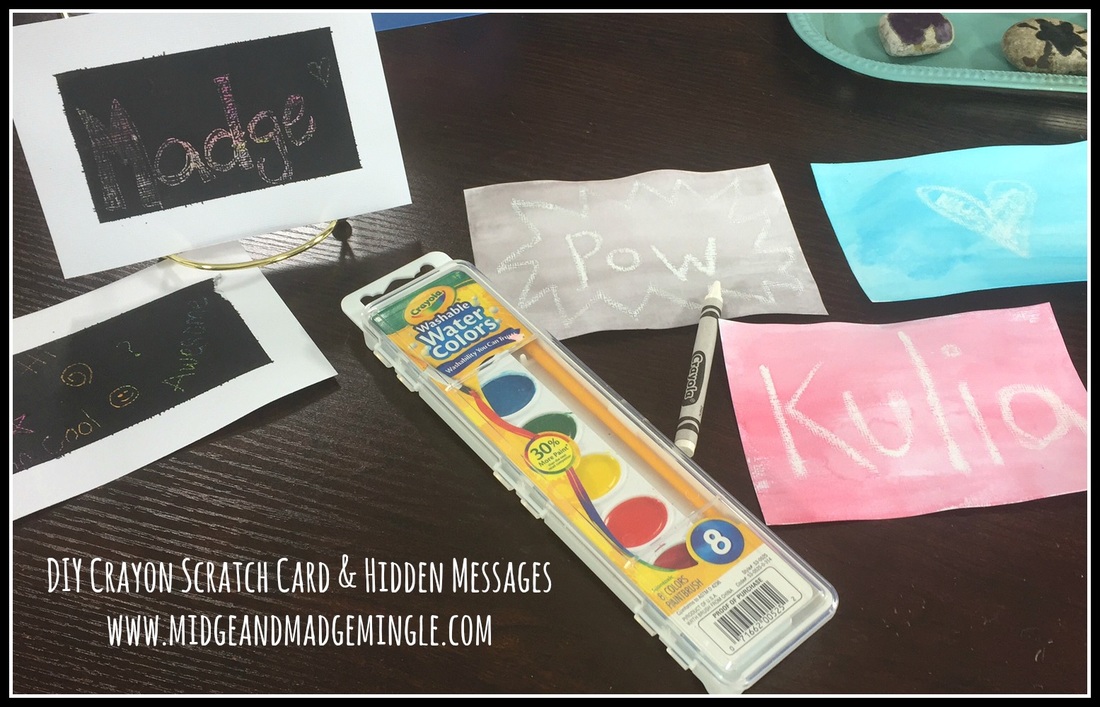
A couple more ideas for you and your kids this summer! How about Scratch Cards? This is an easy but fun thing to do! You can make a whole sketch book to give to your child or you can cut pieces of cardstock and create different cards. Madge created these scratch cards using: Black acrylic paint, laundry soap, crayons, toothpicks, and crayons. Be sure to click HERE for more detailed instructions!
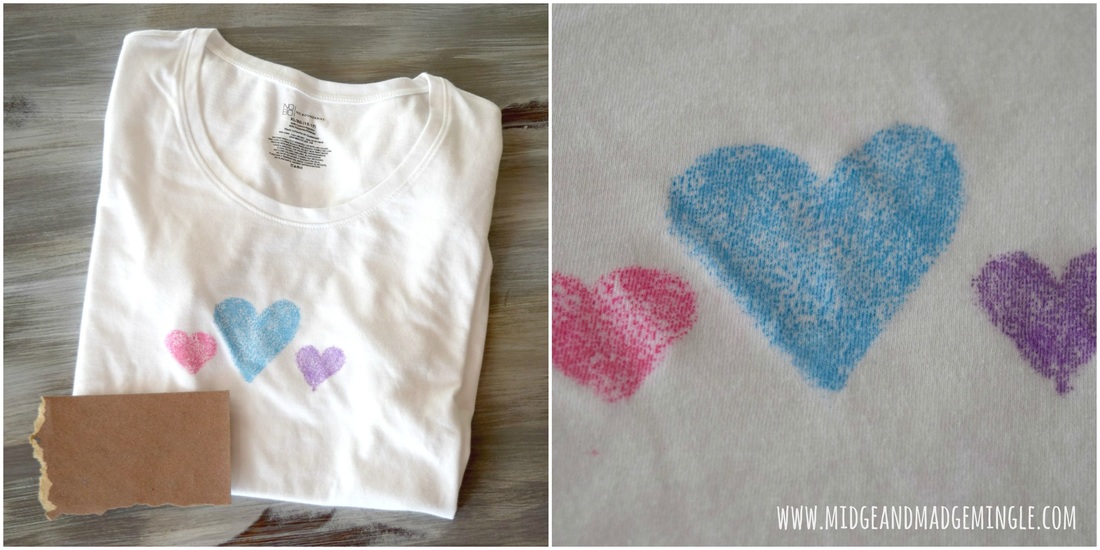
Iron on Sandpaper with Crayons!! Did you see Midge's cute shirt?? She made it using the sandpaper iron on technique! Be sure to watch the tutorial on how to do it, and REMEMBER: if you are writing be sure to write in mirror image so your design will be the right way! Poor Midge, she had to learn the hard way on that one! EEK!! If you want step by step on how to make your own customizable T-Shirt click HERE
Are you loving our Boredom Busters as much as we do?? Be sure to mention it by sharing this post, and pinning our fun projects! Whoop Whoop!
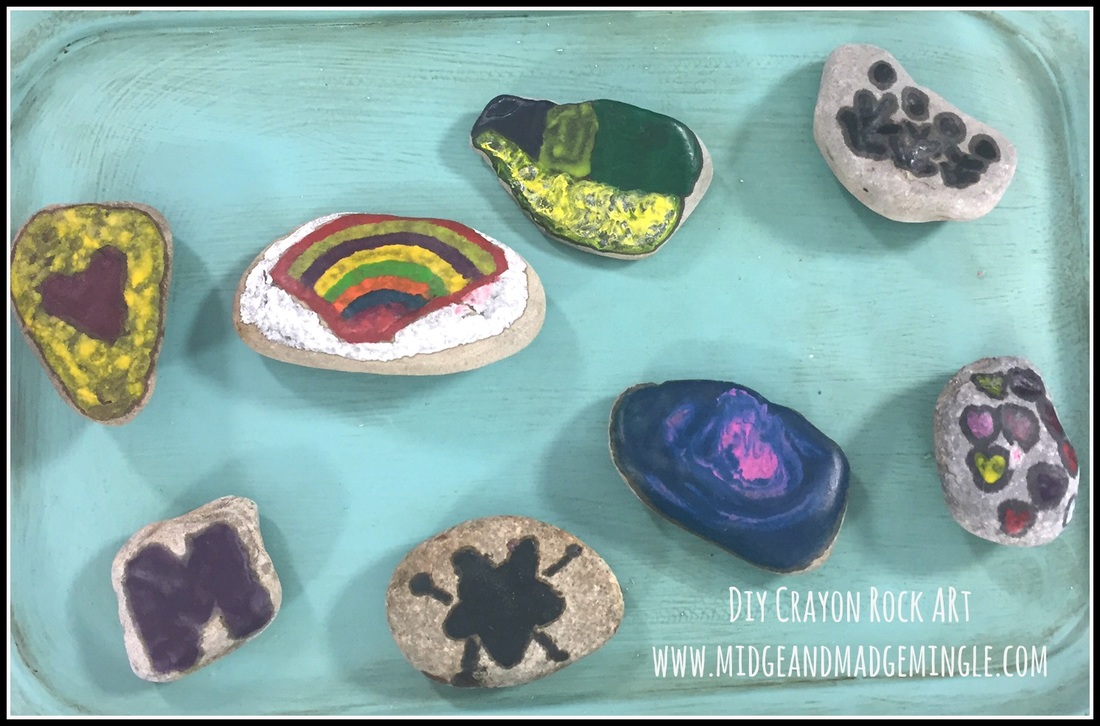
How about this fun and simple way to create rock art? Madge found this technique on Pinterest and tried it! It WORKS!!! so fun and my nieces had a blast helping me create the examples shown! Be sure to check out this pin to get all of the details on how to create your very own rock art!!! Click HERE
We hope that you enjoyed this weeks Boredom Busters! Be sure to keep watching each month as this is a series of tutorials and videos! You can find past episodes on our YouTube channel HERE you can also check out our Pinterest Board HERE Be sure to check out our main page and click on Winners to see if you are a big winner of Midge and Madge Mingle from the previous weeks!!!! Until next time, Loves- Midge and Madge
Don’t you dare throw those old jeans out! Today, we are going to give them a new purpose. From home décor to school supplies, we'vegot you covered. Make sure to follow us on Instagram (@midgeandmadgemingle), then, like the pic of the two of us with all of the denim projects, Repost the pic and you are entered to win a Heidi Swapp marquee letter of your choice and a denim/embellishment kit! Be sure to check out our latest Mingle Below.
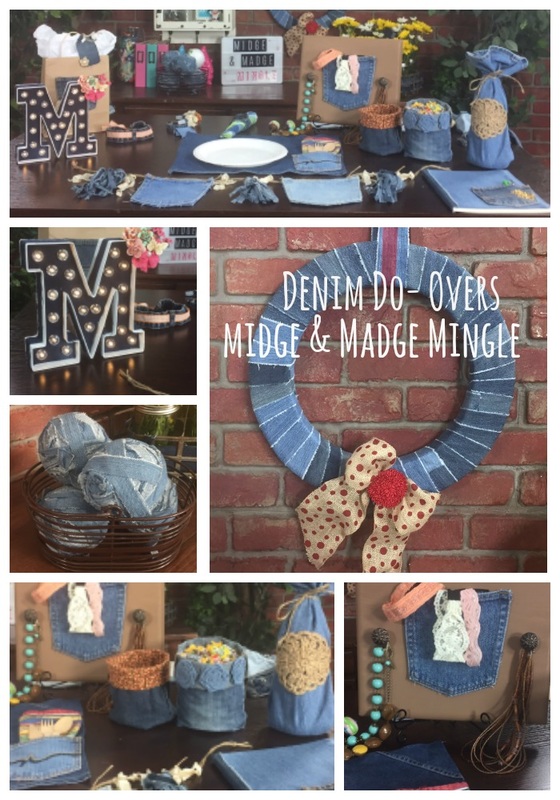
There are so many different ways to re-cycle your old jeans!! Midge created this fun wreath using strips of denim and wrapping around the wreath base. The Cute Plaque Jewelry Organizer is darling with that denim pocket! Home Decor balls again using strips of denim and knots, wrapping the balls creating a designer look on the cheap! Dog chew toys, Bracelets, Placemats, Banner and MORE!!!
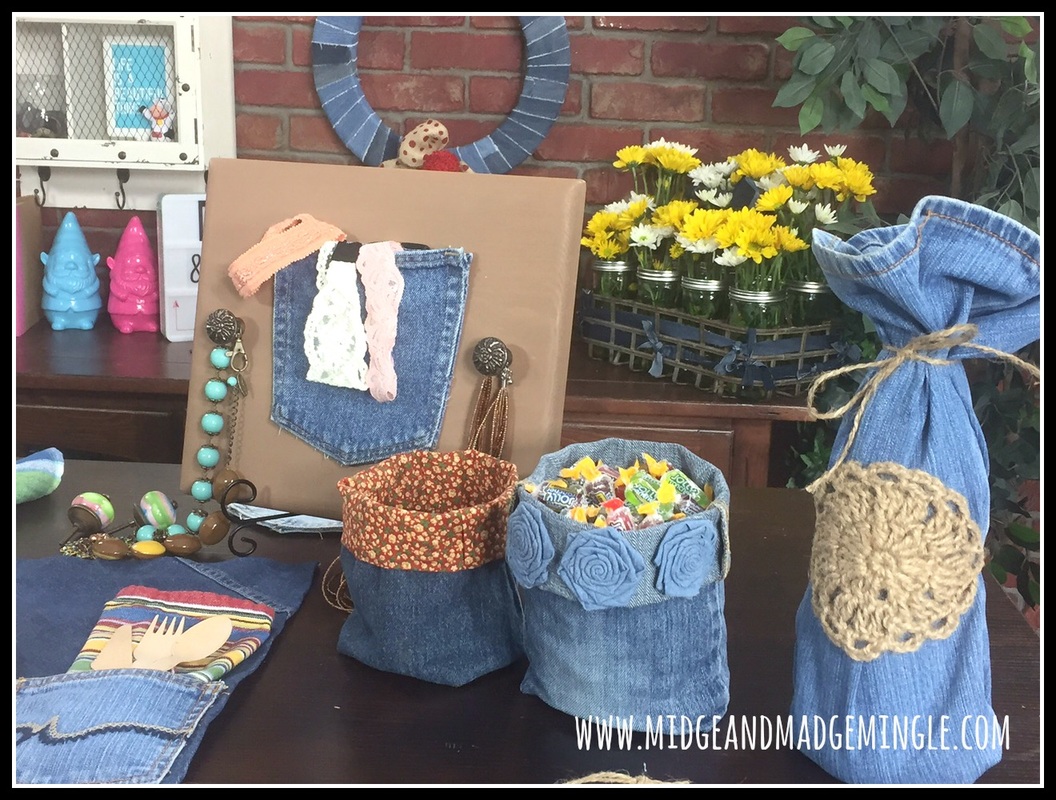
For these cute denim bags you will need to cut a pant leg, and a circle out of cardboard. Push the circle down into the pant leg, and glue the bottom closed like a present. Roll the top of the pant leg and glue it down. You can then create denim flowers for the front. So fun and easy to make!!
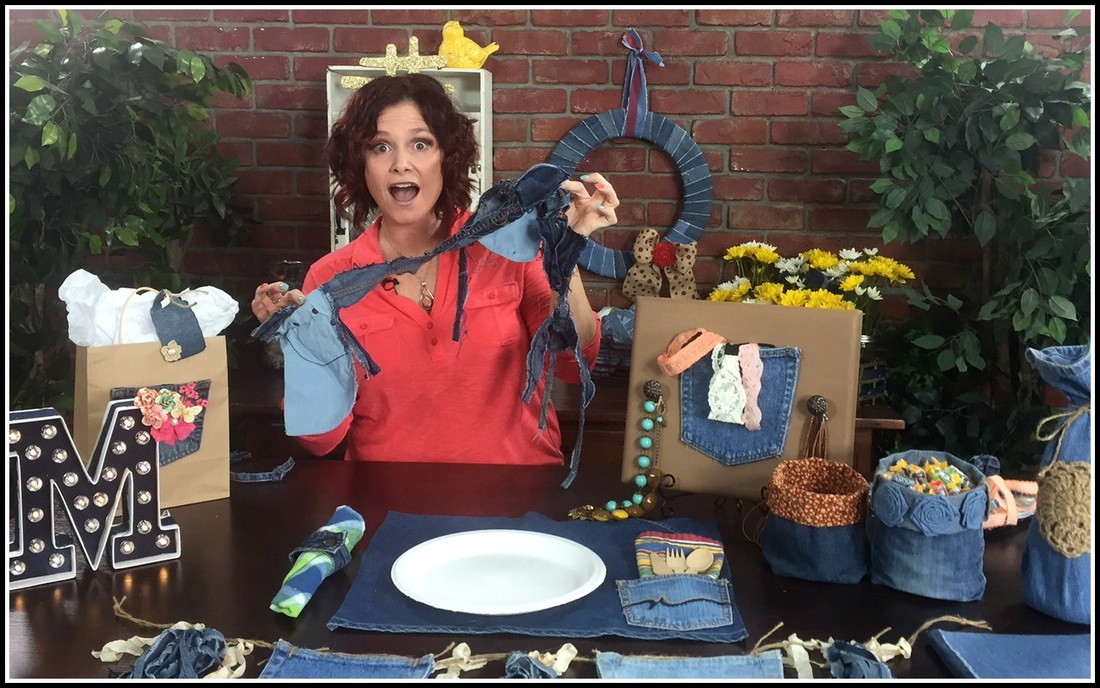
WOW!!!!!! Check it out! This is all we have left of a pair of jeans! Be sure to watch the Mingle to see all of our fun projects!!! Be sure to enter to win our giveaway! And don't forget to comment, like and share!
Loves- Midge and Madge |

Midge & MadgeTwo Best Friends doing what they love and loving what they do. Learn more about us in the About Us tab above.  

Archives
October 2019
Categories
|
 RSS Feed
